Sew On a Patch: Easy, Step-by-Step
Putting a patch on can be an amusing and creative way to individualize your clothes or to repair a dear clothing item. Whether you are merely adding a touch of decor to a pair of jeans or fixing a hole in your favourite pair, the ability of sewing a patch is a precious skill to have. Within this tutorial I will take you through the process of How to Sew on a Patch from the onset.
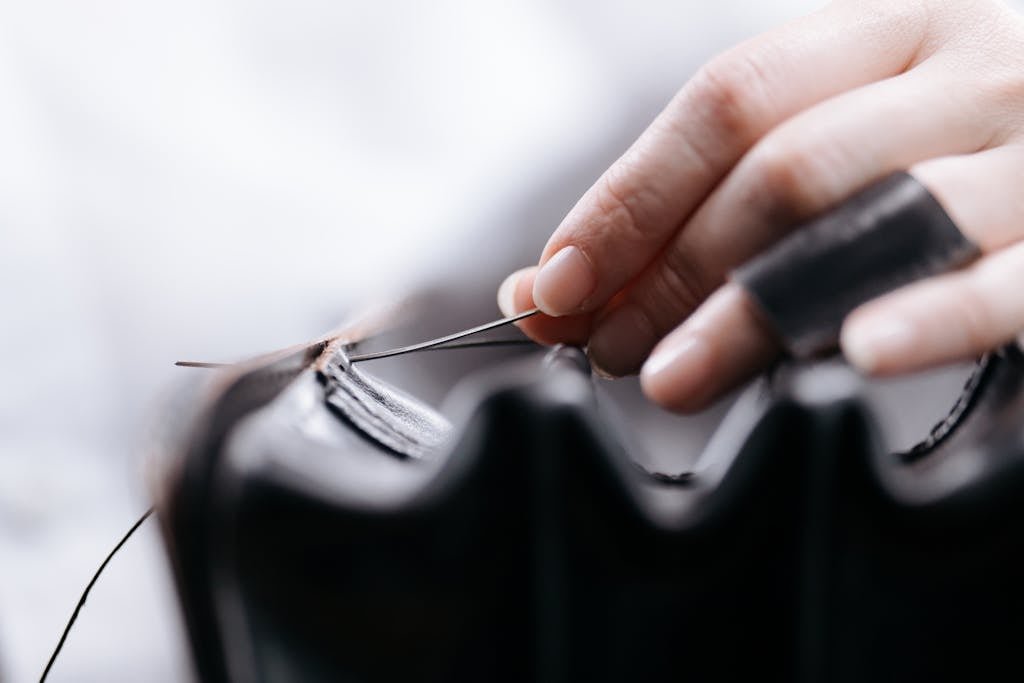
How to Sew on a Patch from Hand
Preparation
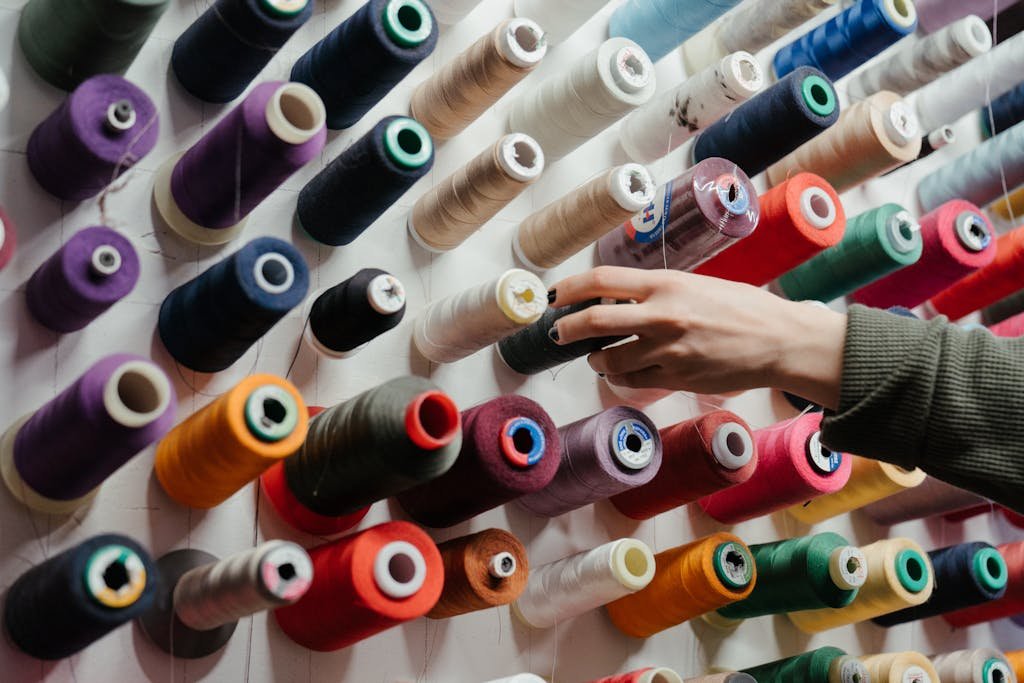
Gather Your Materials
Before you begin, make sure you have all the necessary materials on hand:
- Needle
- Thread (color matching the patch or for contrast)
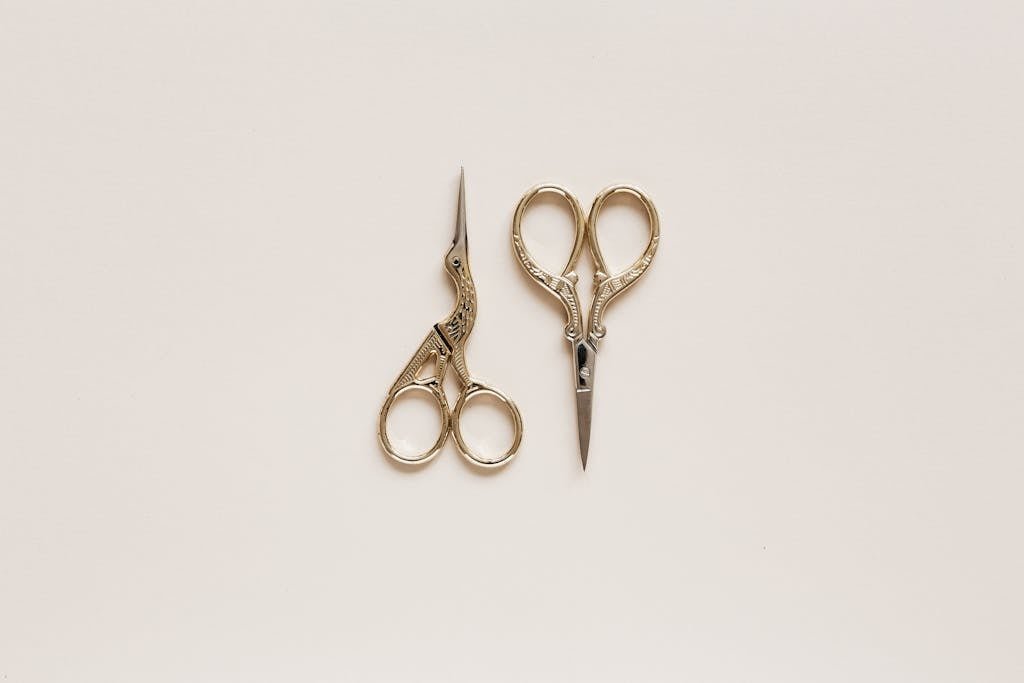
- Scissors
- Patch
- Pins or fabric glue (temporary)
Thread Your Needle
Cut a length of thread about 10 inches long. Put this end through the eye of the needle and knot the other end to ensure its safety.

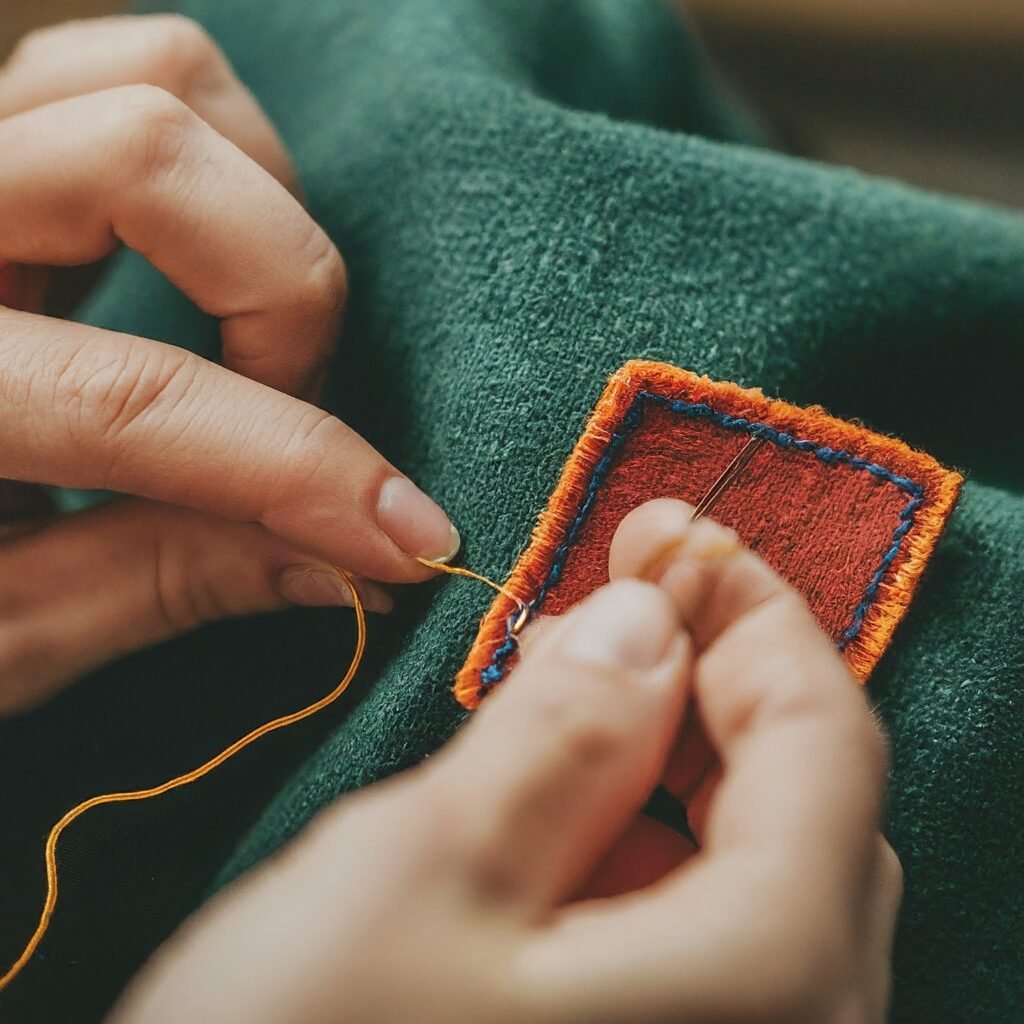
Position the Patch
Put the patch in the position that suits you most on the item of clothing. To keep it in place, you can use a pin or a temporary fabric glue until you finish sewing.
Sewing the Patch

Choose Your Stitch
There are a few options for sewing patches by hand. Here are two popular choices:
Backstitch
This stitch is strong and secure, making it a good choice for patches that will get a lot of wear and tear. To backstitch:
- Push your needle down through the fabric and patch.
- Bring it back up through the fabric a little bit to the left of where you went down.
- Repeat, going down through the patch a little bit ahead of your last stitch, and up through the fabric again.
Blanket Stitch
This stitch is decorative and adds a nice finished edge to the patch. To blanket stitch:
- Insert your needle down through the fabric and patch.
- Loop the thread around the edge of the patch and pull it through.
- Repeat, going up through the fabric a little bit ahead of your last stitch.
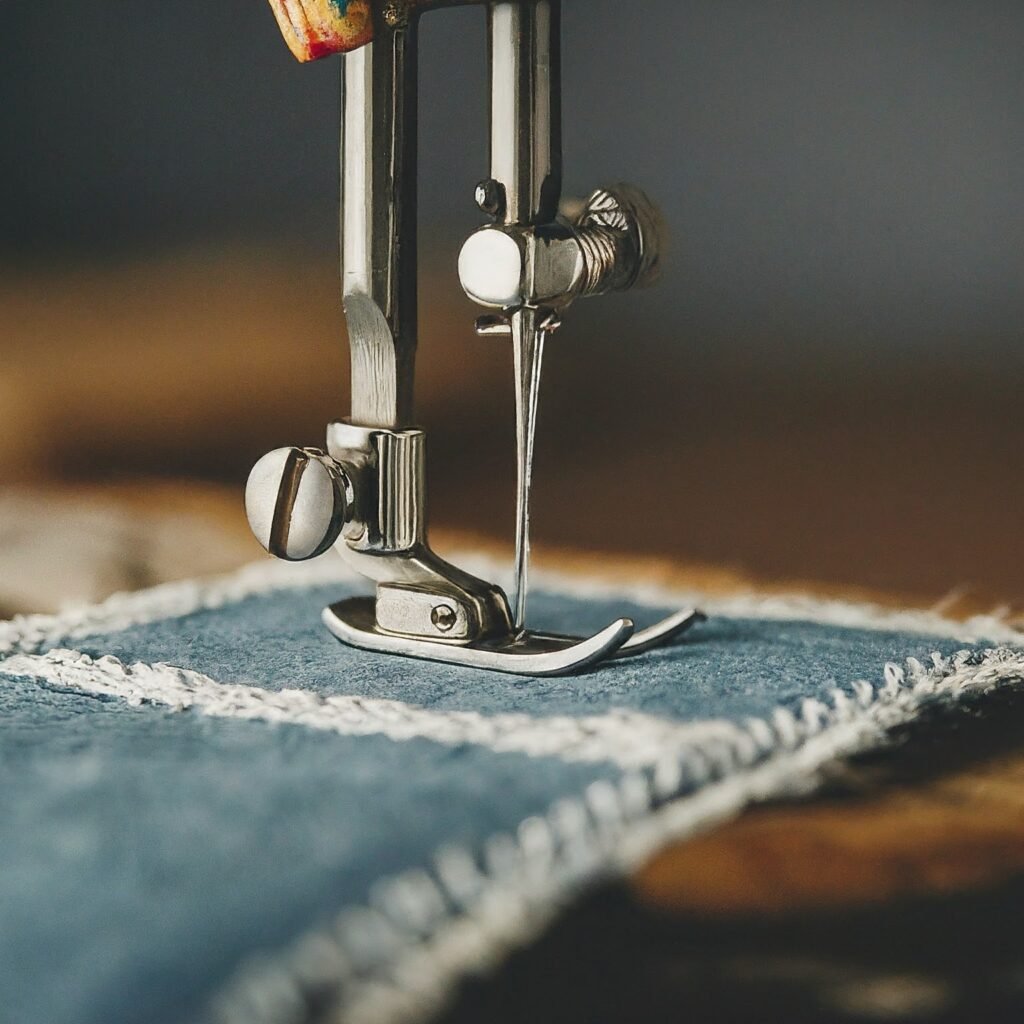
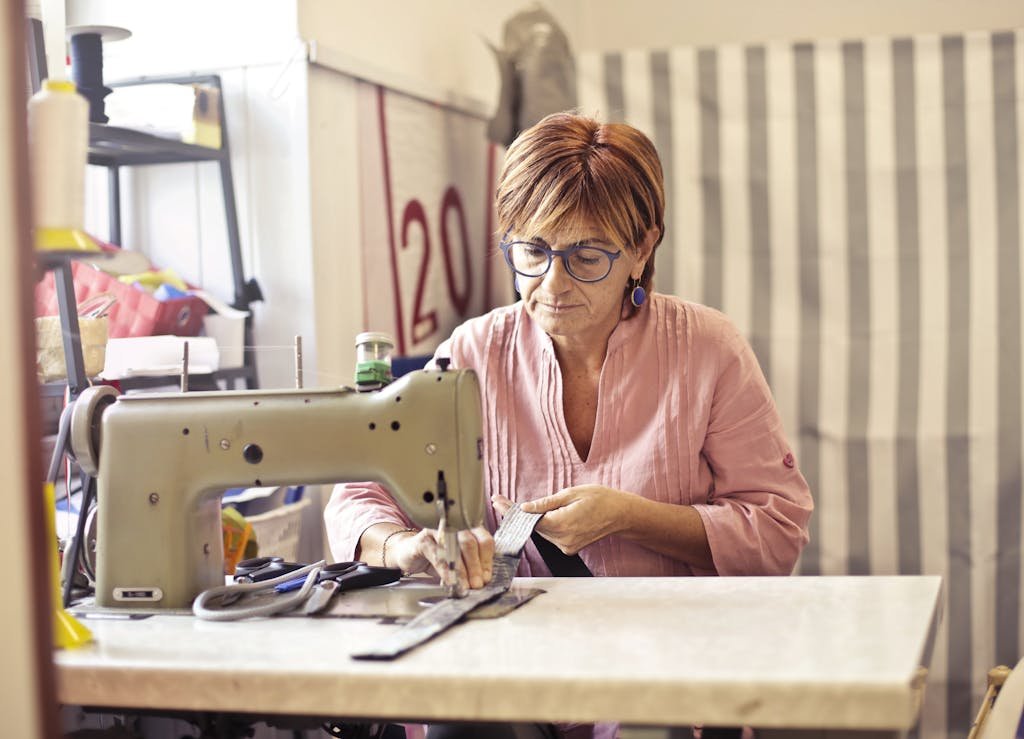
How to Sew on a Patch from machine
Preparation
Gather Your Supplies
Before you start, kindly ensure you have everything you need. Take your sewing machine, thread that either goes with the patch or the clothing where the patch will go, scissors, the patch itself and the garment you’re going to attach the patch to. You can also have a pin or fabric glue that you can use to attach the patch firmly on the garment and a zipper foot for good results while sewing.
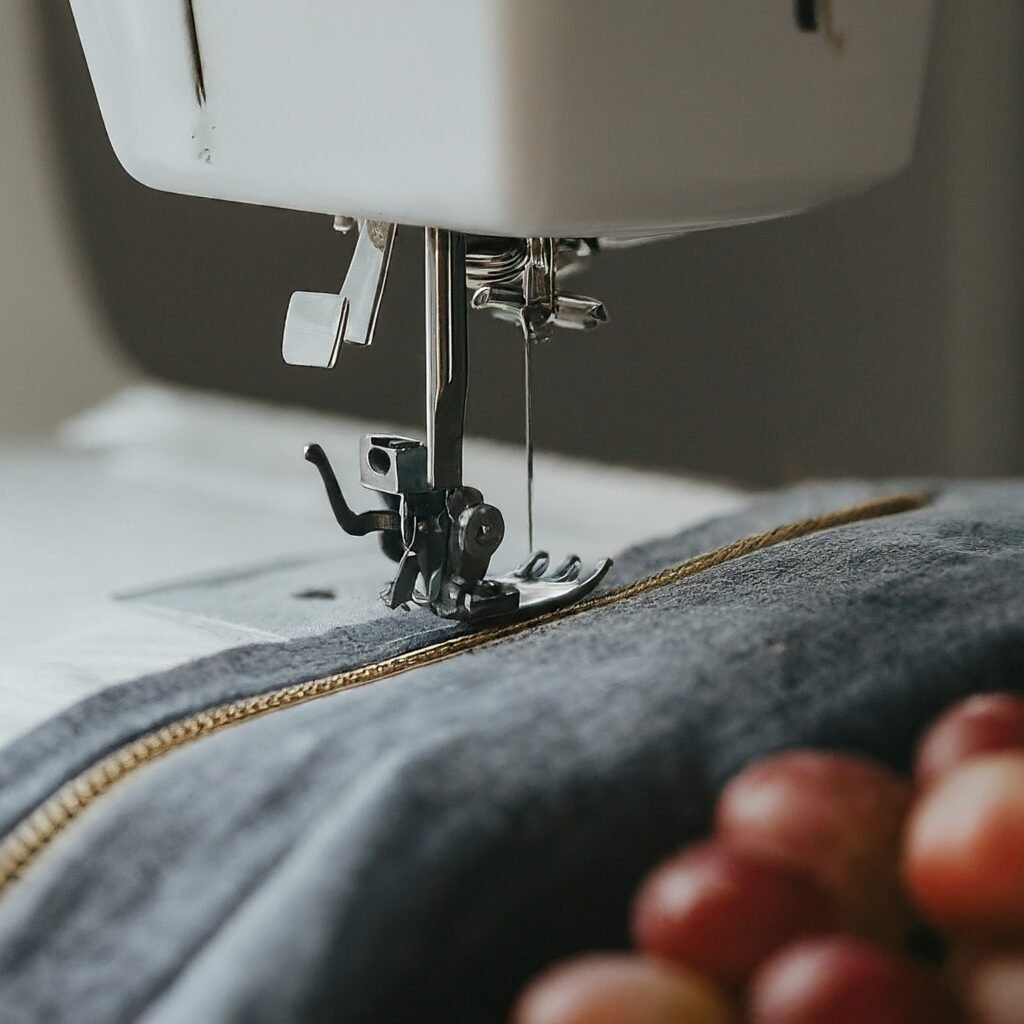
Thread Your Machine
Select a thread color that complements both the patch and the garment. For delicate fabrics, consider using a smaller needle and thread size. Thread your machine and adjust the tension settings as needed for the fabric you’ll be working with.
Position the Patch
Place the patch on the garment where you want it to be attached. You can use pins or fabric glue to hold it in place temporarily. Make sure the right side of the patch (the finished side) is facing up.
Sewing the Patch
Choose Your Stitch
Depending on the look you want to achieve and the type of patch you’re sewing on, you’ll need to choose between a straight stitch or a zigzag stitch.
- Straight Stitch: This type of stitch is perfect for straight edged patches and provides for a neat and classic finish.
- Zigzag Stitch: It adds more strength and prevents the edges from fraying, which is ideal for those patches that have ragged edges or that are intended to be washed regularly.
Adjust Stitch Settings
Set your stitch length to a medium setting, around 2.5mm, and adjust the tension according to the weight of your fabric.
Start Sewing
Lower the presser foot onto the patch, positioning it close to the edge. Begin sewing around the perimeter of the patch, keeping your stitches close to the edge (or slightly inside for a neater finish).
- Use a Zipper Foot: If you’re dressing up the curves, a zipper foot provides you with more control.
- Pivot Carefully: You must be careful to go at a steady pace and to pivot slowly when sewing around corners in order to guarantee smooth and even stitches.
Secure the Thread
Backstitch a few times at the beginning and end of your stitching to secure the thread in place.
Finishing Touches
Trim Excess Thread
Once you’ve finished sewing, trim any excess thread tails close to the knot.
Press the Patch
In order to smooth out the stitches and get a professionally looking patch, place the patch backside on an iron. Be sure to use pressing cloth if needed for fragile materials.
Machine Sewing
Pros
- Faster and Easier: Machine sewing is quicker and more straightforward, especially for larger patches or straight edges.
- Secure Attachment: It provides less tendency of skin irritation and this is a suitable to the dermatological patients.
- Variety of Stitch Options: Through machine sewing, you are able to select from a series of stitching options which will give you the fashionable design you are looking for. g. (plain ones, customize ones or flower-patterned ones), chain, satin snus, or climbing belt).
Cons
- Requires Sewing Machine and Basic Knowledge: The machine sewing necessitate a machine and just a few knowledge of sewing techniques and tools.
- Bulky for Delicate Fabrics: It may be bulky for delicate fabrics or small, detailed patches.
- Less Forgiving: Machine sewing is less forgiving if you make a mistake, as it often requires seam ripping to fix errors.
Hand Sewing
Pros
- Versatility: Unlike machine stitching which is mainly intended for large and heavy fabrics, hand sewing is the most flexible which makes it ideal for use in fine fabrics, tiny patches or for curved ends.
- Easy Repairs and Adjustments: This is a simpler technique than using hand sewing, which gets damaged easily.
- Minimal Tools Required: Hand sewing requires minimal tools – just a needle, thread, and scissors.
Cons
- Slower Process: Hand sewing is a time-consuming process and doesn’t match with the speed of machine sewing.
- Less Secure Attachment: It may not provide as secure an attachment as machine sewing, especially for patches that will undergo frequent washing or wear.
Choosing the Right Method
When deciding whether to use machine sewing or hand sewing for your patch, consider the following factors:
Choose Machine Sewing If
- You speed and a sense of security are your priorities.
- The patch is too big or has insignificant boundaries.
- The material has strength and therefore, does not tear when machine sewed.
Choose Hand Sewing If
- The patch is small, delicate, or intricate.
- You require more control over the stitching.
- The fabric is lightweight or prone to damage.
My Final Words
Furthermore, learning and developing a basic sewing patch will come in handy whenever a pants zipper or button has to be fixed or pants or dresses have to be altered. Whether you want machine sewing to achieve the faster and more accurate result or hand sewing to gain the flexibility and better finishing touch, your guide will definitely show you the tip for the perfect sewn over and over again.