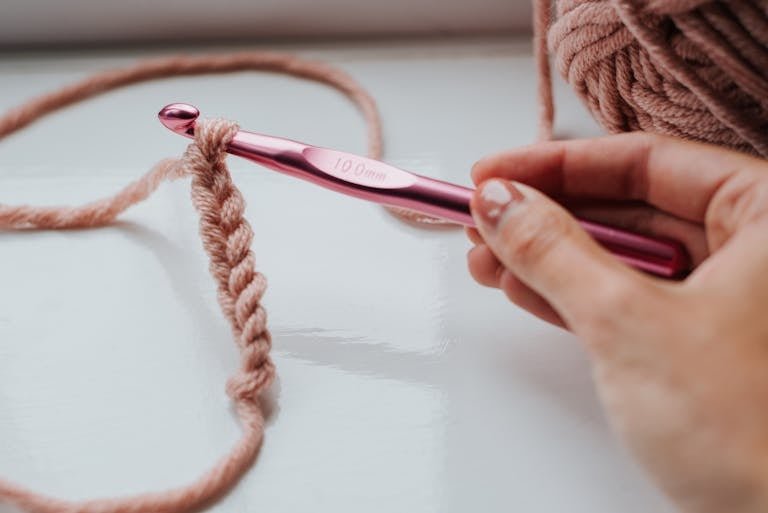
Yarn Quantity Guide: Knit & Crochet with Confidence
When it comes to crafting projects, whether knitting or crocheting, one of the most common questions I encounter is: Yarn is one of the most versatile and useful materials to have in fiber arts – but how much do you need!? Now this is one question that may sound like is easy to answer, but is not. Of course, the quantity of yarn needed for your project will further be dictated by such factors as the type of yarn, the size of your project, and the pattern being used.
In this detailed guide, I’ll break down the process and provide you with practical steps to ensure you never run out of yarn mid-project.
Understanding the Basics
Before you can calculate how much yarn you need, it’s essential to understand the different components that affect yarn consumption. Here are the core factors you should be familiar with:
1. Yarn Weight
Yarn weight on the other hand concerns the thickness of the yarn. There are various classifications made on the yarns according to their thickness and thinness and this aspect will dramatically affect the quantity of yarn required for the completion of the project in question.
- Fingering: They are light and thin and can be used in producing socks and any other delicate garments.
- Sport: Slightly thicker than fingering, commonly used for lightweight garments.
- DK (Double Knitting): Medium weight, suitable for sweaters and scarves.
- Worsted: Used for Afghans, scarves, blankets, etc; slightly heavier than DK but denser as well.
- Aran: Just slightly heavier than worsted weight, perfect for warmer climates or garments like winter sweaters.
- Bulky: Thick and warm, perfect for thick blankets or warm sweaters.
Why Yarn Weight Matters: The thicker the yarn, the less you’ll need in terms of length. For example, bulky yarn will take up more space with fewer stitches compared to fingering yarn.
2. Gauge
Gauge means the number of stitches and rows of knitting or crochet per inch (or centimeter) about a knitted or crocheted item. The gauge is important because it determines how much yarn will be needed in the garment.
- Stitches per inch: This measures the density of the fabric by literally counting how many stitches are there in a space of an inch.
- Rows per inch: This measures how many rows fit within an inch.
Why Gauge Matters: Depending on the gauge on your needle, you might use either more or less yarn than the pattern requires. For example, you will use more yarn if your stitches are tighter than if your stitches are looser.

3. Project Size
The size of your project will significantly impact how much yarn you need.
- Small projects: Cozy accessories like hats, mittens, or scarves will generally use less yarn.
- Medium projects: Sweaters, shawls, or baby blankets will require moderate yarn to complete the project.
- Large projects: People with large blankets or oversized sweaters will use the most yarns than those in Afghanistan.
4. Pattern
The pattern you’re following also plays a key role. Many patterns provide an estimate of how much yarn is needed, but this estimate can vary based on:
- Your gauge
- The specific yarn you’re using
- Pattern complexity (e.g., lace, cables, or textured designs)
5. Steps to Calculate Yarn Requirements
With the basic parameters described, it is time to proceed to the explanation of how much yarn you require in the process step by step. It is an elaborate procedure though if adhered to, it will assist one to use the right measurement of yarn and not end up with a scarcity halfway into the project.
Read Also: Slag Glass: Uncover Hidden Beauty & Value
Steps to Calculate Yarn Requirements
Step 1: Gauge Swatch
First of all, it is useful to make a gauge swatch using the yarn and the needles (or hook) recommended in the pattern. This small sample will allow you to determine your gauge, which might be different from the pattern gauge. Here’s what you should do:
- Choose the yarn and tools (needles or hook) mentioned in your pattern.
- Sew or crochet a small piece of fabric the size of about 4 x 4 inches should do the work.
- Make sure that the swatch contains a bit of the natural tension in stitches.
Why Gauge Swatch Matters: The gauge swatch is essential to ensure your project ends up the correct size. Depending upon the tightness or looseness of stitches, the appearance of the end product might not be the way you want it, and your yarn requirements would vary.
Step 2: Measure the Swatch
Once your gauge swatch is complete, measure the number of stitches and rows in a square inch (or centimeter).
- Lay the swatch flat on a surface.
- Count the number of stitches in one inch across (horizontal).
- Count the number of rows in one inch vertically (up and down).
This measurement will give you your gauge, which you’ll need for the next steps.
Step 3: Calculate the Total Stitches and Rows
Now, refer to the pattern to find the total number of stitches and rows required for your project. If the pattern doesn’t provide this, you may have to calculate it based on the finished dimensions of the project.
- Use your pattern to determine how many stitches are in each row.
- Multiply the number of rows by the total stitches per row to get the total number of stitches in the project.
Step 4: Determine the Yardage
To determine the yardage required for your project, follow this formula:
- Total stitches ÷ stitches per inch = total inches of stitches
Example: 20,000 stitches ÷ 5 stitches per inch = 4,000 inches - Total rows ÷ rows per inch = total inches of rows
Example: 200 rows ÷ 7 rows per inch = 28.57 inches - Multiply total inches of stitches × total inches of rows = total square inches
Example: 4,000 inches × 28.57 inches = 114,280 square inches - Total square inches × yardage per square inch = total yardage needed
The yardage per square inch can be found on the yarn label or estimated based on the yarn weight.

Additional Considerations
While calculating yarn requirements using the steps above will give you a good estimate, there are a few other things to keep in mind:
1. Waste
When working on any project, some yarn is wasted through:
- Casting on: A small amount of extra yarn is needed to start the project.
- Casting off: It also takes extra yarn to finish the project.
- Joining sections: This is especially important if you are working on many parts of a project; ensure that you have yarn to sew or join parts together.
Solution: To provide for waste, one should consider adding between 10-20% of the yarn quantity estimated for a particular project. This helps you avoid a situation where you exhaust all your yarns while completing other parts of your work.

2. Yarn Weight Variation
Even the yarn of the same class may differ slightly within certain thickness parameters. For example, two worsted-weight yarns may be produced from different fibers, have different looks or feel, or may vary in thickness.
- Thicker yarn within the same weight category: You may need less yardage.
- Thinner yarn within the same weight category: You may need more yardage.
Tip: Each yarn should be checked for its specific yardage details on the label, as the yardage is unlikely to match another yarn of the same category.
3. Pattern Complexity
More yarn is used in patterns like lace, cables, or textured stitches than in simple knitting patterns such as garter stitch. Here’s why:
- Lace patterns: Placing holes in lace patterns may make the project appear bigger but require more yarn in the process.
- Cabled patterns: Cables create interest and density but also have the effect of creating more stitches in some areas.
Solution: In the case of intricate patterns, allow for an extra 10%-15% of yarn beyond simple patterns.
4. Yarn Hold (Tension)
How tightly or loosely you knit or crochet can greatly influence how much yarn you use. If you tend to hold your yarn tightly, you may use more yarn than someone who crochets or knits more loosely.
- Tight knitters/crocheters: Typically use more yarn because their stitches are denser.
- Loose knitters/crocheters: Tend to use less yarn as their stitches are more spaced out.
Tip: Monitor your tension frequently so that the tension remains moderate throughout the project.
Read Also: Seal MDF Like a Pro: Ultimate Guide Before Painting
Closing Words
After having comprehended all the factors when it comes to yarn usage, you can use all this alongside a yarn calculator. online yarn calculator considers yarn weight, gauge, and size of the project to provide you with the desired amount of yarn. All these inputs only require you to enter the information and the calculator will compute for you the figures.
Here then are the processes I follow every time I need yarn to knit a scarf, sweater, or even a blanket to guarantee the right amount of yarn has been bought. This guide will help you to stop purchasing yarns when you are in the middle of your project and at the same time ensure that you do not run out of yarn mid-way through your project.
