Punch Needle: A Beginner’s Guide to Embroidering Art
Punch needling, also known as punch needle embroidery or thread painting, is a unique and creative embroidery technique that has been gaining popularity in recent years. With its rich texture and versatility, punch needling offers a fresh take on traditional embroidery, allowing artists and crafters to create intricate designs with a three-dimensional effect.
In this blog, I’ll explore everything you need to know about punch needling, from the basics of how it works to the materials you’ll need, as well as tips, techniques, and project ideas. Whether you’re a seasoned crafter or a beginner looking to try something new, punch needling has something to offer you.
What is Punch Needling?
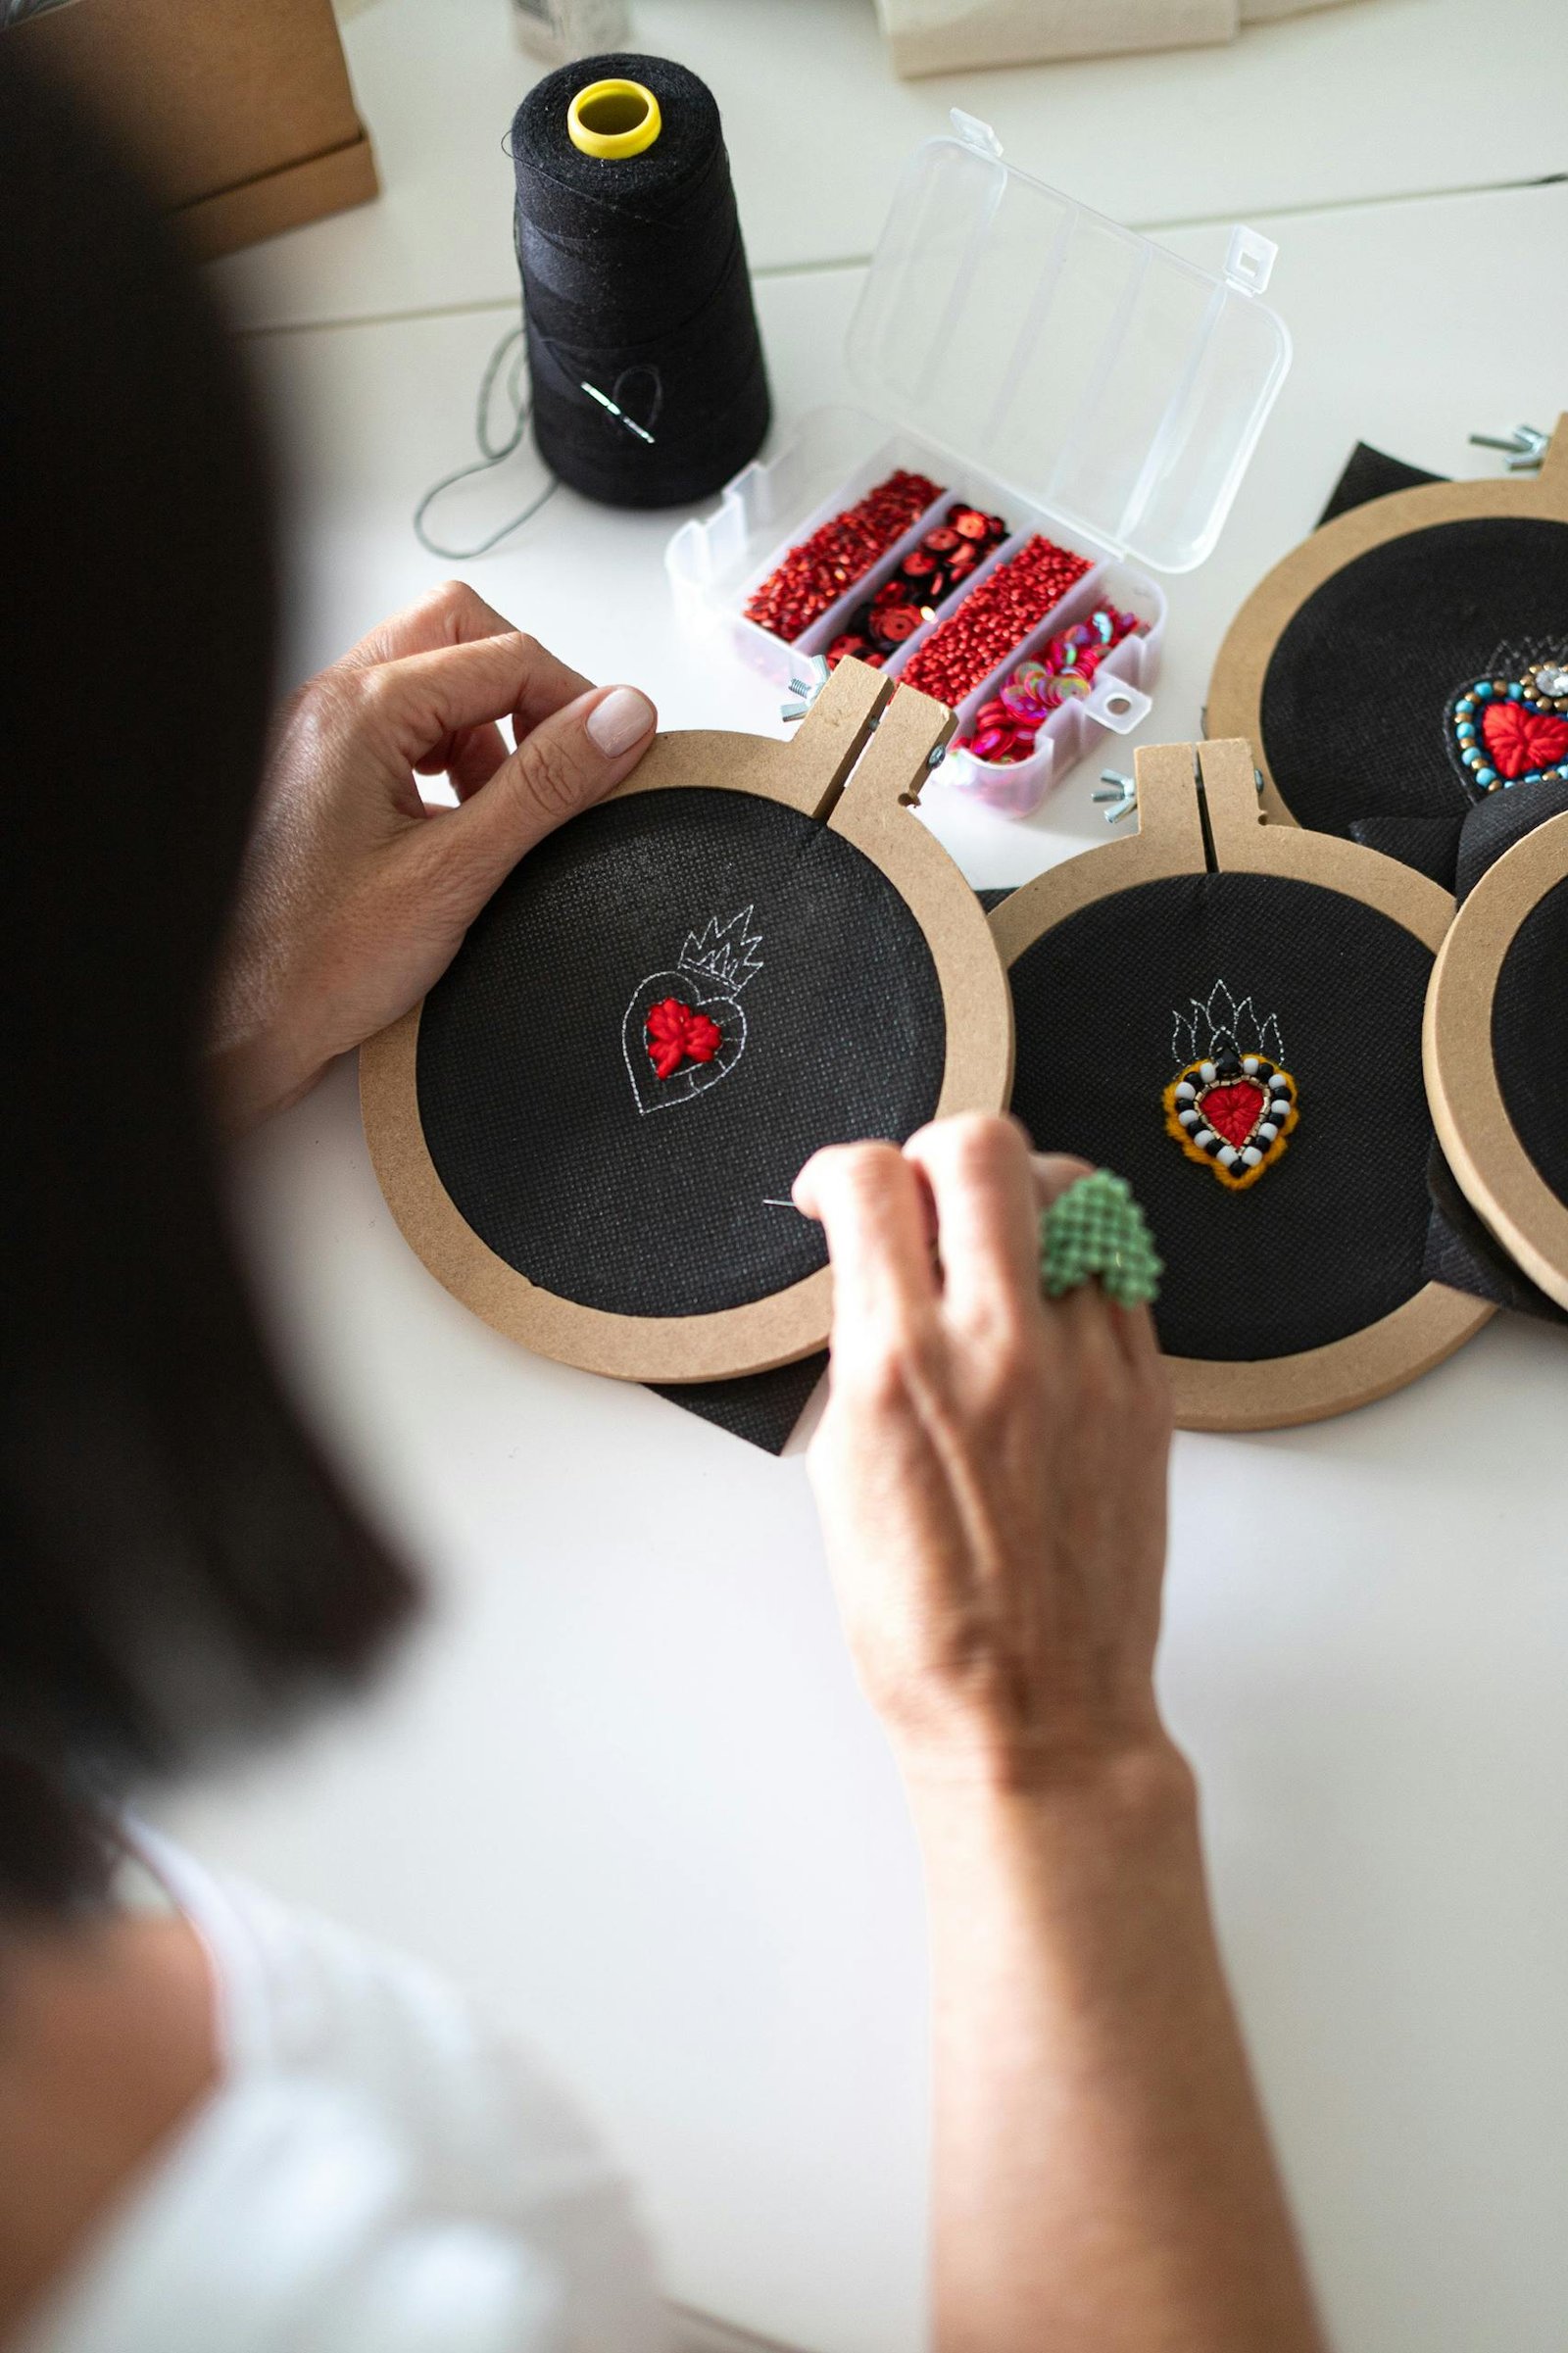
Punch needling is a form of embroidery that involves using a specialized needle, known as a punch needle, to create loops of yarn or thread on a fabric. Unlike traditional embroidery, where stitches are sewn onto the fabric, punch needling creates a raised texture that resembles a rug or carpet. This technique allows for a more three-dimensional and tactile finish, making it perfect for various decorative items.
How Does Punch Needling Work?
Punch needling is all about simplicity combined with creativity. It revolves around using a punch needle to punch yarn through the fabric, creating loops that stay in place to form patterns. The process can be broken down into a few key steps:
Materials Needed
Before diving into punch needling, gathering the right materials is essential. Here’s what you’ll need:
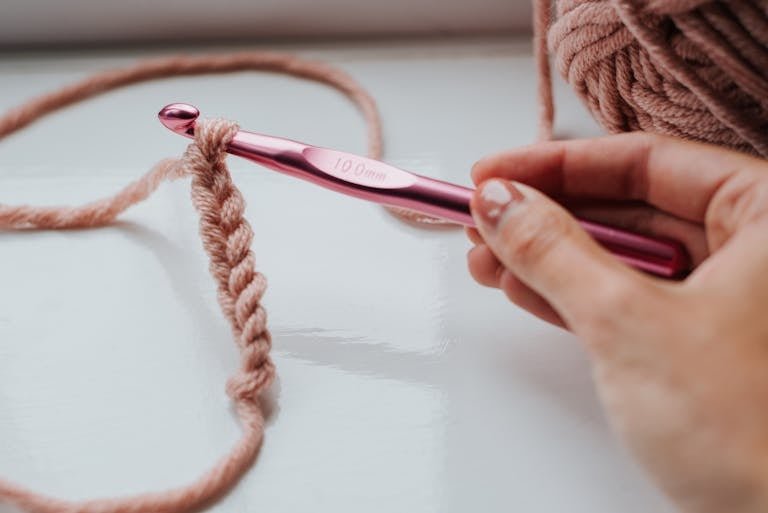
- Punch Needle: This is the primary tool that creates loops of yarn on the fabric. Punch needles come in various sizes, allowing you to work with different types of threads, from thick yarn to fine embroidery floss.
- Fabric: A tightly woven fabric, such as monk’s cloth, linen, or burlap, is ideal for punch needling. These fabrics are sturdy enough to hold the loops in place.
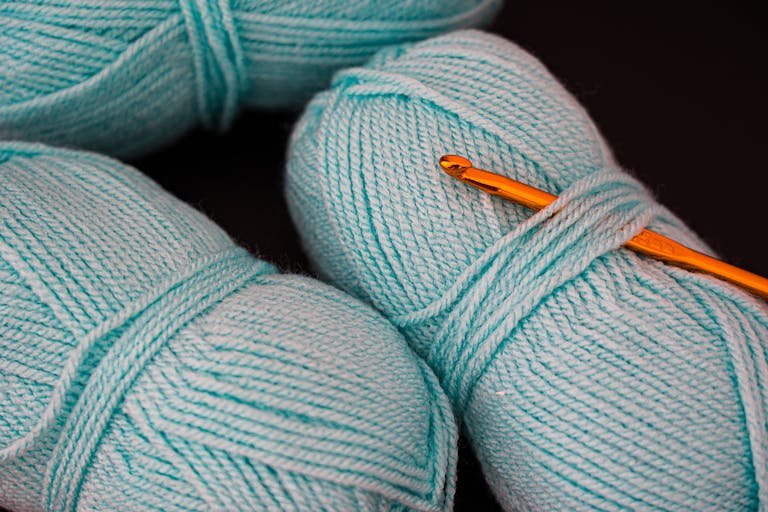
- Yarn or Embroidery Floss: Depending on the punch needle size, you can use various threads, from thick wool yarns to thinner embroidery threads.
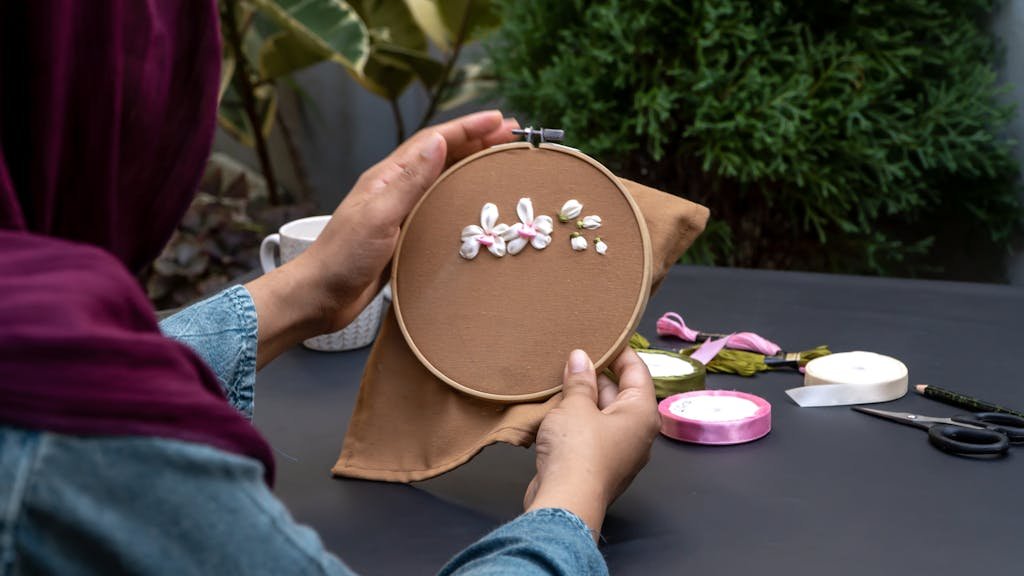
- Embroidery Hoop or Frame: A hoop or frame keeps your fabric taut, making it easier to punch the loops and create a consistent design.
- Scissors: For trimming excess yarn and making clean cuts as you work.
Threading the Needle
Threading the punch needle is the first step in starting your project. Here’s how you do it:
- Insert the Thread: The yarn or floss is passed through the punch needle using a threading tool, which typically involves pulling the thread through the hollow handle of the needle and out through a small hole near the tip.
- Adjust the Length: Ensure that the length of the thread outside the needle is sufficient for creating loops without running out too quickly.
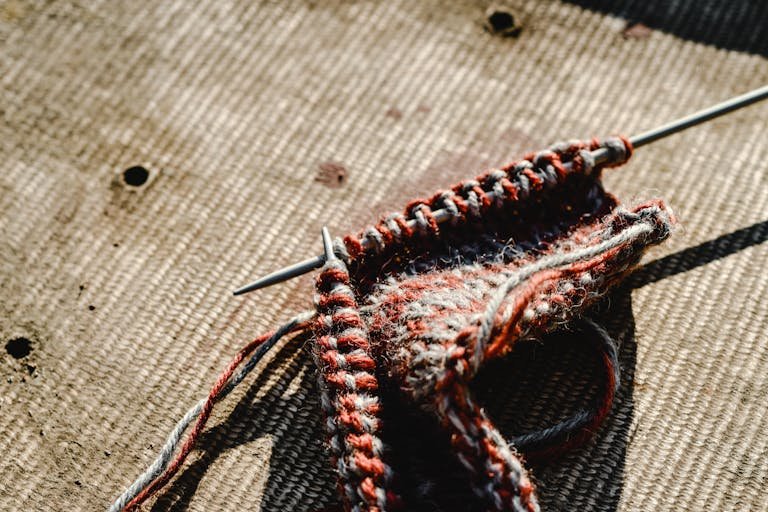
Punching the Loops
Once your needle is threaded, it’s time to start punching the loops:
- Position the Needle: Hold the punch needle at a slight angle to the fabric and gently insert it into the cloth.
- Create the Loop: Pull the needle back slightly, allowing the fabric to hold the loop in place. The yarn automatically forms loops as you continue to punch.
- Consistent Movement: To maintain uniform loops, punch the needle into the fabric at a consistent depth and spacing.
Creating Patterns
Punch needling is highly versatile and allows you to create various patterns and designs:
- Outline Your Design: Before you start, it’s helpful to draw your pattern on the fabric using a water-soluble marker.
- Layering Colors and Textures: You can create complex designs by layering different colors and textures, adding depth to your work.
- Experimenting with Loop Heights: Varying the height of the loops creates additional texture, giving your piece a more dynamic appearance.
Read Also: What is a Nappy Dish? Everything You Need To Know
Benefits of Punch Needling
Punch-needling has become a beloved craft for several reasons. Here’s why you might fall in love with it too:
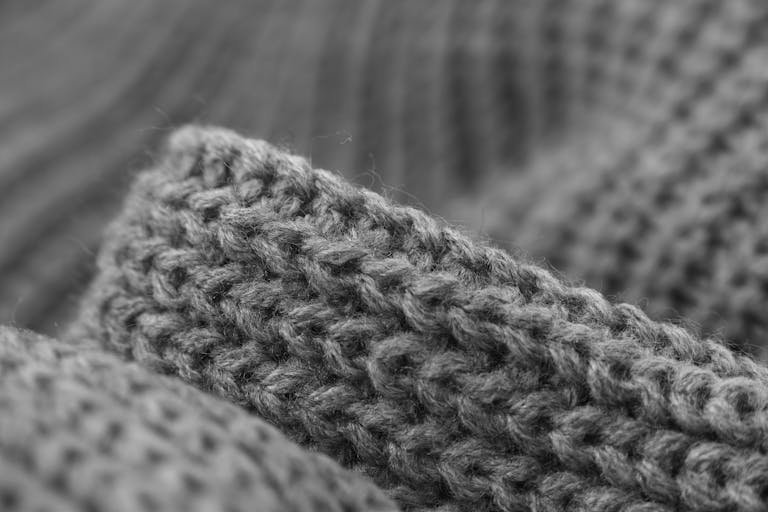
Texture
One of the most striking features of punch needling is the textured, almost three-dimensional look it creates. This texture adds depth and interest to any piece, making it a standout addition to home decor or accessories.
Versatility
Punch needling can be used for many projects, from small accessories to large wall art. Whether you’re creating intricate designs or simple patterns, the possibilities are endless.
Accessibility
Unlike some crafts that require years of practice, punch needling is relatively easy to learn. Even beginners can create beautiful pieces with just a bit of practice.
Therapeutic Effects
The repetitive motion of punch needling can be incredibly soothing. Many people find the process meditative, helping to reduce stress and improve focus.
Tips and Tricks for Mastering Punch Needling
Even though punch needling is relatively easy to learn, there are some tips and tricks that can help you refine your technique and create more professional-looking projects.
Choosing the Right Yarn and Fabric
- Yarn: Select yarn that is smooth and strong enough to withstand the punching process. Avoid yarns that fray easily, as they can become tangled and difficult to work with.
- Fabric: Make sure your fabric has an even weave. If the weave is too loose, the loops won’t hold; if it’s too tight, you’ll struggle to punch the needle through.
Keeping a Consistent Tension
Maintaining consistent tension on the fabric and your yarn is key to creating even loops. If your loops are uneven, check the tension of your yarn and make sure your fabric is stretched tightly in the hoop.
Experimenting with Loop Lengths
Don’t be afraid to experiment with different loop lengths. Longer loops create a more textured, plush effect, while shorter loops give a more uniform look. Mixing loop lengths can add dimension and interest to your designs.
Correcting Mistakes
If you make a mistake, don’t worry! Punch-needling is forgiving. Simply pull the yarn back out of the fabric and start again. Unlike traditional embroidery, punch needling allows you to redo sections without damaging the fabric.
Caring for Your Finished Project
To ensure your punch-needled project lasts, take proper care of it:
- Hand Wash: For items like rugs or pillows, hand washing is recommended to prevent the loops from loosening.
- Dry Flat: Lay your project flat to dry to maintain its shape.
- Avoid Direct Sunlight: Prolonged exposure to sunlight can cause colors to fade, so keep your finished pieces out of direct sunlight.
Read Also: Bone Dry Clay: Ultimate Guide to Crafting & Care
Final Words
Punch needling is a delightful craft that offers endless possibilities for creativity. Whether you’re just starting or looking to expand your skills, this embroidery technique is a rewarding and accessible way to express yourself through art. By following the steps and tips I’ve shared, you’ll be well on your way to creating beautiful, textured pieces that you can proudly display or gift to others. So, grab your punch needle, choose your fabric and yarn, and let your creativity flow!