What is Bobble Stitch? Everything You Need To Know
The bobble stitch is a popular crochet technique, celebrated for its distinctive, raised, and textured appearance. It is widely used in crochet projects to create eye-catching patterns and add a playful dimension to fabrics. In this blog, I will walk you through everything you need to know about the bobble stitch, from how to crochet it, to tips on perfecting it, and the various projects where you can apply it.
In this blog, I will dive deep into What is Bobble Stitch? and tips for perfecting it, and various creative uses to make the most of this delightful stitch.
The Bobble Stitch: A Textured Delight
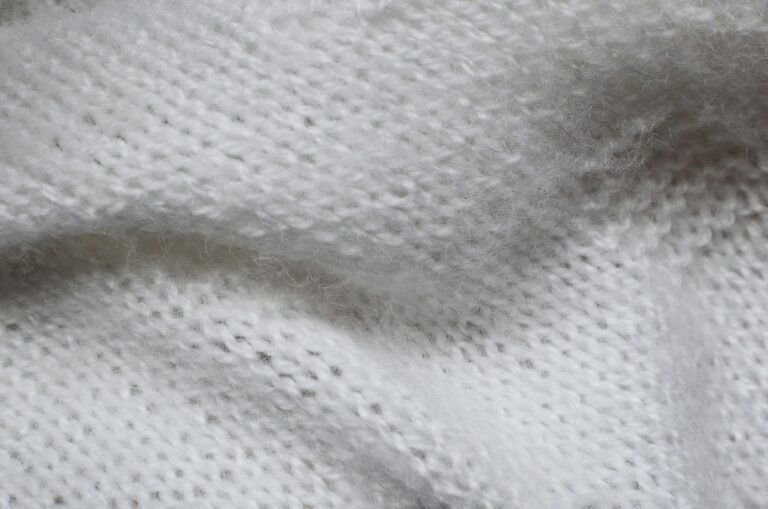
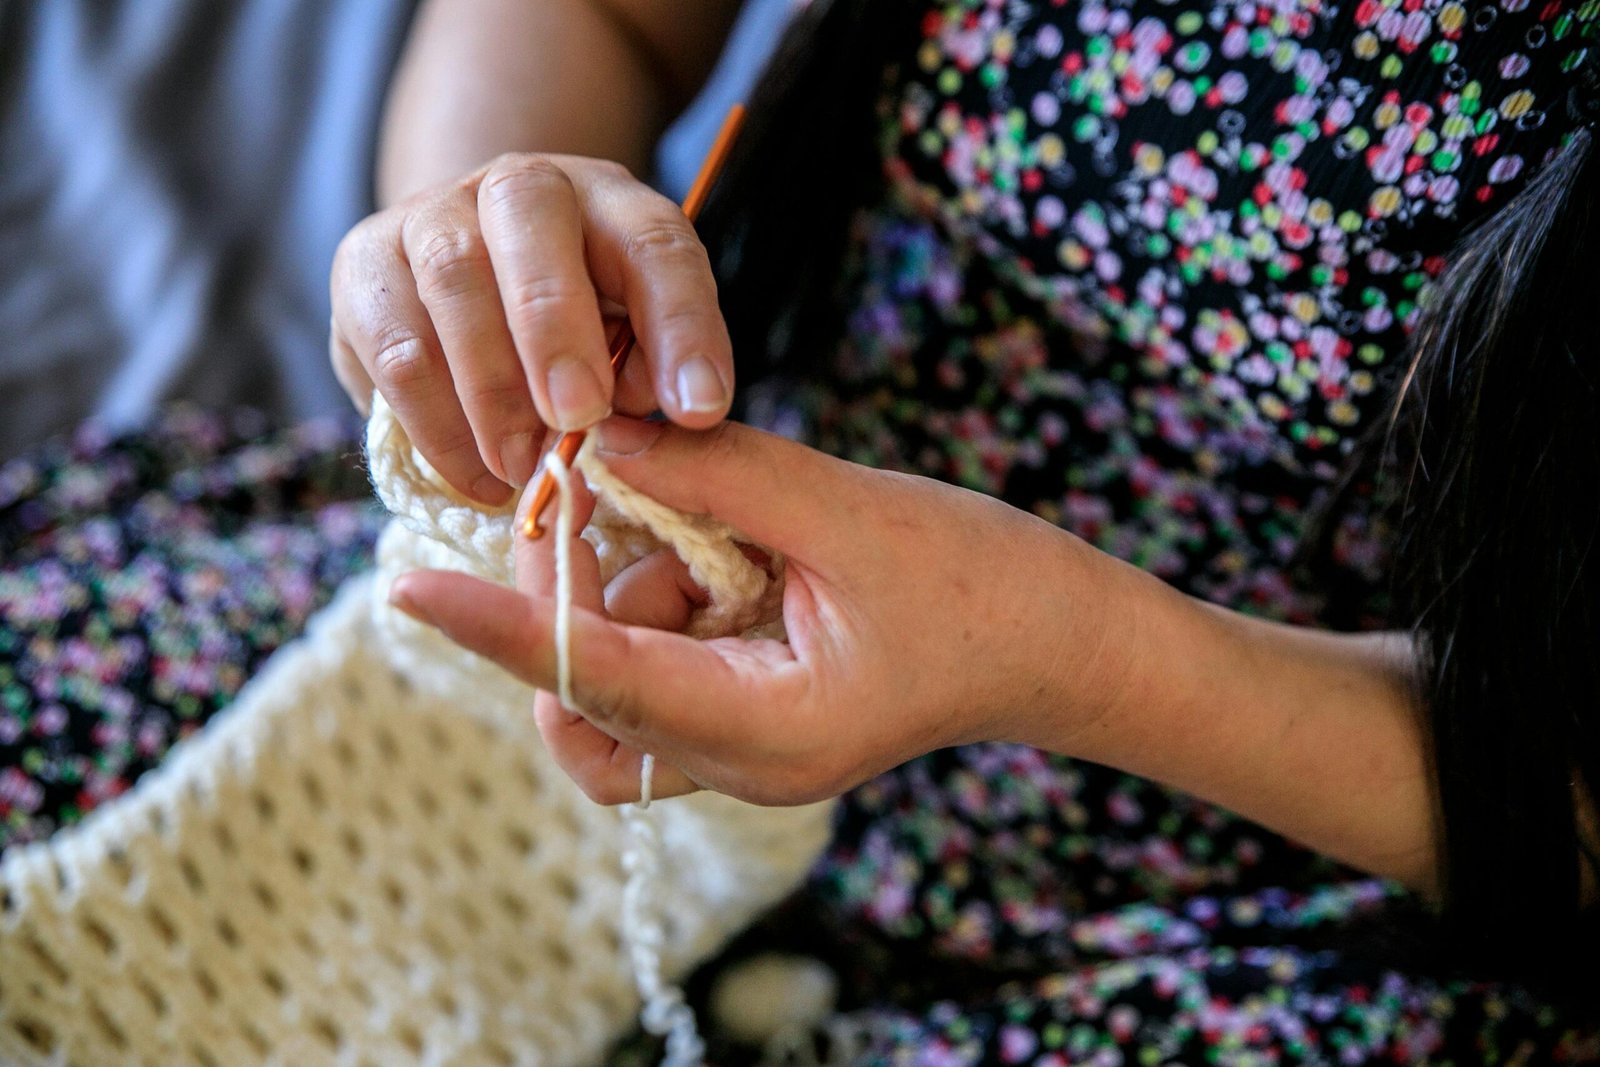
The bobble stitch is a crochet technique that creates a series of rounded, raised bumps, resulting in a fun, textured appearance. This stitch is perfect for adding visual interest and a tactile experience to your work, making it a versatile choice for a wide variety of projects, from cozy blankets to playful toys.
Bobbles are formed by partially completing several double crochets (dc) into the same stitch and then finishing them all at once, resulting in a puffy effect. The final result gives depth and texture, making it a popular choice for decorative patterns. Let’s dive into the details of creating a bobble stitch and some great uses for it.
Characteristics of Bobble Stitch
- Puffy Appearance: The bobble stitch stands out because of its three-dimensional, rounded bumps.
- Versatile Use: It’s suitable for a range of projects like blankets, hats, scarves, bags, and toys.
- Textural Impact: The raised bumps of bobbles make crochet projects more interesting both visually and texturally.
How to Crochet a Bobble Stitch
Now, let’s break down how to crochet a bobble stitch step by step. This will help you to get familiar with each move and understand how this stitch is made.
Materials Needed
Before starting, make sure you have:
- Yarn: The yarn thickness will affect the size of the bobbles.
- Hook: Use a crochet hook suitable for the yarn weight.
The basic process of making a bobble stitch is quite simple once you get the hang of it. Below, I’ll explain it in detail so you can create beautiful bobbles every time.
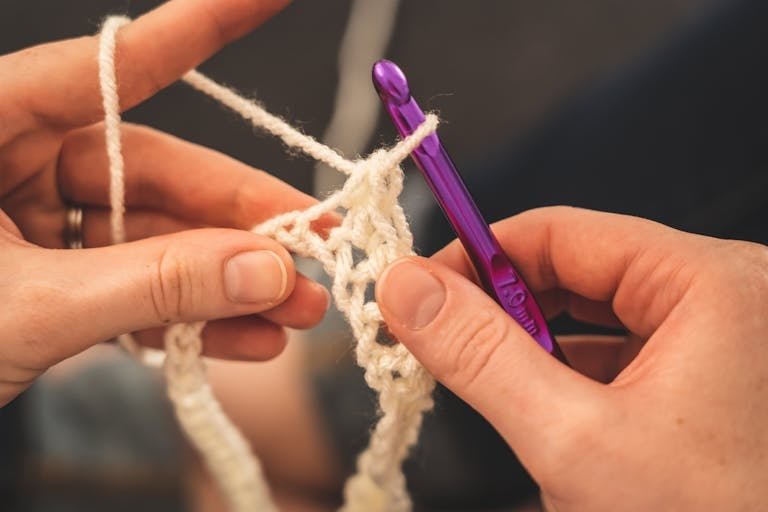
Step-by-Step Guide to Crocheting a Bobble Stitch
- Insert Hook
- Insert your crochet hook into the desired stitch where you want to create the bobble. The bobble will be worked into one stitch.
- Yarn Over (yo)
- Yarn over your hook, and pull up a loop through the stitch. Now, you have two loops on your hook.
- Partial Double Crochets
- Yarn over again, insert the hook into the same stitch, and pull up a loop. Repeat this process until you have 5 or more loops on your hook (usually 5-7 depending on how puffy you want your bobble). For example, for a 5-dc bobble, repeat these steps five times so you end up with six loops on your hook.
- Yarn Over and Pull Through All Loops
- Yarn over and pull through all loops on your hook at once. This brings all the partial double crochets together, forming the bobble.
- Single Crochet to Secure
- Single crochet into the next stitch to secure the bobble in place. This ensures that your bobble keeps its puffy shape.
Tips for Making Perfect Bobble Stitches
Mastering the bobble stitch takes a bit of practice. Here are some tips that will help you create bobbles that are even and beautiful:
1. Consistency is Key
For even-looking bobbles, try to maintain a consistent number of loops and tension in each stitch. Practice counting your loops carefully until it becomes second nature. The more uniform your loops, the more consistent your bobbles will be.
2. Watch Your Tension
The tension of your yarn plays a crucial role in how the bobbles turn out. If your tension is too tight, the bobbles will be smaller and harder. If it is too loose, the bobbles might look sloppy and less defined. Keep your tension consistent but relaxed, so the loops form easily.
3. Yarn Choice Matters
The thickness and material of the yarn affect the size and look of your bobbles. Thicker yarn will create larger, more prominent bobbles, while thinner yarn will produce more subtle texture. Experiment with different yarns to find the effect you prefer.
4. Spacing and Placement
Bobbles can be spaced closely together or more spread out, depending on the desired effect. Placing them in every row will create a dense, highly textured surface, while spacing them every few rows will give a more subtle, decorative look.
Variations of the Bobble Stitch
The basic bobble stitch can be modified to suit different projects. Here are some common variations:
1. Bigger Bobbles
You can make bigger bobbles by working more partial double crochets into the same stitch. Instead of stopping at five or six loops, you could go up to seven or eight for extra-large bobbles.
2. Smaller Bobbles
Conversely, you can make smaller bobbles by reducing the number of loops. Instead of doing five or six, try making just three or four. This is perfect for projects that need a subtler texture.
3. Using Different Stitch Types
Though typically made with partial double crochets, you could also use half-double crochet or even treble crochet for unique bobble effects. Changing the stitch type can affect the size and shape of your bobbles.
Popular Uses for the Bobble Stitch
The bobble stitch is incredibly versatile and can be used in many projects. Here are some popular ways to incorporate bobbles into your crochet work.
1. Blankets and Throws
One of the most popular uses for the bobble stitch is in blankets and throws. The added texture makes a blanket not only visually interesting but also extra cozy. You can use rows of bobbles to create a pattern, or scatter them randomly across the blanket.
2. Hats and Beanies
Bobbles are perfect for adding character to hats and beanies. You could place bobbles all over the hat or use them in rows to create an interesting band around the edge. A single oversized bobble can even work as a substitute for a traditional pom-pom.
3. Amigurumi and Toys
For crocheters who love making amigurumi, bobbles can be a fun way to add detail to stuffed toys. Bobbles can be used to create eyes, noses, paws, or other features that add personality and charm to your plush creations.
4. Scarves and Cowls
Adding bobbles to scarves and cowls gives them an extra touch of style. You can create a row of bobbles at each end, or work them throughout the scarf for a playful, textured accessory. Bobbles also add warmth, which makes them a functional addition to winter wear.
5. Bags and Purses
Bobbles are often used to add a unique touch to bags and purses. They can be arranged in patterns or rows to create eye-catching designs. The texture they provide makes the bag more fun to carry, and they also add a tactile quality that is pleasing to the touch.
How to Incorporate Bobble Stitches into Patterns
When following a pattern, you’ll often see instructions for bobble stitches abbreviated. Here are some common abbreviations and instructions:
- BOBL or Bobble: This abbreviation tells you when to make a bobble stitch.
- Pattern Example: You might see something like: ch 2, bobble in next st, sc in next st. This means you’ll create a bobble in one stitch and then follow it up with a single crochet in the next stitch.
Reading Patterns with Bobble Stitches
When you see a bobble stitch in a written pattern, it’s essential to pay attention to the number of partial stitches indicated. Each pattern may have different preferences. Some patterns might ask for a 3-dc bobble, while others might require a 5-dc bobble. Understanding how the bobble fits into the overall pattern will help ensure the success of your project.
Troubleshooting Common Problems
Bobbles are generally straightforward, but a few issues can crop up. Here are some common problems you might encounter when crocheting bobble stitches and how to fix them:
1. Uneven Bobbles
If your bobbles are uneven, check your tension. Tension should be consistent throughout the entire project, and you should make sure that all the loops are pulled up to a similar height each time.
2. Flattened Bobbles
If your bobbles look flat instead of puffy, you might not have enough loops on your hook before pulling through. Try adding an extra loop or two to make the bobble more defined.
3. Gaps Around Bobbles
Large gaps sometimes form around the bobbles, particularly if your yarn tension is loose. To avoid this, try working tighter stitches or using a slightly smaller hook.
Final Thoughts
By mastering the bobble stitch, you can open up a world of creative possibilities in your crochet projects. Whether you’re adding texture to a baby blanket, crafting a warm hat, or giving a handmade toy some extra personality, the bobble stitch brings a unique flair to every piece. The beauty of crochet lies in its versatility and the endless ways in which you can mix and match techniques, and bobbles are one of the best ways to add personality and character.