DIY Garter: Your Dream, Crafted
Making a garter is quite an interesting experience featuring myriad of options and on top of that you can go beyond the occasions to add a touch of your own style. The step-by-step approach is designed in three different ways that will assist you in achieving a fantastic garter. There are many different How To Make A Garter you can create one by following this or this kind of materials. However, if you want to be very creative and let your individuality shine, try this tutorial to see how you can make your very own garter that fits you just right.
Method 1: Sewing a Garter
Materials You’ll Need
- Satin ribbon or fabric of your choice
- Elastic with appropriate width
- Matching thread
- Scissors
- Sewing needle
- Pins (optional)
- Optional embellishments such as lace, rhinestones, etc.
Steps to Follow
1. Measure and Cut
Start by taking your thigh measurement at the desired placement for the garter. Multiply this measurement by 1.5 and add 1 inch (2.5 cm) for seam allowance. Cut a piece of ribbon to this length.
2. Prepare the Ribbon (Optional)
Allow for an extra length if using lace or other embellishments, the width needed to be exactly the same as the finished garter.
3. Assemble the Garter Body
Lay the ribbon freely face down. Before adding lace, ensure you place it on the ribbon with the edges aligned. Put the ribbon in half lengthwise by pressing the right side to the other side. You can do the pinning of the edges in advance for an easier sewing.
4. Sew the Ribbon
Stitch a straight seam along both long edges of the ribbon, close to the fold. Leave a small gap on one side for turning the garter inside out later.
5. Turn the Garter Right Side Out
Carefully flip the sewn ribbon so the right sides are now facing out. Use a blunt tool like a chopstick to push out the corners.
6. Close the Gap
Fold the raw edges of the gap inwards and pin them closed. Sew a neat seam to close the gap.
7. Attach the Elastic
Mark a strip of elastic slightly longer than the measurement of your thigh. Tightness varies from person to person, so feel free to experiment and find what suits you best. Sew a safety-pin at one end of the elastic.
8. Thread the Elastic
Please carefully thread the end of the safety pin through the sewn gap. The casing is what you have created. Use a safety pin or hemostat at the other end of the elastic thread and it pull it through the casing if it is too rigid.
9. Secure the Elastic
Once the elastic has been entirely fed, get rid of the safety pin and cover the ends of the elastic by about ½ inch (1. 3 cm). Securely sew them together with a strong stitch.
10. Finishing Touches
Sew the lace or ribbons by hand wherever necessary to embellish the garter. Furthermore, you can add exclusive decorations like rhinestones or beads at this stage.
Method 2: No-Sew Garter with Hot Glue
Materials
- Elastic with appropriate width
- Hot glue gun and glue sticks
- Scissors
- Optional embellishments (ribbons, rhinestones, etc.)
Steps
Measure and Cut
Take the first thigh measurement using a flexible tape measure. Add a half-inch (2. 5cm) to guarantee a proper fit. Finally, cut the elastic strip to your measurement adding one inch for the overlap.
Prepare the Embellishments (Optional)
If you’ve chosen to add embellishments to your garter, such as ribbons or lace, then the present moment is when you’re supposed to organize them. Cut the sides of trimmings to the desired length, being sure that they are a bit shorter than the length of the elastic band.
Attach Embellishments (Optional)
Heat your hot glue gun to prepare the hot glue so that it melts well. Using glue, put a continuous line on the back of the ribbon or lace and press it well into the middle of the elastic strap. Keep the clip in that position for several seconds so that the glue can dry out.
Join the Elastic Ends
Once the glue has dried, one will then join the elastic ends making a hoop. Press down the loose end with the back of the hot glue gun; overlap and stick the other side by about 0. 5 inch (1. 3 cm) and press evenly. Hold to it until the glue is set and the ends are securely connected to each other.
Decorate (Optional)
With the basic garter structure complete, you can now get creative with additional decorations. Using your hot glue gun, add rhinestones, sequins or otherwise embellish your garter to create a sparkly look. Let your imagination work to your advantage!

Method 3: Sewing a Gathered Satin and Lace Ribbon Garter
Materials Needed
Before we begin, let’s gather all the necessary materials:
1. Satin Ribbon
- The width of the ribbon is determined by choice and the aim of seeing the garter look desirable.
2. Lace Trim
- Choose lace trim that coordinates well with the width of your satin ribbon.
3. Elastic
- Try on a garter belt that will comfortably protect your skin from the elastic.
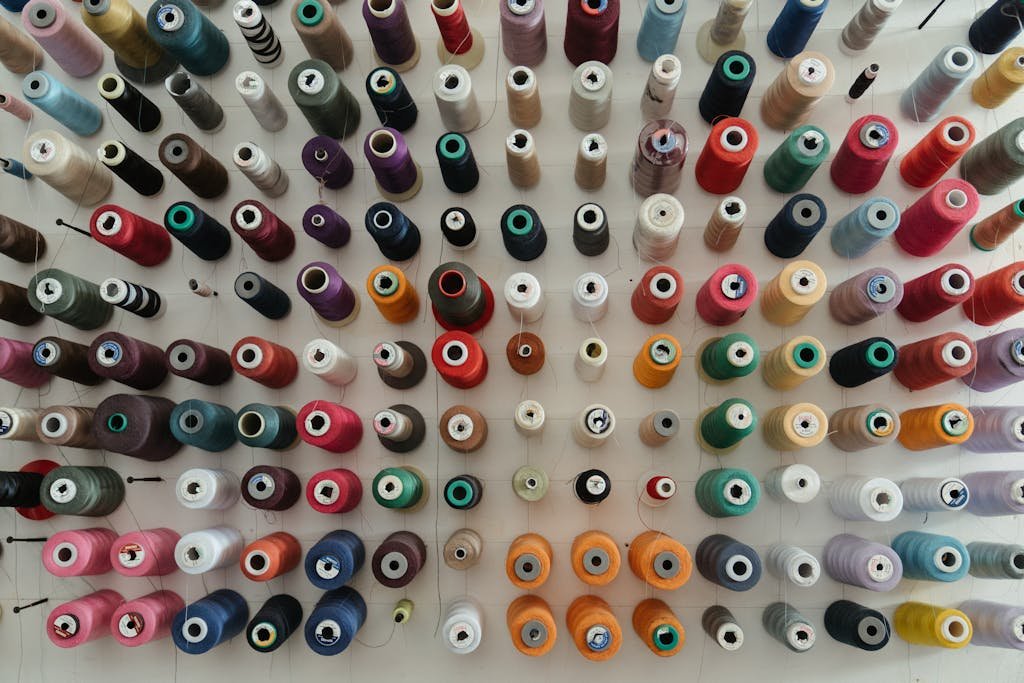
4. Thread
- Be sure to choose a matching thread for your satin ribbon to get a clean seamed finish.
5. Sewing Needle
- A sharp sewing needle will be needed for hand-sewing any intricate details.
6. Scissors
- Sharp scissors that can trim the ribbon, lace and elastic to proper lengths.
Step- By-step Guide
Step 1: Measure and Cut
- First, you would need to measure your thigh in order to determine the appropriate length of the garter. Cut a piece of elastic a little longer than the measurement you had obtained in order to have some adjustability. Furthermore, you need lace trim and satin ribbon that are considerably longer than the elastic.
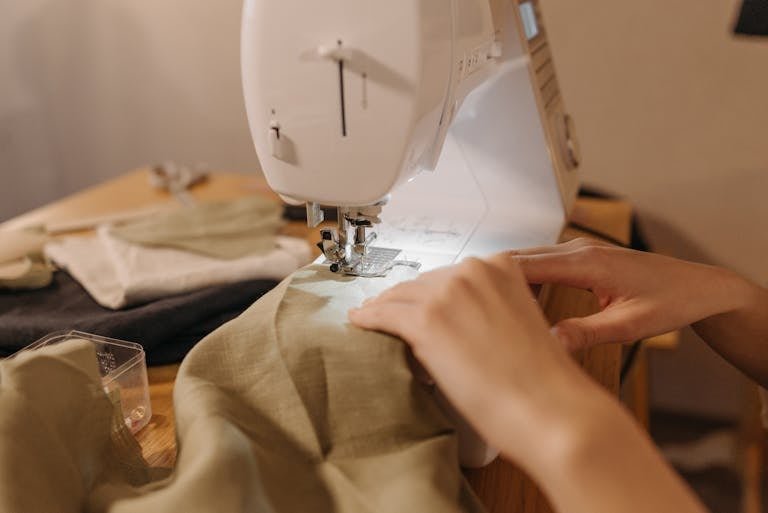
Step 2: Attach Lace to Ribbon (Sewing Machine Method)
- Place the lace trim on top of the satin ribbon, ensure them together with their right sides being together. Sew a straight stitch along the edge of the lace by using a sewing machine and affix it to the ribbon securely. Choose a small back stich for a hand sewing, if you want the attachment to be safe.
Step 3: Gather (Sewing Machine Method)
- Loosen the upper tension on your sewing machine to allow for easy gathering. Sew along the center of the ribbon for the long straight line (almost 1/4 inch from the edge) by using the sewing machine. Do it with your finger. Grab the bobbin thread gently to gather ribbon and meanwhile even out the gathers to your liking. Make sure you secure the gathers by backstitching on both ends.
Step 4: Attach Elastic (Sewing Machine Method)
- With the right sides together, pin the inner border of the ribbon/lace to the inner border of the elastic. Sew them together using straight stitching to make sure that they are fitted tightly. Repeat the process for the second raw edge just as in the first one, and you will get a complete garter assembly.
Tips for Success
- Consider Comfort and Fit: When choosing elastic, it should be large enough for your comfort, however, it should also be narrow enough to hug your leg well. The difference between wide elastic and narrow elastic is in terms of fit, the former will provide a looser fit while the latter offers a more secure fit.
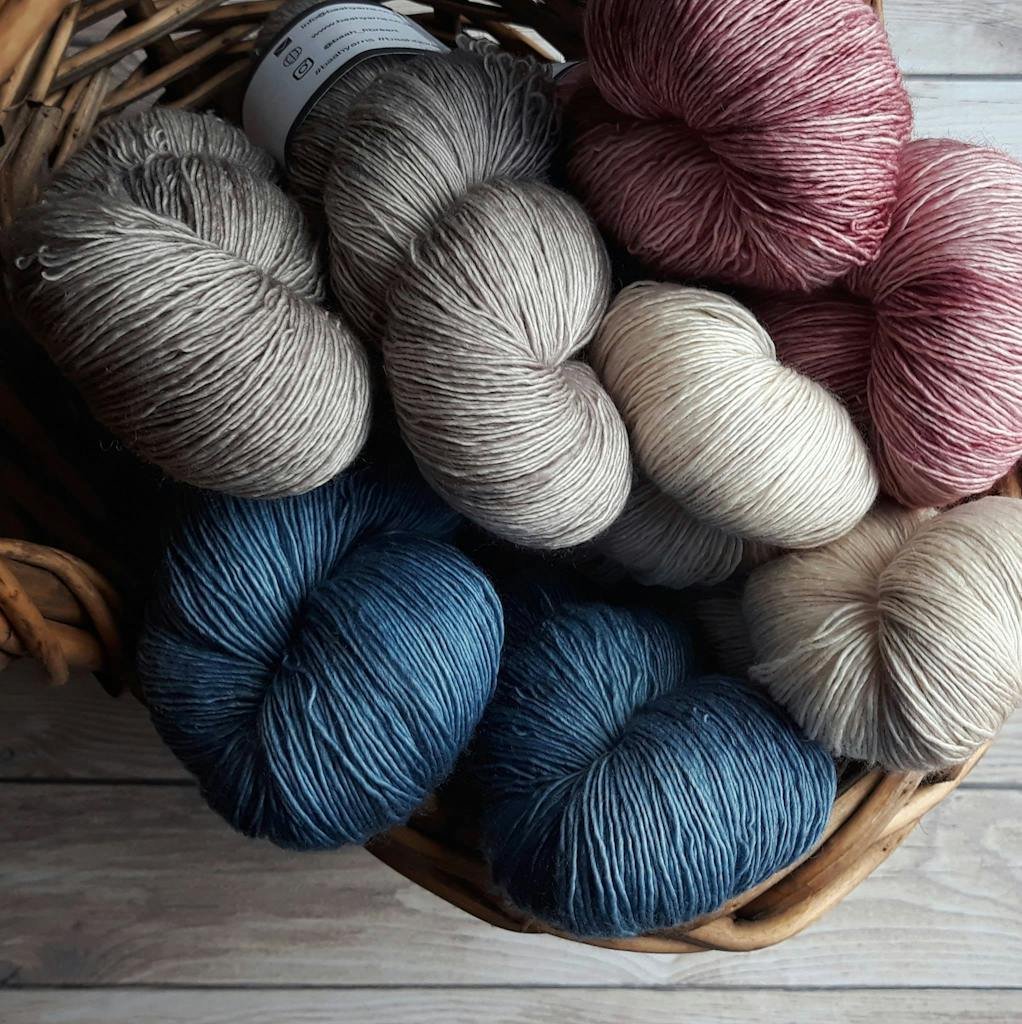
- Experiment with Colors: Do not shy away from creating a unique garter by combining different-colored ribbons or elastics. Go with what you feel suits your style.
- Reinforce with Stitches: Another thing you might want to do for the added durability is to hand sew a few stitches on the ends of the elastic thread after applying the glue. This redundant action will prevent the elastic from stretching further all the time.
- Handle with Care: Be very careful with hot glue as burn may occur. Be careful not to touch the garters until the glue is completely dry and, if you are using a glue gun, make sure to keep the temperature low.
By using these easier steps and tips, you can tailor stitching your garter into a stunning one, which is a perfect match of your uniqueness and beauty. Whether you’re going for that self-made garter or looking to gift it to your beloved, the creative process is what counts. So, be proud of the handmade piece awarded to you!
Read Also: How To Make A Shawl?
Final Words
Creating your own garter is a nice job and you can have great fun because, it is also a once in a lifetime experience to express your creativity and personalize your wardrobe. There are just a couple of simple things that you need plus you can simply craft using your skills and create a wow garter that fits perfectly as it also matches your distinct style. So why wait?Begin for today your DIY garter project and invent yourself a designer.