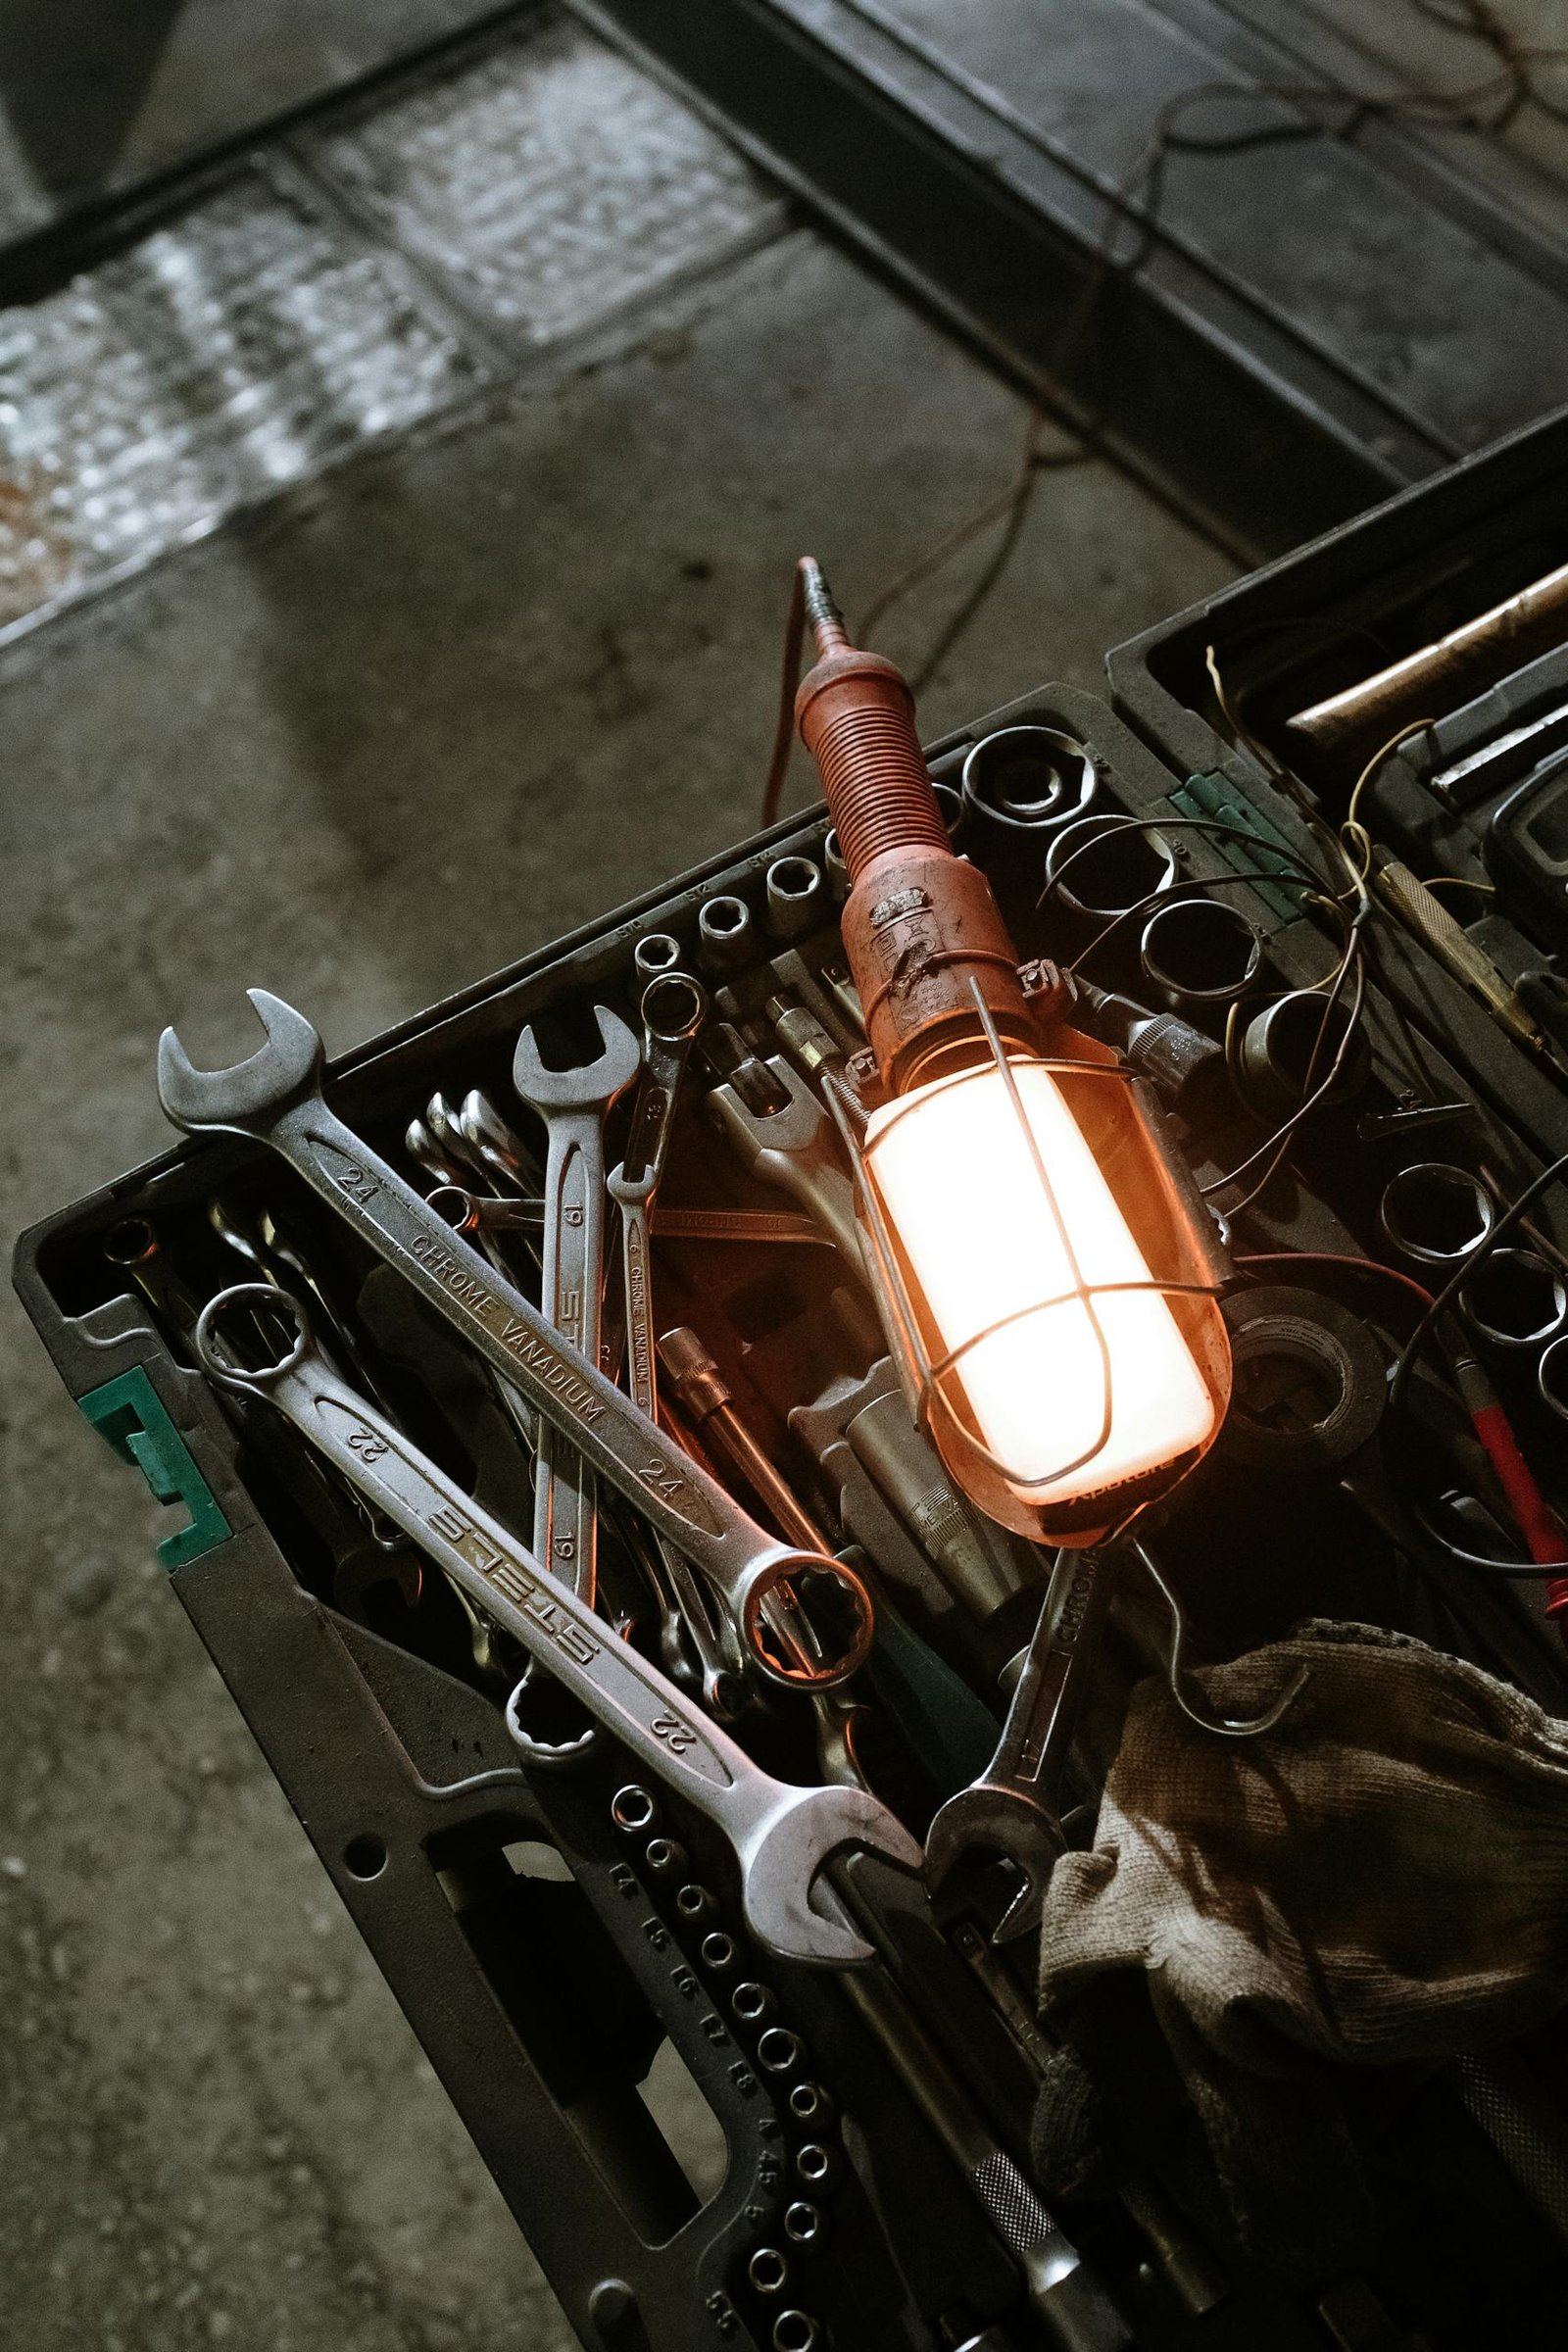
Rescue Your Stripped Screw Now!
A stripped screw can be a frustrating obstacle in any DIY project. Whether you’re assembling furniture, working on a home improvement task, or tinkering with electronics, a stripped screw can bring your work to a grinding halt. Fortunately, there are several methods you can use to tighten a stripped screw, saving you time and preventing further damage. In this guide, we will explore various techniques how to tighten a stripped screw effectively.
What is a Stripped Screw?
A stripped screw occurs when the grooves or threads in the screw head have become worn down, making it difficult or impossible for a screwdriver to grip and turn the screw. This usually happens when too much force is applied, or when the wrong size screwdriver is used, causing the metal to wear away. The result is a screw head that is smooth and rounded, rather than sharp and defined.
Common Causes of Stripped Screws
Stripped screws can be caused by several factors, including:
- Using the Wrong Tool: Using a screwdriver that doesn’t fit the screw head properly can easily strip the grooves.
- Over-Tightening: Applying excessive force when tightening a screw can strip the threads, especially in softer materials like wood or plastic.
- Old or Rusty Screws: Screws that are old or rusted are more likely to strip because the material has weakened over time.
- Cheap or Low-Quality Screws: Lower-quality screws are made from softer metals that can strip more easily.
Why It’s Important to Fix a Stripped Screw
Ignoring a stripped screw can lead to a host of problems. Not only can it halt your project, but it can also cause damage to the materials you’re working with. Additionally, attempting to force a stripped screw can result in injury, as tools can slip and cause harm. Therefore, it’s crucial to address a stripped screw as soon as you encounter one.
Methods to Tighten a Stripped Screw
Now that we understand what causes a stripped screw and why it’s important to fix it, let’s dive into the various methods you can use to tighten or remove a stripped screw.
Method 1: Rubber Band or Duct Tape
One of the simplest and most effective ways to tighten a stripped screw is by using a rubber band or duct tape. This method works well for screws that are not too severely stripped.
Step 1: Gather Materials
You’ll need the following items:
- A rubber band or a small piece of duct tape
- A screwdriver that fits the screw head as closely as possible
Step 2: Prepare the Surface
Before you begin, make sure the screw head is clean and free of dirt, dust, or debris. This will ensure that the rubber band or duct tape can grip the screw head properly.
Step 3: Apply the Grip Enhancer
Place a rubber band over the screw head, ensuring it covers the entire head. The rubber band should provide enough friction to allow the screwdriver to grip the screw and turn it. If you’re using duct tape, cut a small piece and wrap it around the screw head, pressing it firmly into place.
Step 4: Tighten the Screw
With the rubber band or duct tape in place, position your screwdriver over the screw head. Apply steady, even pressure while turning the screwdriver. The added grip from the rubber band or duct tape should help the screwdriver catch and turn the screw.
Read Also: How to Make an Ouija Board at Home: 3 Detailed Methods
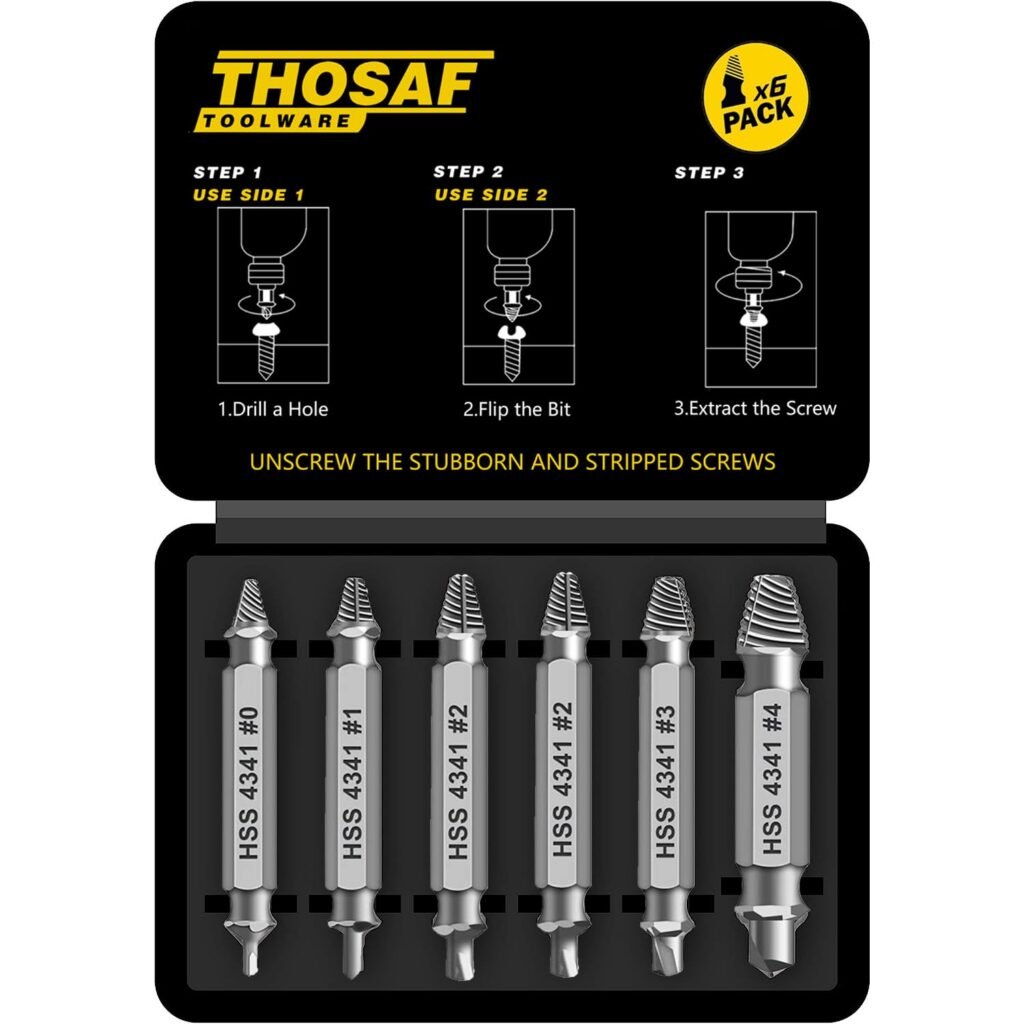
Method 2: Screw Extractor Kit
If the rubber band or duct tape method doesn’t work, you may need to use a more specialized tool, such as a screw extractor kit. This method is particularly useful for screws that are severely stripped or stuck in place.
Step 1: Purchase a Screw Extractor Kit
Screw extractor kits are available at most hardware stores and come with various drill bits and extractor bits designed for different screw sizes. Choose a kit that is appropriate for the type of screw you’re dealing with.
Step 2: Drill a Hole
Using a drill bit that is slightly smaller than the extractor bit, carefully drill a small hole in the center of the stripped screw. The hole should be deep enough to allow the extractor bit to grip the screw but not so deep that it damages the surrounding material.
Step 3: Insert the Extractor
Select an extractor bit from your kit that matches the size of the hole you drilled. Insert the extractor into the hole and begin turning it counterclockwise. The reverse threading on the extractor should grip the inside of the screw, allowing you to remove it.
Step 4: Remove the Screw
Continue turning the extractor until the stripped screw begins to turn. Once it loosens, you should be able to remove the screw completely.
Method 3: Toothpick and Glue (For Wooden Surfaces)
When dealing with a stripped screw on a wooden surface, one of the most effective solutions involves using a toothpick and glue. This method works by filling in the stripped hole, allowing you to reinsert the screw securely.
Step 1: Gather Materials
You’ll need the following items:
- A toothpick or wooden matchstick
- Wood glue
- A screwdriver
- A new screw of the same size (if necessary)
Step 2: Prepare the Hole
First, remove the stripped screw from the hole. Apply a small amount of wood glue to the end of a toothpick or wooden matchstick and insert it into the stripped hole. Break off the excess toothpick so that it is flush with the surface.
Step 3: Let the Glue Dry
Allow the glue to dry completely. This may take several hours, depending on the type of glue used. Once the glue is dry, the toothpick should be firmly set in place, effectively filling the stripped hole.
Step 4: Redrill the Hole
Using a small drill bit, carefully drill a new pilot hole into the toothpick. Be sure not to apply too much pressure, as this could cause the toothpick to break or split.
Step 5: Insert the Screw
With the new pilot hole in place, insert the original screw or a new screw of the same size. The screw should now grip the wood securely, allowing you to tighten it without any issues.
Read Also: How to Stop Knitting from Curling: 3 Effective Methods
Conclusion
Tightening a stripped screw doesn’t have to be a daunting task. With the right techniques and tools, you can easily fix a stripped screw and get back to your project. Whether you choose to use a rubber band, a screw extractor kit, or even a toothpick and glue, there’s a method that will work for your specific situation.
Remember, the key to preventing stripped screws is to use the right tools, apply moderate force, and invest in high-quality materials. By following these tips, you can avoid the hassle of dealing with stripped screws in the future.