How to Tie a Slip Knot in Crochet
Crocheting is an art perspective that opens doors to ideas, and it all starts with methods. The slip knot is one of the basic steps in crochet and a good foundation to start with. This is an important basic step that forms the entrance to achieving stunning patterns and projects. In this guide, you’ll explore How to Tie a Slip Knot in Crochet, ensuring you have a solid start on your creative journey.
What is a Slip Knot?
A slip knot is a loop that can be easily adjusted or undone by pulling on one end of the yarn. It’s the starting point for most crochet projects because it securely attaches the yarn to the crochet hook, allowing you to begin creating your stitches with confidence.
Importance of the Slip Knot in Crochet
The slip knot is essential for several reasons:
- Foundation: The slip stitch is used to create the beginning of your first chain stitch, which is the start of all crochet patterns.
- Adjustability: It can also be fixed more tightly or made less tight and this way, the right level of tension is set from the start.
- Security: It aids in holding down the yarn to ensure it does not slide off the hook.
Materials Needed
Before you start, gather the following materials:
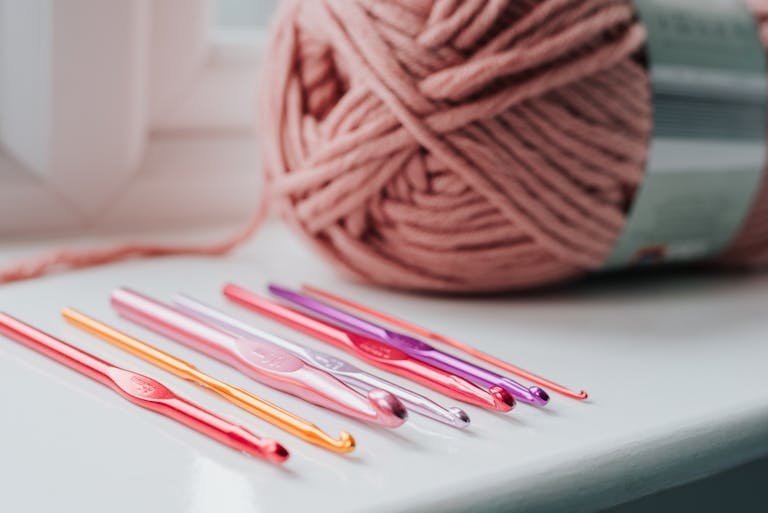
- Yarn: For practice, you can use any type of yarn, but for the first time, you might prefer using medium-weight yarn.
- Crochet Hook: You should select the appropriate hook size for your yarn. Of course, it is better to choose a size H/8 (5mm) crochet hook for beginners.
Step-by-Step Guide to Tying a Slip Knot
Now, let us discuss the process of how to make a slip knot for crochet in much detail.
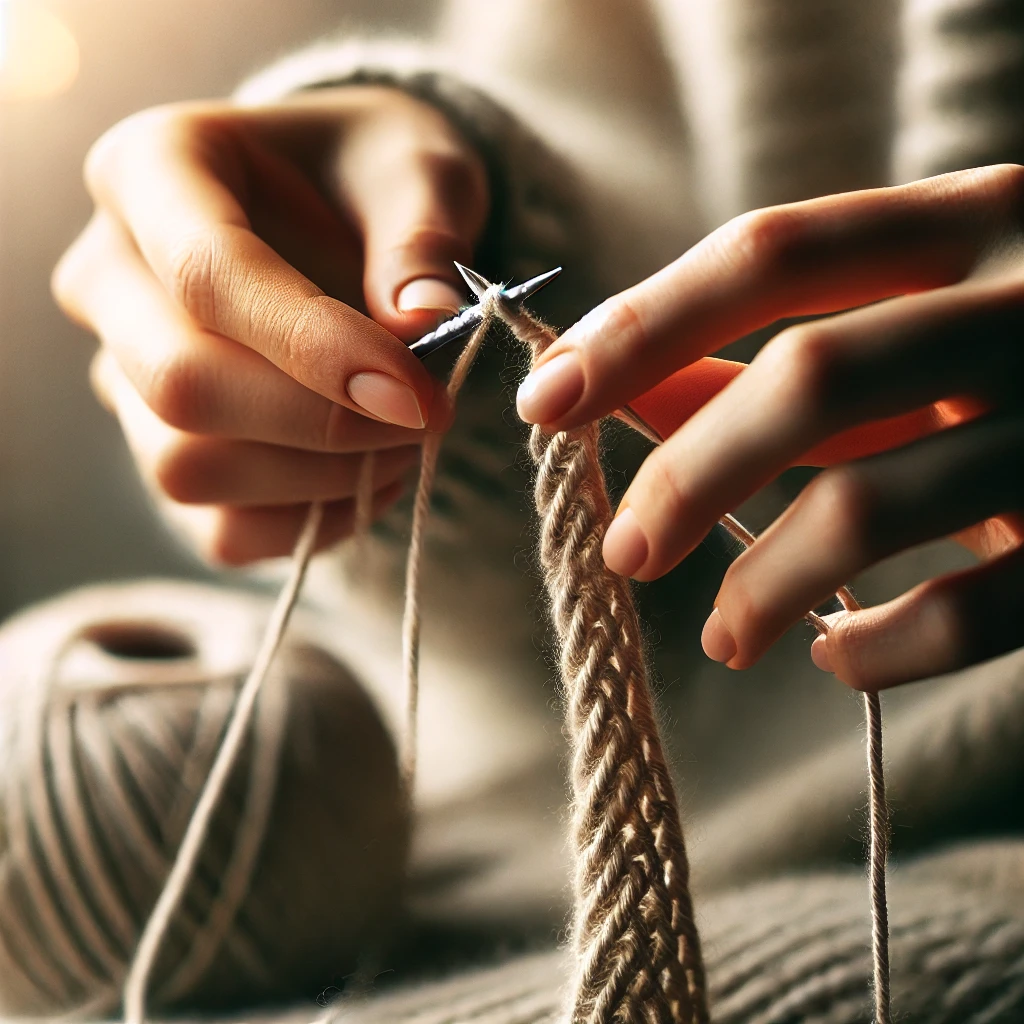
Step 1: Positioning the Yarn
- Hold the Yarn: Hold the yarn in your left hand (if you are right-handed) with the tail end (short end) hanging down.
- Form a Loop: Create a loop by passing the end of the yarn through the working yarn (the yarn pulled from the ball or skein).
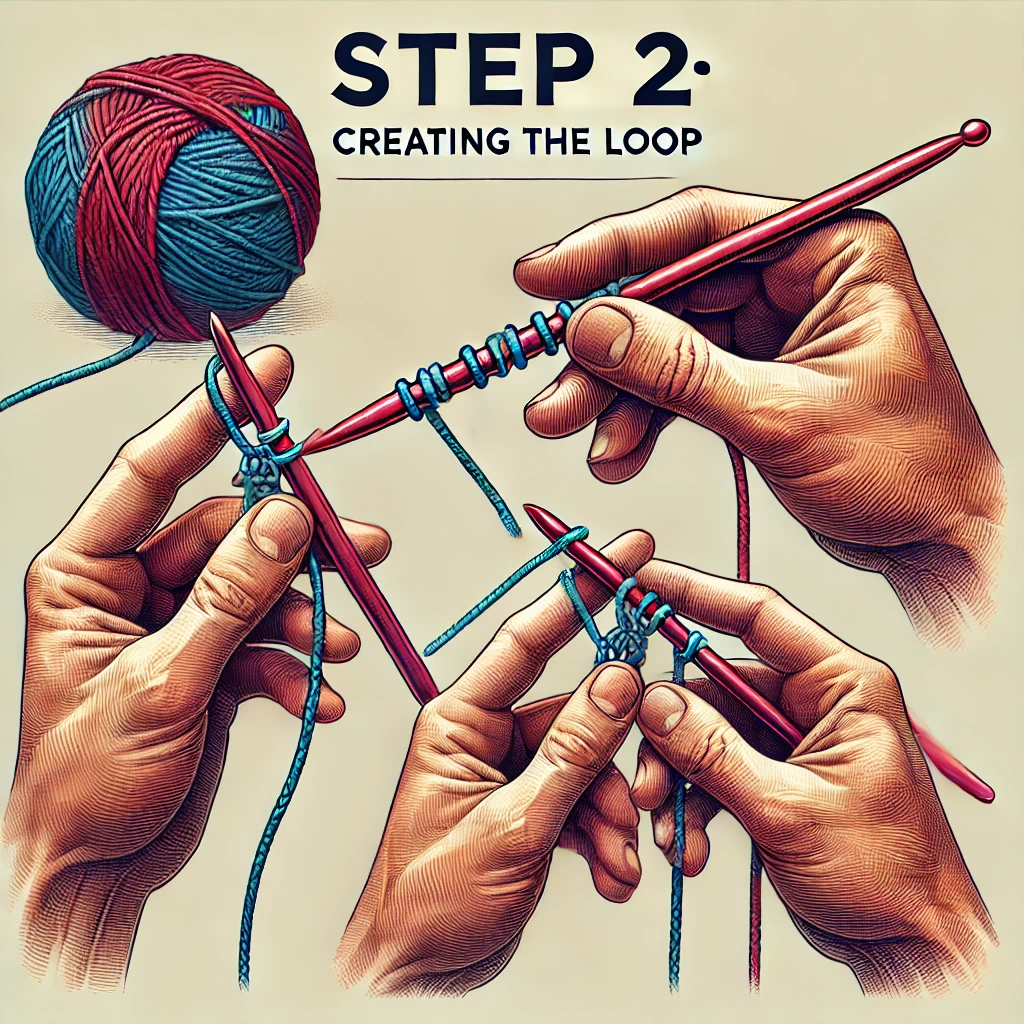
Step 2: Creating the Loop
- Pinch the Cross: Grab the cross point by using your thumb and index finger.
- Pull the Yarn Through: Take the working yarn with your right hand and bring it through the loop you made earlier. This gives a new loop.
Step 3: Securing the Slip Knot
- Insert the Hook: Place your crochet hook through the new loop.
- Tighten the Knot: Pull the two ends of the yarn towards each other repeatedly to enhance the tightness of the knot on the hook. Check that the loop on the hook is tight but not overly so; the hook must be free to rotate slightly.
Tips for Perfecting Your Slip Knot
Practice Makes Perfect
Like most things, practice makes perfect when it comes to mastering the simple act of tying a slip knot. Remember, it might be a little strange to communicate in this way in the beginning. This task needs repetitive practice until the motion flows naturally.
Check Your Tension
The degree of tightness of your slip knot should be moderate – do not make it too tight or loose. This makes sure that your first chain stitches are even and that the knot stays securely tied.
Use a Yarn with Good Visibility
If you are using yarn while learning, use a light-colored yarn that contrasts with the color of the hook. This aids in seeing the stitches and loops easier.
Common Mistakes and How to Avoid Them
Knot Too Tight
If your slip knot is too tight, you will find it very hard to place the hook and create the very first chain stitches. To prevent this, make sure that the loop on the hook part is flexible to move around.
Knot Too Loose
If you tie the slip knot loosely it may come loose and your stitches will be undone. Always ensure that you pull the ends of the yarn tight enough to create a proper knot.
Incorrect Loop Formation
If the loop does not tighten neatly, ensure you cross the yarn incorrectly. Make sure that you align the yarn correctly before pulling it through the loop.
Variations of the Slip Knot
While the basic slip knot is the most commonly used in crochet, there are variations that you might encounter:
Adjustable Slip Knot
An adjustable slip knot is preferred because it is easier to fine-tune when the loop needs to be made larger or smaller. It can be especially helpful when beginning projects that necessitate the use of an adjustable ring, such as a magic circle for amigurumi.
Double Slip Knot
A double slip knot adds extra security and is helpful where a perfect beginning position is required occasionally. It entails making another loop and running it through the first loop before finally drawing it tight.
Practical Applications of the Slip Knot
Understanding how to tie a slip knot opens the door to a world of crochet possibilities. Here are a few practical applications:
Starting a Chain Stitch
A slip knot is the first thing needed to make a chain stitch, which forms the basis for most of the crochet work. Whether your project is as uncomplicated as a scarf or as complex as an afghan, it is initiated with a slip knot and a chain stitch.
Creating a Foundation Ring
As for items like granny squares or circular motifs, the slip knot is employed to create an initial ring. It is then rolled and hammered to the required shape of the ring to be made This ring is then worked into to create the desired shape.
Joining New Yarn
When you need to join a new ball of yarn or change colors, a slip knot can be used to securely attach the new yarn to your project.
Troubleshooting Slip Knot Issues
Knot Keeps Slipping
If you notice that your slip knot becomes loose or opens, make sure to get the right approach of pulling the working yarn through the loop. It should become a loop when you pull on the working yarn.
Loop Won’t Tighten
If the loop does not become tighter, ensure that you are holding the right part of the yarn. Cringing will not make the loop any smaller; it is the working yarn that should be tugged.
Read Also: How to Make Fake Blood at Home
Final Thoughts
The slip knot is the first important lesson a crocheter needs to learn in order to be able to start. Though it is quite easily said, this first step acts as the blueprint for your subsequent projects. When you achieve good mastery of the slip knot, then it will be easier for you to achieve stunning crochet projects.
So always remember, each and every crocheter out there commenced with this initial slip knot. It may seem hard at first, but with time you will master the slip knots and proceed to other complicated stitches and designs.