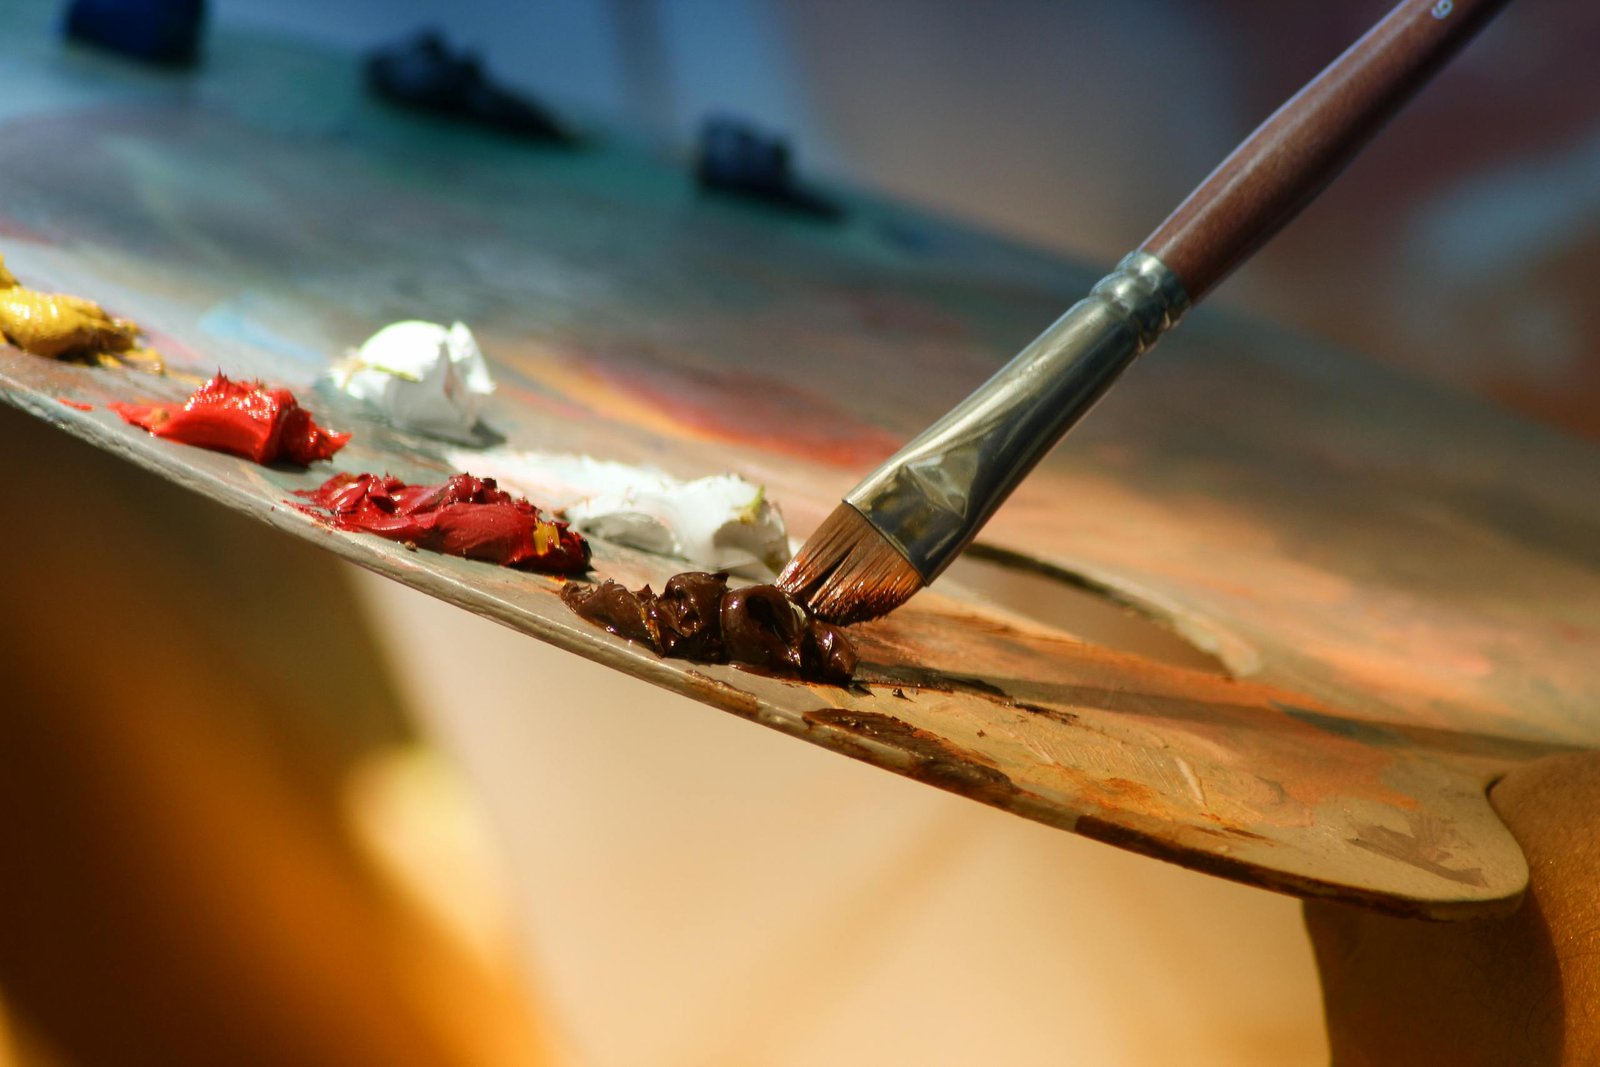
Rescue Runny Paint: Thickening Tips
As a painter, I know getting the right amount of paint consistency is a must for the painter if he or she wants to convey his or her artistic vision. The thickness of the paint can change the result of your artwork. The ability to thicken the paint is a good thing. In this guide, we’ll explore various methods of thickening paint and materials to achieve the desired thickness in your paint, ensuring your artistic vision comes to life on canvas.
Method 1: Using Acrylic Mediums (For Acrylic Paints)
1. Gather Your Materials
- Acrylic paint
- Acrylic medium (e.g., Liquitex or Golden)
- Mixing palette
- Palette knife
2. Choose Your Medium
Acrylic mediums have various types and each of them has its own properties. Consider your desired outcome:
- Gloss medium: Adds thickness and shine
- Matte medium: Thickens paint without altering the finish
- Heavy gel medium: Provides maximum body and texture
3. Start Small
Start with mixing a tiny amount of medium with your paint on the palette. Aim for a 1:1 ratio of paint to medium at first.
4. Mix Thoroughly
With the palette knife, mix the medium into the paint until the mixture is smooth and uniform. Check that there are no streaks or clumps.
5. Test and Adjust
Apply a small portion of the thickened paint to your canvas or a test surface. If the consistency is not up to the mark, incrementally add more medium in small quantities and mix thoroughly after each addition.
Method 2: Adding Modeling Paste (For Acrylic Paints)
1. Gather Your Materials
- Acrylic paint
- Modeling paste
- Mixing palette
- Palette knife
2. Consider the Impact
The modeling paste dries white, which in turn lightens the color of the paint. Apply it purposefully for the textured effects or the artistic goals.
3. Start Small
Similar to using mediums, begin with a 1:1 ratio of paint to modeling paste on your mixing palette.
4. Mix Thoroughly
The palette knife is utilized to carefully fold and blend the modeling paste with the paint until the mixture is uniform and has no streaks.
5. Test and Adjust
Apply a little bit of the mixture to your canvas and see how the texture is. Increase the modeling paste one by one for greater thickness, and make sure to mix well after each addition.
Method 3: Introducing Texturizing Agents (For Acrylics)
Materials Needed
- Acrylic paint
- Texturizing agent (such as sand or sawdust)
- Mixing palette
- Palette knife
Choose Your Agent Wisely
In the process of choosing a texturizing agent, take into account the effect that you want to get. Sand is the rough texture of the surfaces, and sawdust is the wood-like texture. Besides, the fact that different agents can affect the drying time of the paint should be taken into account.
Start Small
To avoid over-thickening your paint, start by adding a little of the texturizing agent to the paint on your mixing palette. A small amount does a lot, so use it with caution.
Mix with Caution
Using a palette knife, gently fold the texturizing agent into the paint, making sure that it is evenly mixed and that the mixture is not overworked. It is necessary to preserve the paint’s sticking properties while at the same time, improving its texture.
Test and Adjust
Try out a small amount of the textured paint on your canvas to see the effect. Recall, that the texture will be more emphasized than thickness. If you want to, start by adding a little bit of the texturizing agent in small amounts until you get the texture that you want.
Important NoteThese methods are mainly designed for acrylic paints. At all times, make sure you are looking for the media or thickening agents that are compatible with the type of paint you are using such as latex or oil paint.
Additional Methods
Method 4: Using Cornstarch (For Tempera Paint)
Cornstarch can be used to thicken tempera paint, making it suitable for children’s crafts. Nevertheless, it may not be the best option for professional art applications since it has limited durability and the possible modification of paint properties.
Method 5: Employing Paint Thickeners (For Various Paints)
A lot of art supply stores provide pre-fab paint thickeners which are made for different kinds of paints. These products are the best inventions for the artists who want to change the consistency of their paints. Nevertheless, it is mandatory to adhere to the manufacturer’s directions thoroughly to get the best outcomes.

Benefits of Using Thickened Paint
More Control
On the other hand, when the paint is thick, it is less likely to drip, thus, you have more control over your brushwork. This is especially helpful when you are working on vertical surfaces or intricate details where accurate application is needed.
Impasto Effects
Thick paint helps you to get the impasto effect, which in turn gives your artwork a three-dimensional texture and depth. Through the application of thick layers of paint, you can create raised areas that reflect the light and produce much more impressive visual effects.
Textured Finishes
Including thickening agents in your paint can be the means to achieve textured finishes, hence giving the appearance of stone, wood, or fabric that is realistic. This method is mainly used by the artists who are working on abstract or mixed-media styles.
Dimensional Elements
Raised platforms are created by the thickened paint which in turn increases the dimension and the visual interest of your artwork. Whether it is the creation of flowers, waves, or architectural details, thickened paint has infinite potential for creative expression.
Less Waste
Thickened paint offers more coverage, thus it is possible to use less paint to achieve the desired opacity. Thus, this not only saves you on materials but also, thus, the waste is minimized, making it a more eco-friendly option for green artists.
Slower Drying
Thickened paint tends to dry more slowly than regular paint, allowing for extended working time and enabling techniques such as blending and wet-on-wet painting. This is particularly advantageous when working on large-scale projects or in hot, dry climates where paint tends to dry quickly.
Additional Tips
1. Maintain Paint Integrity: Quality Matters
Although the homemade thickening methods might prove to be temporary solutions, make sure to focus on the long-term and the quality of your work by choosing professional-grade mediums or thickeners. Some homemade substances, such as cornstarch in tempera paint, may ruin the paint’s quality in the long run, especially on valuable pieces.
2. Experiment and Explore: Artistic Exploration
You should take experimentation as a key to artistic progress. Besides the usual thickening techniques, there are still a lot of other methods that have not been explored yet. Try different thickening agents and techniques, and do not be afraid to experiment to find new ways of expressing yourself artistically that are suitable for your paint type and style.
3. Thinning Option: Rectifying Mistakes
The journey of the perfection of the paint consistency is filled with some failures. If you somehow thicken your paint more than you should, do not be afraid because it can be reversed. For water-based paints such as acrylics, a small spoon of water can be used to thin the mixture back to the desired viscosity. On the contrary, oil-based paints are suitable for thinning with paint thinner for corrective thinning.
Read Also: How To Decrease In Crochet.
Final Words
The skill of thickening paint is the one that will allow artists to create a whole new world of their imagination. The choice of texture or consistency of tempera paints for a child’s art project or the enhancement of acrylic masterpieces can be made by knowing the different methods available.