How to Stop Knitting from Curling: 3 Effective Methods
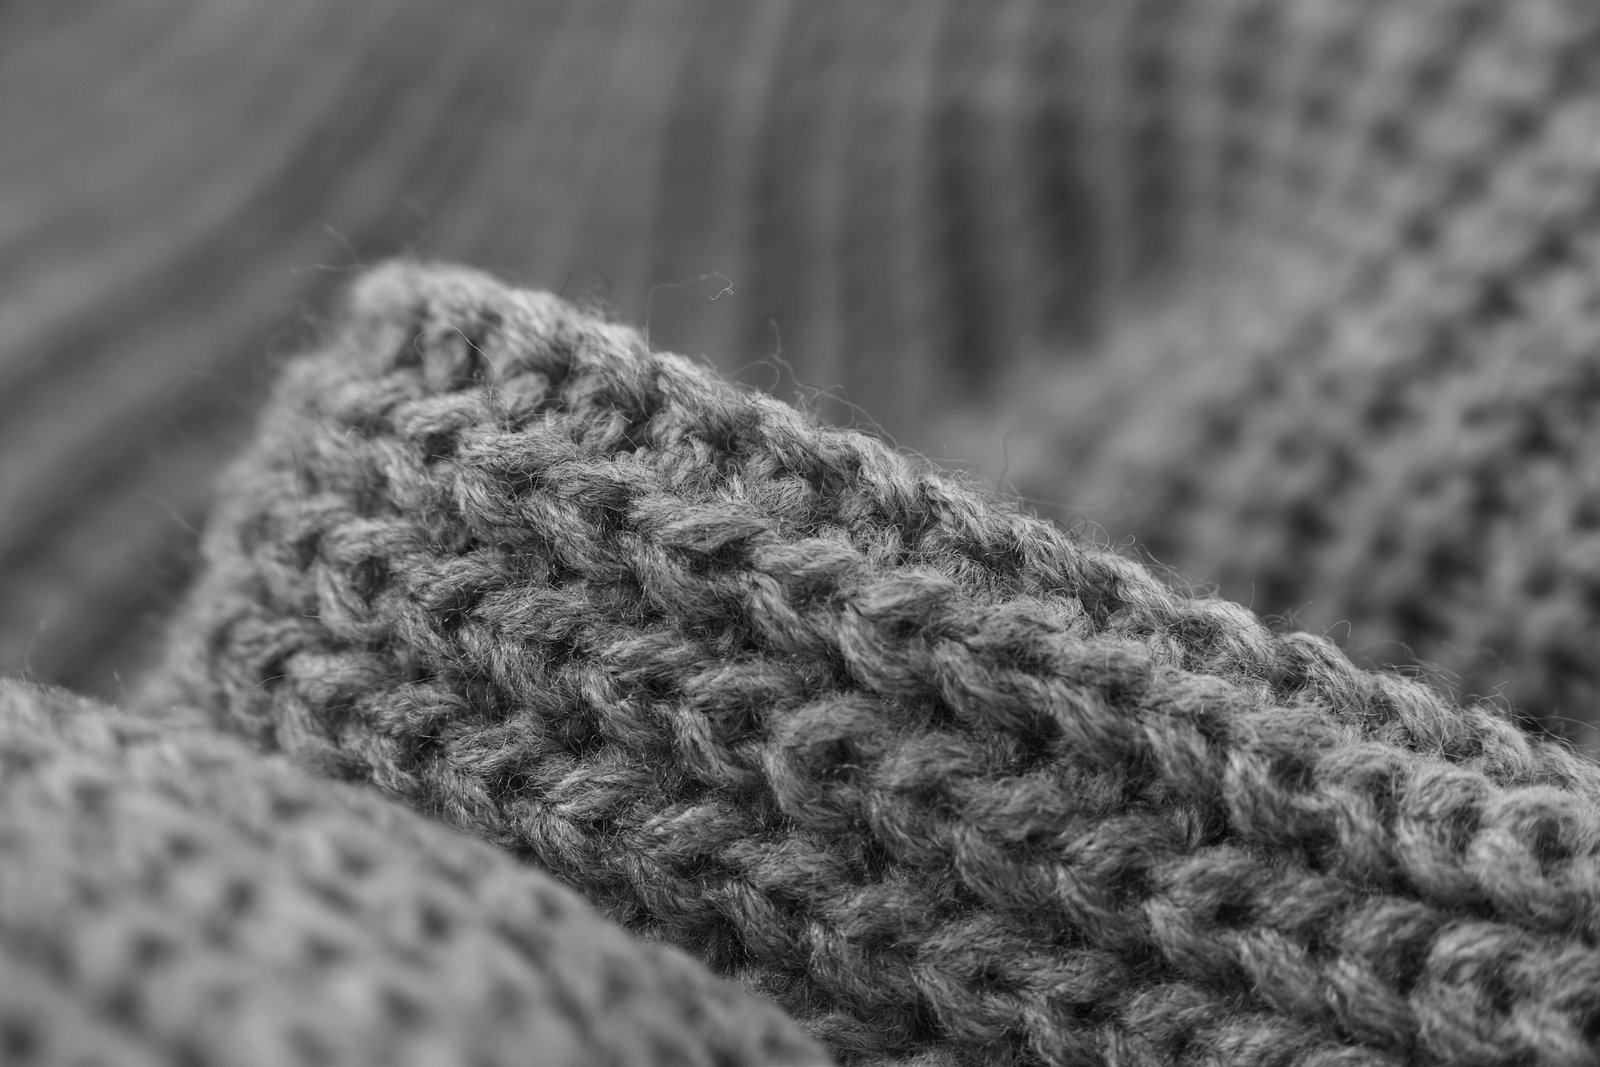
Knitting is a beloved hobby for many, offering a creative outlet and a relaxing way to spend time. However, one common frustration knitters face is the tendency of their projects to curl at the edges. This curling can be especially noticeable in stockinette stitches, where the fabric naturally rolls due to the differences in tension between knit and purl stitches. Fortunately, there are several effective methods to combat this issue. In this guide, you’ll explore three comprehensive techniques How to Stop Knitting from Curling.
Method 1: Blocking
What is Blocking?
Blocking is a finishing technique used to shape and set the stitches of your knitting project. It involves wetting or steaming the fabric and then pinning it to the desired dimensions. Blocking not only helps to flatten the fabric but also improves the overall appearance of your knitting.
Types of Blocking
Wet Blocking
- Soak the Knitting: Fill a basin with lukewarm water and a few drops of gentle soap or wool wash. Submerge your knitting and let it soak for about 20 minutes.
- Gently Remove Excess Water: Carefully lift the knitting out of the water and press it between towels to remove excess moisture. Do not wring or twist the fabric.
- Shape and Pin: Lay the damp knitting on a blocking mat or a clean towel. Use rust-proof pins or blocking wires to pin it to the desired shape and size. Ensure the edges are straight and even.
- Let it Dry: Allow the knitting to dry completely before unpinning. This can take anywhere from a few hours to a day, depending on the thickness of the yarn and the ambient humidity.
Steam Blocking
- Prepare the Iron: Fill a steam iron with water and set it to the appropriate temperature for your yarn type.
- Steam the Knitting: Hold the iron a few inches above the fabric and let the steam penetrate the knitting. Avoid pressing the iron directly onto the knitting to prevent flattening the stitches.
- Shape and Pin: As with wet blocking, shape the knitting on a blocking mat and pin it in place.
- Let it Set: Allow the knitting to cool and dry completely before unpinning.
Spray Blocking
- Dampen the Fabric: Lay the knitting flat on a blocking mat and lightly spray it with water until it’s damp but not soaked.
- Shape and Pin: Pin the knitting to the desired dimensions.
- Let it Dry: Allow the fabric to dry completely before removing the pins.
Benefits of Blocking
- Smoothens Fabric: Blocking evens out stitches and smooths the fabric, reducing curling.
- Enhances Stitch Definition: It brings out the beauty of intricate stitch patterns.
- Improves Fit: Helps the finished project maintain its shape and fit as intended.
Method 2: Adding Edgings
Why Edgings Help
Edgings add weight and structure to the edges of your knitting, counteracting the natural curl. They also provide a decorative finish to your projects.
Types of Edgings
Ribbing
Ribbing is a versatile edging that is often used for hems, cuffs, and collars. The alternating knit and purl stitches in ribbing create a stretchy, flat fabric that resists curling.
How to Add Ribbing:
- Pick Up Stitches: With a smaller needle, pick up stitches along the edge of your project.
- Knit Ribbing: Work in a ribbing pattern, such as K1, P1, or K2, P2, for the desired length.
- Bind Off: Bind off loosely to maintain the elasticity of the ribbing.
Garter Stitch Borders
The garter stitch, made by knitting every row, lies flat naturally and can be an effective border for stockinette stitch projects.
How to Add Garter Stitch Borders:
- Pick-Up Stitches: Using the same yarn, pick up stitches along the edge.
- Knit Garter Stitch: Knit every row until the border reaches the desired width.
- Bind Off: Bind off loosely.
Seed Stitch Edging
Seed stitch, created by alternating knit and purl stitches, is another option that lies flat and adds texture.
How to Add Seed Stitch Edging:
- Pick-Up Stitches: With the same yarn, pick up stitches along the edge.
- Knit Seed Stitch: Alternate K1, and P1 across the row. On the next row, alternate P1, K1.
- Bind Off: Bind off loosely.
Benefits of Edgings
- Prevents Curling: The added weight and structure help keep the fabric flat.
- Adds Decorative Touch: Enhances the aesthetic appeal of your project.
- Provides Stability: Helps maintain the shape and form of the finished item.
Method 3: Adjusting the Stitch Pattern
Certain stitch patterns naturally resist curling due to their balanced structure. Incorporating these patterns into your project can help prevent curling without the need for additional finishing techniques.
Loosen Your Tension
Tight tension can exacerbate curling. Loosening your tension can help the fabric relax and lie flat.
Tips for Loosening Tension
- Use Larger Needles: Try using needles one or two sizes larger than recommended for your yarn. This will create a looser fabric.
- Practice Relaxation: Be mindful of your knitting posture and grip. Relax your hands and shoulders to avoid pulling the yarn too tightly.
Combine Stitch Patterns
Combining different stitch patterns within your project can balance out the tension and prevent curling.
Tips for Combining Stitch Patterns
- Alternate Stitches: Mix stockinette stitch with garter stitch, ribbing, or seed stitch within your project. This can create a visually interesting and balanced fabric.
- Create Panels: Incorporate panels of different stitch patterns. For example, knit the body of a scarf in stockinette stitch with garter stitch or ribbed borders.
Use Heavier Yarn
Heavier yarns tend to curl less than lighter ones. If you find that your projects consistently curl, consider using a heavier yarn.
Tips for Using Heavier Yarn
- Choose the Right Yarn: Opt for worsted weight or bulky yarns, which have more weight and structure.
- Adjust Your Pattern: If substituting a heavier yarn in a pattern written for a lighter yarn, adjust your needle size and gauge accordingly.
Also worth reading: BU Coins: Unveiling the Magic of Minting
In summary,
Knitting projects can be immensely satisfying, but the issue of curling can be a persistent challenge. By understanding the causes of curling and implementing effective solutions, you can achieve beautifully flat and professional-looking results. Blocking, adding edgings, and adjusting stitch patterns are three proven methods to keep your knitting projects from curling. Whether you are a beginner or an experienced knitter, these techniques will enhance your skills and improve the quality of your finished items. Happy knitting!
