Quick & Easy Quilt Binding: A Step-by-Step Guide
Binding is the finishing touch that gives your quilt a polished, professional appearance. It’s functional—protecting the edges of your quilt from fraying—and adds an aesthetic charm. In this step-by-step guide, I’ll show you how to sew binding onto your quilt, providing detailed instructions to make this process seamless and enjoyable.
Whether you’re a beginner or an experienced quilter looking for a refresher, this guide covers everything you need to know about quilt binding.
Materials Needed
Before starting, gather all the necessary materials:
- Quilt top, backing, and batting: Your quilt should be pieced together, layered, and complete with all your quilting.
- Binding fabric: Either pre-cut bias binding or fabric strips.
- Thread: Matching or coordinating with your binding fabric.
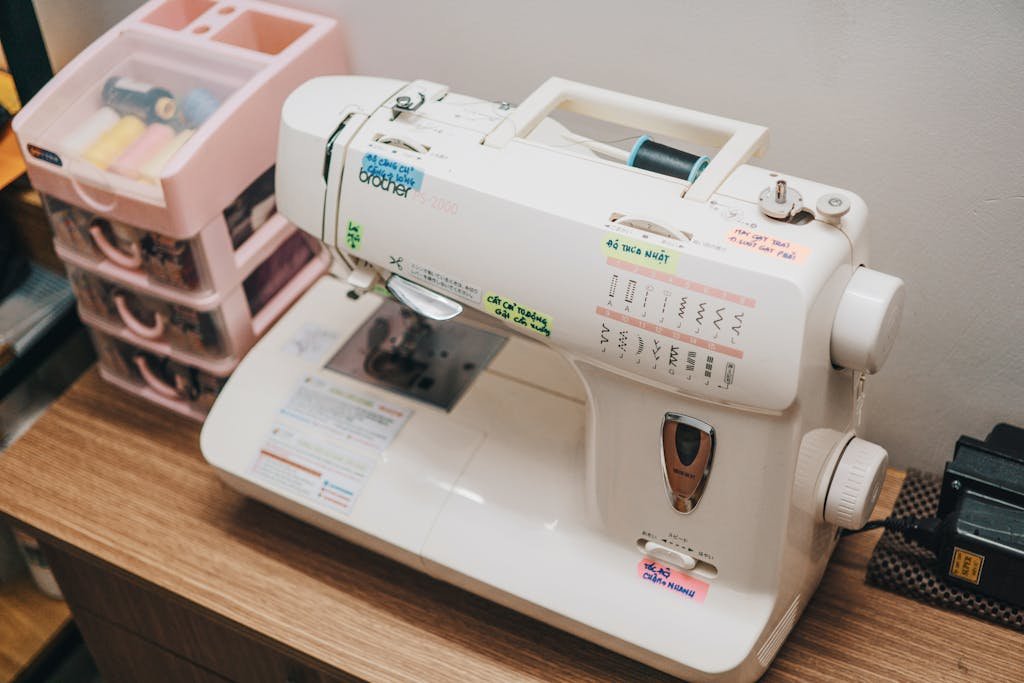
- Sewing machine: It must be in efficient working condition.
- Pins or clips: To hold the binding in place.
- Scissors or rotary cutter: For cutting fabric accurately.
- Iron and ironing board: This is used to press the binding.
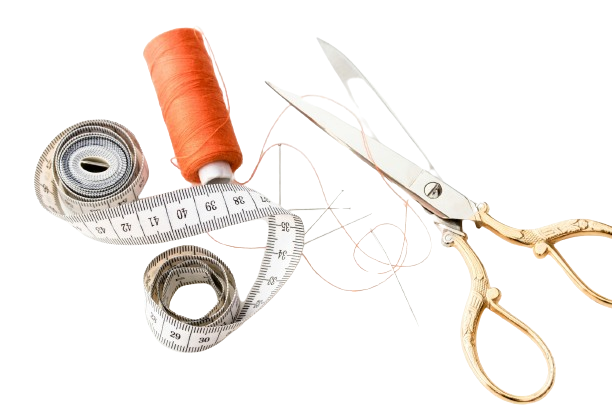
- Measuring tape or ruler: For precise measurements.
Step 1: Prepare the Binding Strips
Cut the Binding
- Decide the Width: An average width used in binding strips is 2.5 inches, though you can vary with whatever you feel is suitable.
- Cut the Strips: If you’re making your binding, cut strips across the width of your fabric using a rotary cutter and ruler. Make sure that the edges are straight.
- Join the Strips: If some of the strips are required in a run then those have to be stitched at the junction with a 45-degree angle. Ditch the extra cloth and open the seams so that they do not look too bulky.
Press the Binding
- Fold and Press: Fold the binding strip in half lengthwise, with the wrong sides together. Press along the fold to create a crisp edge.
- Prepare for Sewing: Your binding is now ready to put on the quilt.
Step 2: Attach the Binding to the Quilt
Pin the Binding
- Position the Binding: Interline the raw edges of the binding to the raw edge of the quilt top. In it, one edge of the binding has to be folded and it should face the inside part.
- Start at One Corner: You should leave a tail of about 8-10 inches and this shall be used when joining the two ends.
- Secure the Binding: Use pins or clips to hold the binding in place.
Sew the Binding
- Set Your Sewing Machine: Use a 1/4-inch seam allowance and a walking foot if available.
- Start Sewing: Begin sewing the binding to the quilt. Stop about 1/4 inch before reaching each corner to prepare for mitering.
Step 3: Mitering the Corners
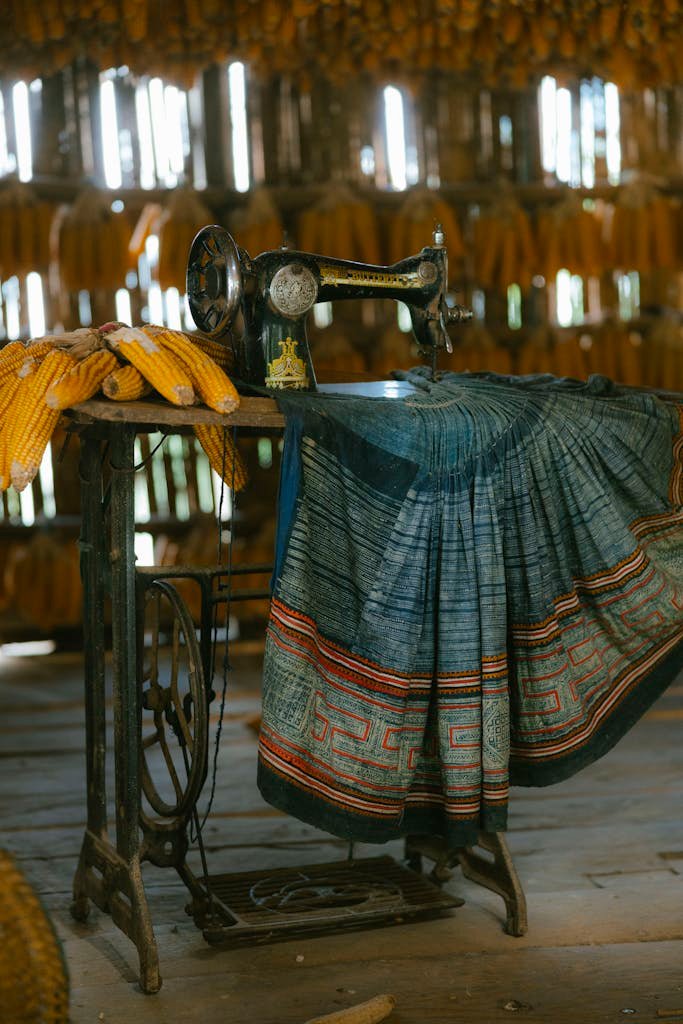
Sneaking the corners takes care of providing clean and professional finishes at the joints.
Fold the Corner
- Stop and Pivot: When you’re 1/4 inch from the corner, stop sewing and backstitching to secure the seam.
- Create the Triangle: Fold the binding up at a 45-degree angle, forming a triangle, then fold it back down, aligning the raw edge with the next side of the quilt.
Stitch the Corner
- Resume Sewing: Start to sew again at the point where the new plot begins and then move around the quilt. Do the same thing at every corner.
Read Also: Can You Bring Scissors on a Plane?
Step 4: Join the Binding Ends
Overlap the Ends
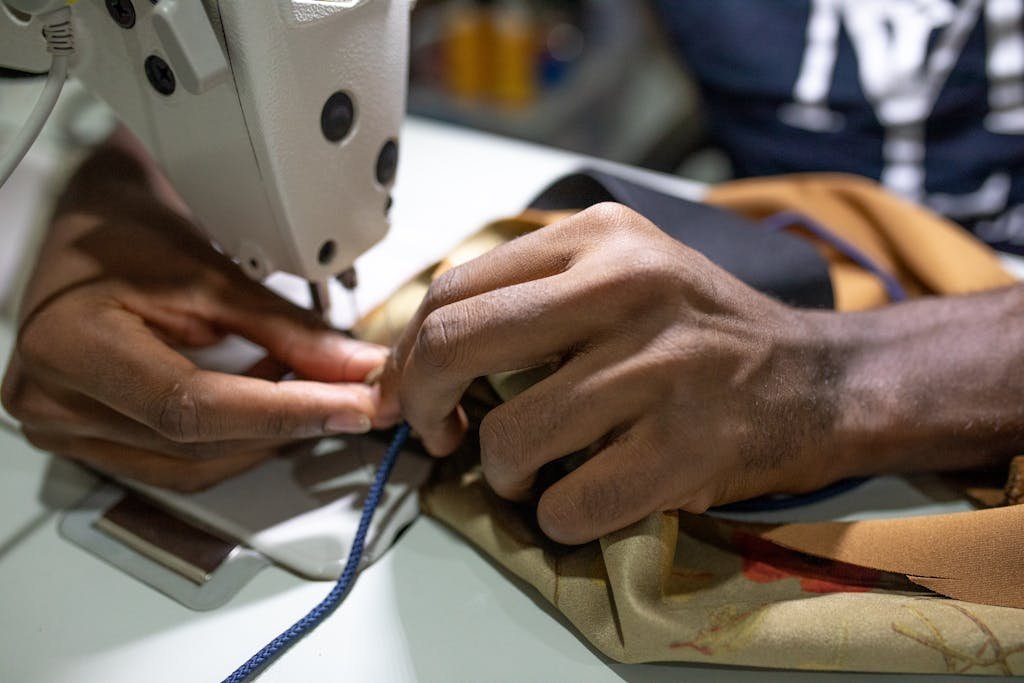
- Leave Extra Length: When you approach the starting point, overlap the ends of the binding by about 2 inches.
- Trim to Fit: Cut the excess binding, ensuring the ends meet neatly.
Sew the Ends Together
- Join the Binding Ends: Use a diagonal seam to connect the two ends of the binding. Press the seam open to reduce bulk.
- Finish Sewing: Complete the remaining section of the binding.
Step 5: Fold and Stitch the Binding to the Back
Fold the Binding
- Enclose the Raw Edge: Fold the binding over the raw edge of the quilt to the back side, ensuring it covers the stitching line.
Pin or Clip the Binding
- Secure in Place: Pinching or clipping the folded binding in place on the back may help you plan the correct number of folds.
Hand-Stitch the Binding
- Choose Your Stitch: Use a blind stitch or ladder stitch to secure the binding to the back of the quilt. This step ensures a clean, professional finish.
- Work Neatly: You can only conceal your stitches by passing the needle under the fold of the binding fabric.
Tips for Perfect Binding
Use a Walking Foot
A walking foot prevents the fabric from feeding unevenly, very crucial when sewing through different layers of the quilt.
Match Your Thread
You should choose a thread color that will be complementary to that of your binding fabric so that they harmonize.
Press as You Go
Take care to press the binding at every point so that it will remain as thin as possible.
Take Your Time
Quilt binding is not a step to rush. Precision ensures a professional finish.
Trim Excess Fabric
Following the binding of the logo, one should cut all fabric or threads close to the edge of the material.
Read Also: Yarn Quantity Guide: Knit & Crochet with Confidence
Final Thoughts
Few quilters would argue that binding a quilt is the last step that sets an ordinary beautiful quilted project into the realm of spectacular. With these detailed steps, one can end up with a professional, smooth, classy, and long-lasting finish. Just like any other skill the more quilts you bind the better you become at it so work on your skills with each quilt.
