How to Sew a Shank Button: A Step-by-Step Guide
A button shank is an essential element found on certain types of buttons, and while it might seem like a small feature, it plays a crucial role in the functionality and appearance of garments. If you’ve ever seen a button that has a loop or stem on the back instead of holes, you’ve encountered a shank button. Shank buttons offer both practical benefits and aesthetic value, and they’re used in various types of garments, from heavy-duty jackets to decorative items.
In this blog, I’ll explain in detail what a button shank is, why it’s used, How to Sew a Shank Button, and explore the different types of shank buttons. I’ll also guide you on when to use shank buttons for the best results in your sewing or crafting projects.
What is a Button Shank?
Definition and Function
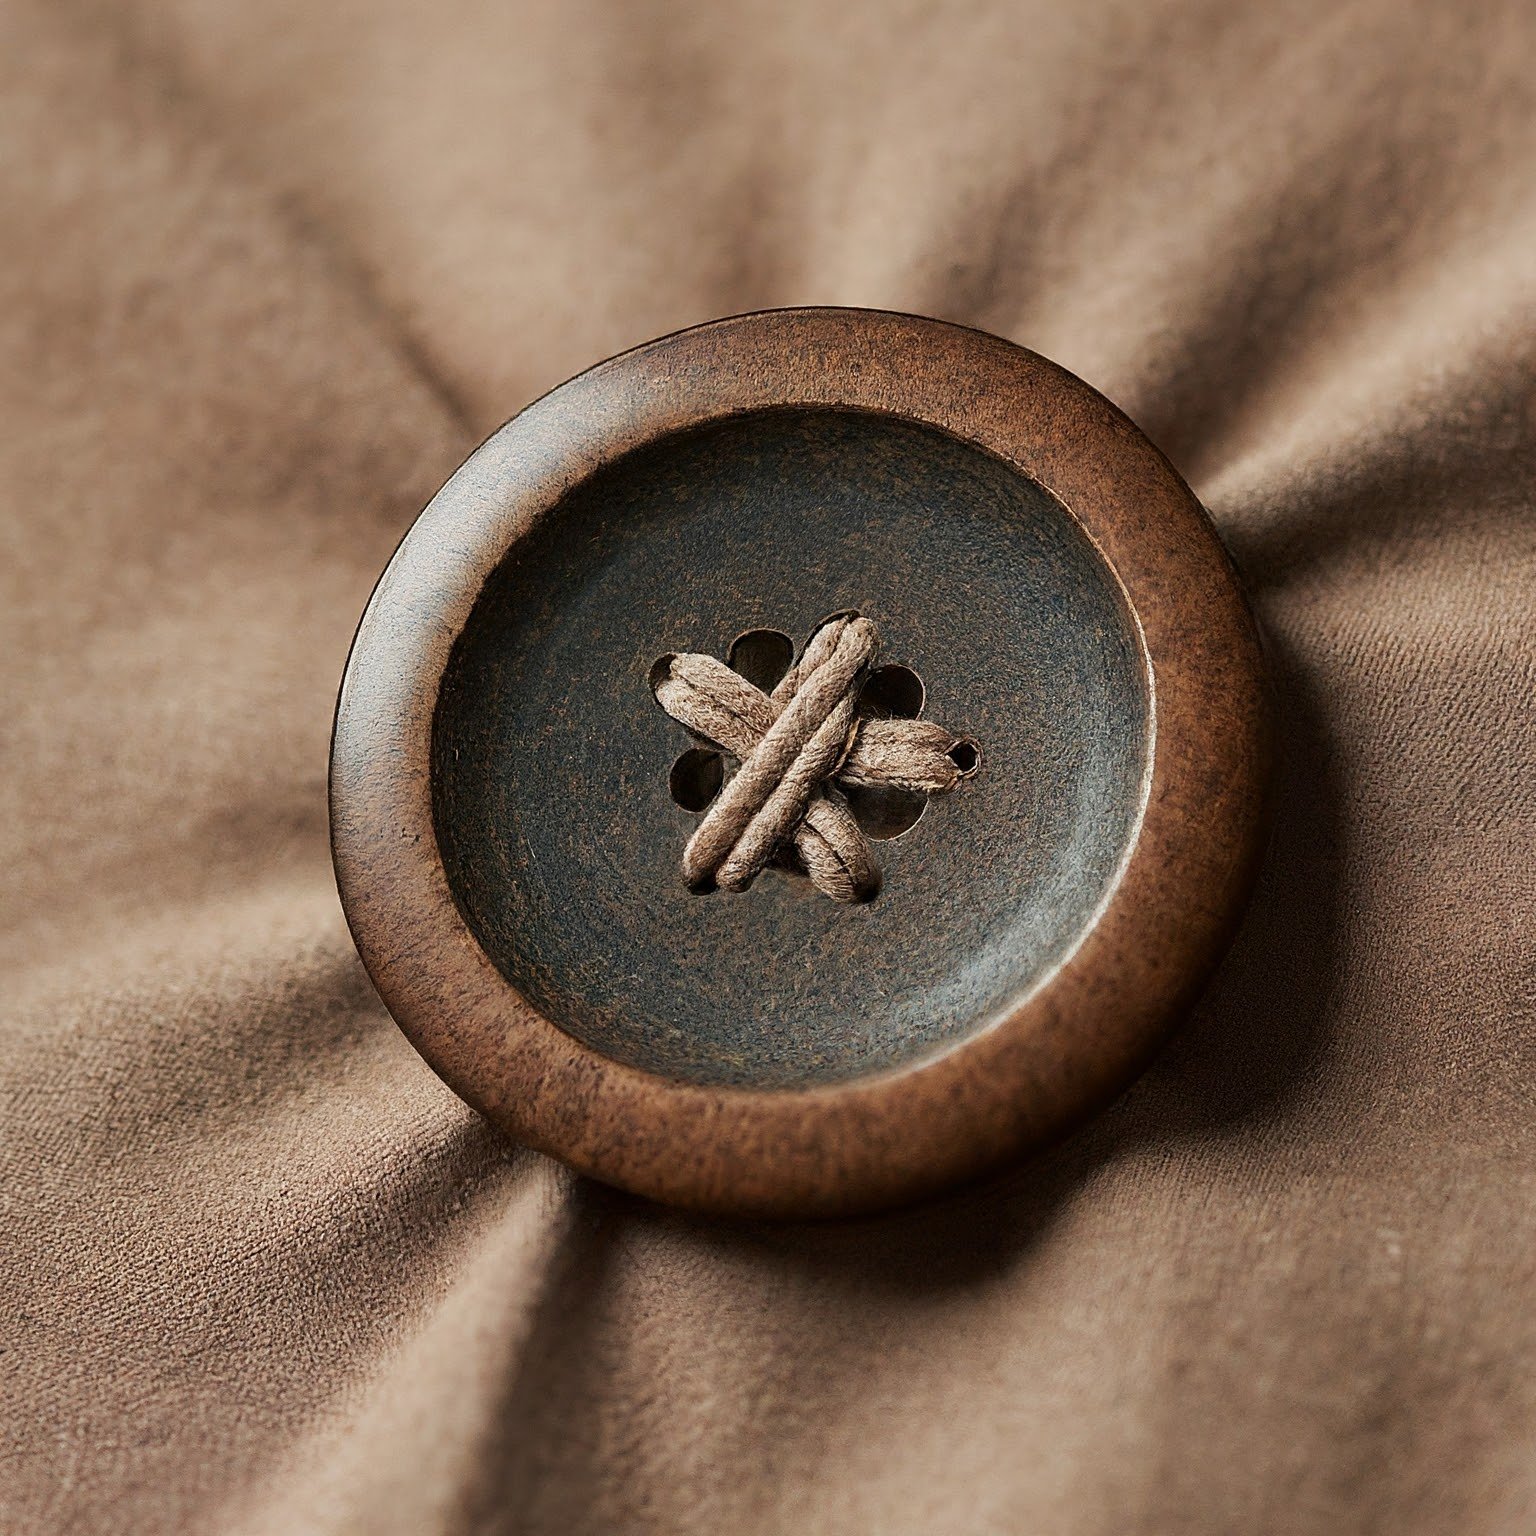
A button shank is the small loop or stem on the back of a button that allows it to be sewn to a garment. Unlike flat buttons, which have holes drilled through the face, shank buttons are designed with a raised stem. This creates a small gap between the button and the fabric when attached, which helps in multiple ways:
- Ease of Use: The gap provided by the shank allows fabric to sit underneath the button without being squished, making it easier to button and unbutton.
- Protection for Fabric: Because the fabric isn’t pulled tightly against the button, the stress on the material is reduced, preventing tears or fraying around the buttonhole.
- Enhanced Durability: Shank buttons tend to last longer because they are less likely to tear away from the fabric.
How to Sew a Shank Button
Here’s a step-by-step guide that you can follow.
Materials Needed
- Shank button
- Needle
- Thread (preferably matching the fabric or button color)
- Fabric (the garment or item you’re attaching the button to)
- Scissors
Step-by-Step Instructions
1. Prepare the Thread
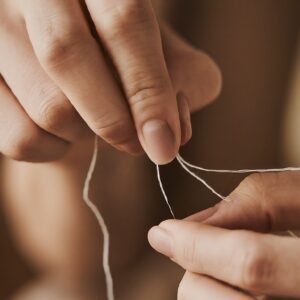
- Measure and Cut: Take about 18 inches of thread and cut it. If you’re working with thicker fabric, you may want to double the thread for extra strength.
- Thread the Needle: Once the thread is cut, pass it through the eye of the needle and knot the ends together to form a loop.
2. Mark the Button Placement
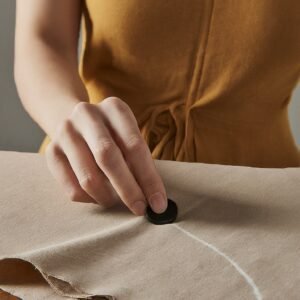
- Determine Placement: Use a pencil or fabric marker to mark where you want the button to be sewn. Make sure this is aligned with the buttonhole if you are sewing onto a garment like a jacket or coat.
3. Start Sewing the Button

- Position the Button: Place the shank button onto the fabric, ensuring that the shank is aligned with the mark you made earlier.
- Pass the Needle Through: Start from the backside of the fabric, pulling the needle up through the mark. Push it through the shank loop.
4. Secure the Button
- Create Stitches: Pass the needle back through the fabric, and pull the thread tight. Repeat this step several times to create strong stitches.
- Rotate for Even Distribution: After a few stitches, gently tug the button to ensure it’s sitting securely. Rotate the button slightly to evenly distribute the thread around the shank.
5. Tie Off the Thread
- Final Stitch: After you’re satisfied with the strength of the attachment, bring the needle up through the fabric one last time, and create a small loop with the thread.
- Knot: Pass the needle through the loop and pull tight to create a secure knot. Snip off any excess thread.
6. Test the Button
- Tug Gently: Gently tug on the button to ensure it’s securely attached. If it feels loose, you may need to add more stitches or knot it more tightly.
Types of Button Shanks
There are several types of button shanks, each suited to different styles and purposes. Let’s take a closer look at the most common types:
1. Metal Shank
- Material: Often made of brass or zinc.
- Usage: These shanks are sturdy and are commonly used on outerwear like coats and jackets.
- Durability: Metal shanks are highly durable, making them ideal for garments that require strength.
2. Plastic Shank
- Material: Typically made of plastic.
- Usage: These shanks are often used for decorative buttons or buttons on lightweight garments.
- Durability: They are less durable compared to metal shanks but work well for casual or lightweight fabrics.
3. Tunnel Shank
- Design: The shank has a tunnel-like opening at the back.
- Usage: This type allows the thread to pass through without creating a visible loop, making it a popular choice for formal garments where aesthetics matter.
4. Self-Shank
- Material: Some buttons, like shell buttons, have a natural shank that is part of the button itself.
- Usage: These shanks are often found in natural material buttons, providing an organic and elegant look.
Why Use Shank Buttons?
Shank buttons aren’t just visually appealing—they offer several functional advantages as well. Let’s explore why they are used and what makes them so popular.
1. Durability
Shank buttons are generally more durable than flat buttons with holes. Since the shank provides a bridge between the button and the fabric, the strain from buttoning and unbuttoning is better distributed, reducing the chance of fabric tearing.
2. Aesthetics
Shank buttons add an element of elegance and sophistication to garments. They create a slight lift, making the button stand out and ensuring it doesn’t pull the fabric. This makes them a great choice for decorative purposes.
3. Functionality
The shank provides space between the button and the fabric, allowing for an easier buttoning experience. This is especially beneficial for thicker fabrics or where several layers of fabric come together, as it prevents strain and puckering.
When to Use Shank Buttons
Not every garment needs a shank button, but there are specific scenarios where they excel. Here are the situations where you should opt for a shank button:
1. Heavy-Duty Garments
For coats, jackets, or blazers, shank buttons are perfect because of their strength and durability. These garments often experience frequent use, and shank buttons help ensure they remain intact over time.
2. Decorative Purposes
Shank buttons are often used for decorative purposes on high-end garments or accessories like blouses and evening gowns. The elegant lift they provide makes the button look more luxurious.
3. Fine Fabrics
When working with delicate fabrics, such as silk or chiffon, a shank button is ideal because it minimizes the risk of damage. The shank prevents the fabric from being pulled too tightly, thus avoiding rips or wear.
Read Also: Sew On a Patch: Easy, Step-by-Step
Final Thoughts
Button shanks are an incredible way to enhance both the functionality and aesthetics of your garments. By allowing a bit of space between the button and fabric, shank buttons make buttoning easy, protect your fabric, and add a polished look to whatever you’re sewing. Whether you’re working on a casual garment, formal attire, or accessories, understanding how to use shank buttons properly will take your projects to the next level.
I encourage you to try out different types of shank buttons and experiment with various designs to discover how these small but mighty elements can enhance your sewing projects.