Unleash Your Inner Artist: Paint Pottery
Pottery painting is the activity that has gained popularity over the millennia. It intertwines the tactility of working with the clay with the attractive and pleasant image of painting. It is a process of applying colorful patterns on pottery surfaces, and when it is put into a kiln, it results in finished pieces like bowls or plates that are both functional and decorative. When it comes to functionality or if you simply want to paint for promotional purposes, painting pottery can be a fun and fulfilling experience. In this blog, we will discover an array of methods for painting pottery.
Using Ceramic Materials (For Functional Pottery)
Materials Needed for Underglazes
Before you begin painting with underglazes, gather the following materials:
- Bisque-fired pottery: The ceramics that have a single firing of kiln.
- Transparent glaze (sizing): To seal and protect the underglaze.
- Underglazes in desired colors: Available in the liquid form.
- Brushes in various sizes: For detailed and broad strokes.
- Water containers: To rinse brushes and dilute underglaze if needed.
- Damp sponge: For cleaning and correcting mistakes.
Steps to Paint with Underglazes
Applying a thin layer of transparent glaze
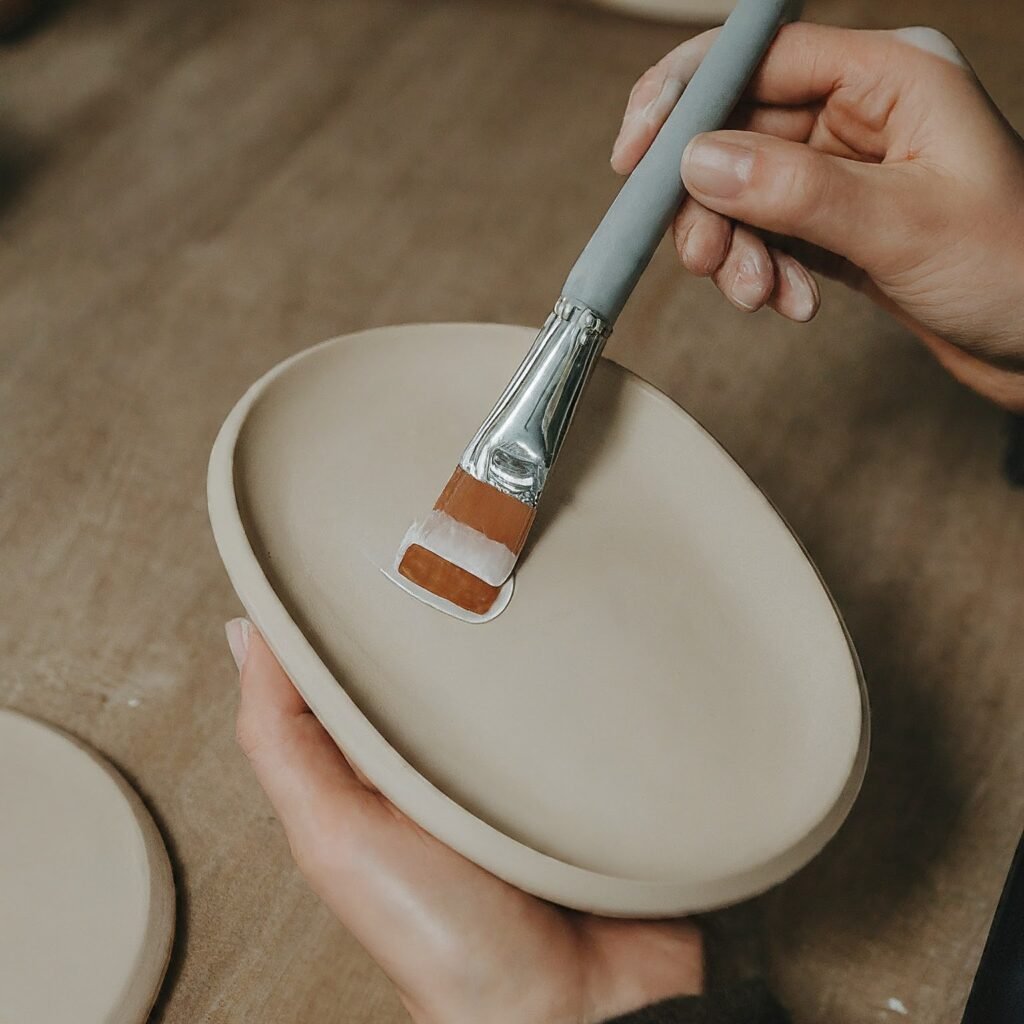
Apply a thin layer of clear glaze to your already bisque-fired stoneware before proceeding to the next step. This aids in the adhesion of the glaze and consequently, the texture becomes smooth. Make sure it is fully dry before you cover it with another layer.
Shaking the underglaze bottle well
To avoid this, after shaking the underglaze bottle vigorously, to ensure the color is evenly mixed.
Applying thin coats of underglaze

Paint with brushes but use thin coats of underglaze on your clay pieces. To achieve precision, adopt fine brushes; for bigger regions, big brushes are recommended. Peeling too soon would mean that this color would be very difficult to control in terms of the ultimate color and layering thin coats each time will give you more control over this process.
Wiping away mistakes with a damp sponge
If you make a mistake, don’t worry. When the glaze is wetted you can easily clean it with a moist sponge and start over.
Removing underglaze for natural clay areas
To make a variation between the additional glaze painted areas and the natural clay color use a damp sponge to wipe the underglaze from specific zones before it completely dries.
Letting the pottery dry completely
When you have decided that your design is good, then the pottery should dry completely. This usually takes about 24 hours.
Firing the pottery
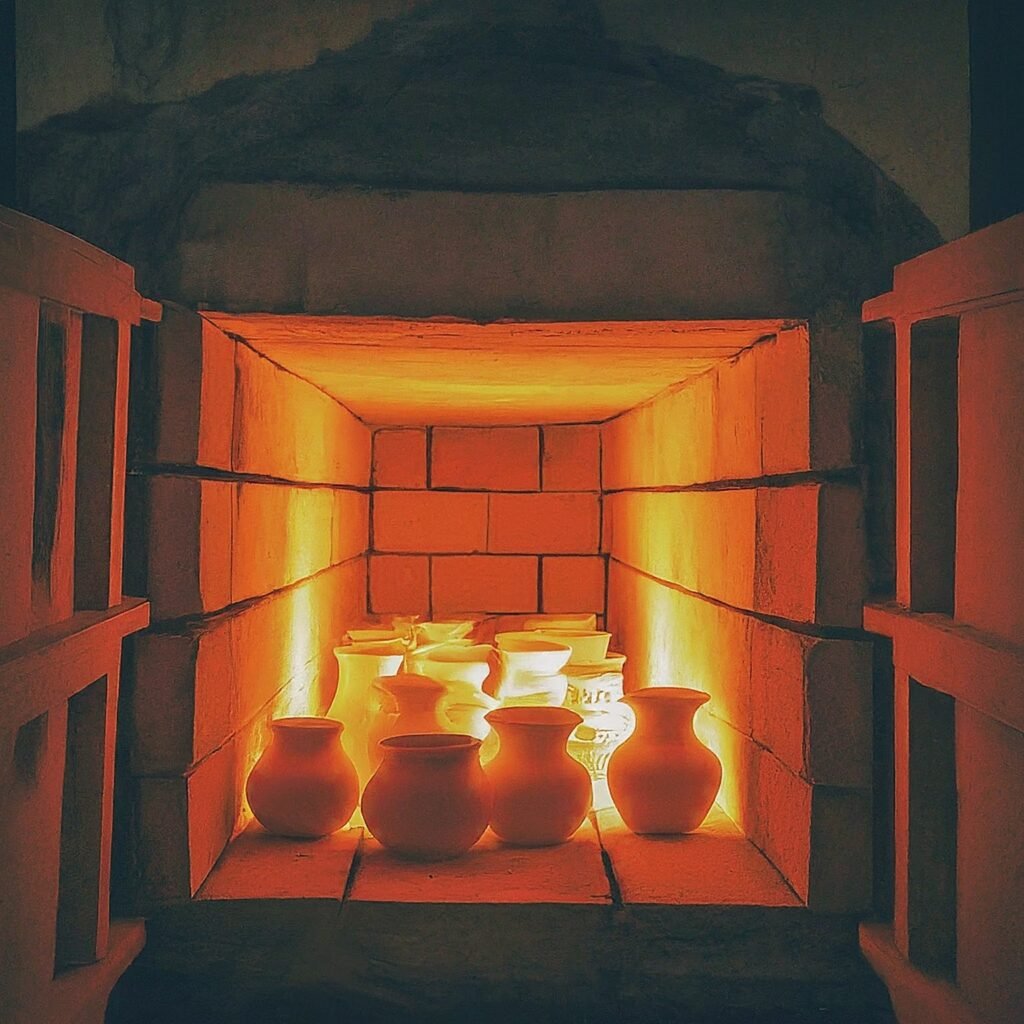
Follow the instruction of the maker (company) for firing the pottery under the glaze. Finally, the last firing will fix the colors and give the artwork its final appearance.
Tips for Working with Underglazes
Layering colors for richer tones
Underglaze colours when layed in different shades together create deeper and more complex grading. Make sure to let each layer dry before adding the next to avoid smearing.
Correcting mistakes
Mistakes are inevitable but be strong to correct them. Apply a wet sponge as your companion in the use of the underglazes, and you would be able to fine-tune the design each time.
Slips
What are slips?
Slip is combinations of liquid pottery clays mixed with colorants and applied to greenware (unfired clay) or bisque ware. These may be applied to functional and decorative objects of pottery.
Advantages of using slips
- Smooth application: Ideal for covering big places or using in the designs.
- Versatility: Can be used with various techniques such as trailing, dipping, and brushing.
- Durability: Makes deep and firm blend with the surface of pottery.
Materials Needed for Slips
For painting with slips, you will need:
- Greenware or bisque ware: Your pottery piece in an unfired or bisque-fired state.
- Slips in desired colors: Must Available in liquid form.
- Brushes: For applying slip in various patterns.
- Sponges: For smoothing and cleaning.
- Fettler (optional): A tool with fine wire for smoothing.
Steps to Paint with Slips
Applying slip with brushes or sponges
Using brushes or sponges, apply the slip to your pottery. Many options are available from running the dye into raised patterns at the edges, to dipping the entire piece to color it evenly.
Optional smoothing for a finer finish
For a smoother finishing, should ensure that you wait until the Pli is leather-hard. Then get a damp sponge or fettler to smooth out any uncertain areas.
Letting the pottery dry completely
Make sure that the pottery has dried completely for several days by applying the slip; this will let the moisture evaporate totally.

Firing the pottery
Fit the pots in a kiln following the instructions of the clay or slip manufacturers. Adding grit to the edge of your words will not only make them stand out, but will also complete your poem.
Tips for Working with Slips
Trail or dip techniques
If you are attempting for a more detailed pattern, select the trailing slip. On the other hand, if you want a consistent coating, the dipping method will do. Each one gives us new textures and surfaces.
Achieving smooth finishes
To get the perfect look, apply the slip when it is still humid using a sponge or fettler; wait for it to set but not to be completely dry yet.
Oxide Stains
Materials Needed for Oxide Stains
To get started with oxide stains, you’ll need the following materials:
- Oxides in your desired colors
- Water or a binder to mix with the oxides
- Brushes for detailed work
- A spray bottle for even coverage
- Clear glaze (optional) for a glossy finish
Steps to Paint with Oxide Stains
1. Testing the Oxide Stain
Before applying oxide stains to your pottery, it’s a good idea to apply them to your pottery by doing it on a scrap piece of clay. This will enable you to better visualize how the colors will look after the firing and, therefore, to control the consistency of the mixture.
2. Mixing Oxide Stains
Mix the oxide stains with water or binders to make them look like paints. This ratio between the oxide and water will be decided in favor of the higher color intensity. Start with a small portion of water and addition by addition, you can achieve the consistency you desire.
3. Applying Oxide Stains
Use the brush and apply oxide stains to your clay pottery. The fine work calls for small and delicate brushes. If you aim uniformity, use a spray bottle to sprinkle the oxide stain onto the surface. Such method allows for creating delicate transitions from light to dark gradients.
4. Letting the Pottery Dry
Allow the pottery to dry completely before moving on to the next step. With this drying period, you should be assured that the oxide stain will be firmly attached to your clay.
5. Applying a Clear Glaze (Optional)
To give a shiny outcome and more lasting effect on the oxide paint, you can top coat it with clear glaze. Steps are optional but they are recommended if you are trying to enrich the colors accordingly and the surface.
6. Firing the Pottery
Finally, fire the pottery according to the manufacturer’s instructions comprising clay, oxide, and glaze. The firing operation will lay down the oxide stains and glaze, producing the desired visual effect for your pottery.
Using Acrylic Paints or Nail Polish for Decoration
Materials Needed for Acrylic Paints or Nail Polish
To paint your pottery with acrylic paints or nail polish, you’ll need the following:
- Bisque-fired pottery (pottery that has been fired once but not glazed)
- Rubbing alcohol for cleaning
- Acrylic paints or nail polish in your chosen colors
- Brushes and sponges for application
- Stencils or masking tape for creating patterns (optional)
- Acrylic sealer spray (optional) for extra protection
Steps to Paint with Acrylic Paints or Nail Polish
1. Cleaning the Pottery
Begin the process with pottery washing using rubbing alcohol. This step removes any dust or oils that could prevent the paint from adhering properly.
2. Applying the Paint
Use brushes or sponges to apply the acrylic paints or nail polish. If you’re using stencils or masking tape, place them on the pottery to create defined patterns. Practice various painting methods, including sponging or applying the colors one over the other, to achieve some great effects.
3. Letting the Paint Dry
Wait till the paint is completely dried. This might take you some hours or more (this is also depending on the paint thickness and humidity in your workspace).
4. Applying a Coat of Acrylic Sealer Spray (Optional)
Acrylic sealer spray should be applied on top of everything to give an extra level of protection and an even better gloss finish. This step is not compulsory but is a vital requirement for brightness retention, and protecting the colors.
Read Also: How To Make A Shawl?
Final Words
Painting a ceramic piece is an incredible way of your imagination and giving your pottery a unique style. With the help of the guide steps provided, you now can create uniquely yours, custom pieces that have your personality and style reflected. Now go and get your stuff ready, make a place and go with your artistic voyage.

