DIY Pants That Fit Like a Glove
Finding the perfect pair of pants can feel like a never-ending quest. You either end up with a fit that’s just right everywhere but the waist or a style that looks great but feels like a sausage casing. But what if I told you there’s a way to get around the frustrations of off-the-rack pants? A way to create a pair that fits you perfectly, highlights your unique style, and doesn’t cost the earth? Sound too good to be true? Well, it isn’t! Welcome to the world of DIY pants.
In this guide, I’ll take you through everything you need to know to design and sew your pants, from understanding what your body needs to choose the right fabrics. And don’t worry if you’re a beginner – I’ve included plenty of tips for those of you who are new to sewing.
Get ready to elevate your wardrobe with a pair of perfectly fitted, stylish pants that you’ll be proud to say you made yourself.
Understanding Your Body and Choosing the Right Style
The first step in creating your own pants is understanding your body and how to choose the right style that enhances your natural shape. Here’s how to do just that.
Taking Accurate Body Measurements
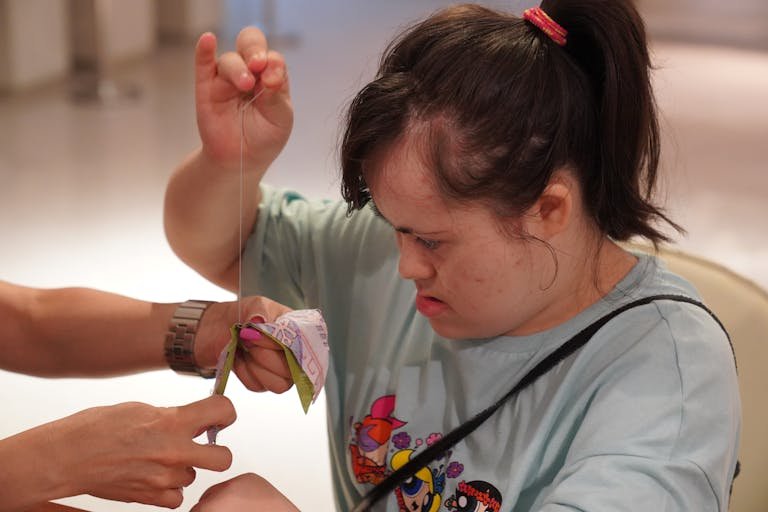
The first thing you need to do is take some accurate measurements. Grab a soft measuring tape (the kind used for sewing, not the metal ones) and follow these steps:
- Waist: Measure around the narrowest part of your waist, usually just above your belly button. Keep the tape snug but not tight.
- Hips: Measure around the fullest part of your hips. Make sure the tape is straight and not twisted.
- Inseam: Measure from the top of your inner thigh down to your ankle. You might want a friend to help with this one for accuracy.
- Thigh: Measure around the fullest part of your thigh while standing.
- Leg Opening (optional): If you’re aiming for a specific leg opening measurement, measure around the desired area.
Write these measurements down and keep them handy; they’ll be essential when choosing patterns and styles later on.
Determining Your Body Type
Everyone’s body is unique, and so are the ways different styles fit. Understanding your body type can help you choose the right pant styles that will look best on you. While there are many ways to categorize body types, a simple method involves looking at the proportions between your shoulders, waist, and hips. Here are a few common body types:
- Pear Shape: Hips are wider than shoulders. Look for styles that balance your silhouette, such as bootcut or A-line pants.
- Apple Shape: Broader shoulders and bust, with narrower hips. Opt for styles that create a waist, like high-waisted trousers.
- Hourglass Shape: Shoulders and hips are about the same width with a well-defined waist. Most styles will suit you but fitted trousers or wide-leg styles often work well.
- Rectangle Shape: Shoulders, waist, and hips are roughly the same width. Look for styles that create curves, like tapered trousers or those with pleats.
Choosing the Right Pant Style for Your Body Shape
Once you’ve figured out your body type, it’s time to choose a style of pants that will flatter your shape. Here are some ideas:
- If you’re a pear shape: Look for pants that accentuate your waist and don’t cling to your thighs. Bootcut or wide-leg styles can balance out your proportions beautifully.
- If you’re an apple shape: High-rise trousers or those with a straight cut can help create a more defined waist. Avoid low-rise and overly tight options.
- If you’re an hourglass: You’re in luck! Most styles will suit you. Consider tailored pieces that follow your natural curves.
- If you’re a rectangle shape: Styles that add curves are your best friend. Consider pants with pleats, cuffs, or a tapered leg.
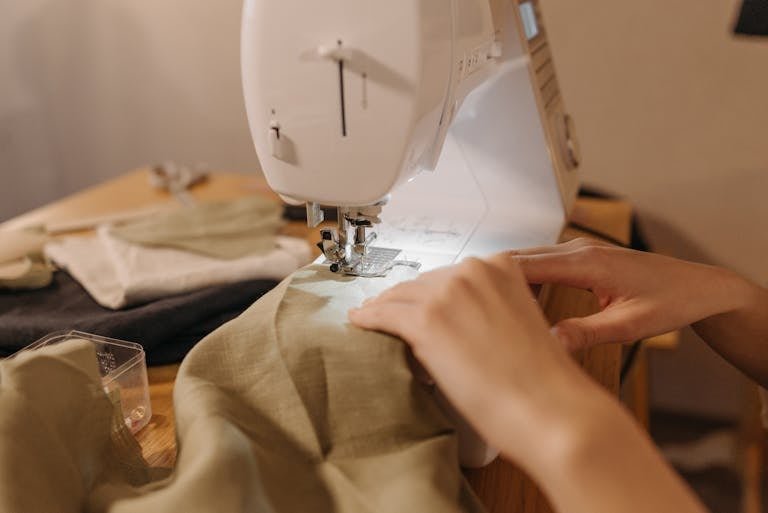
Essential Sewing Skills and Tools
Now that you’ve got a plan in place, let’s talk about the essential sewing skills and tools you’ll need to turn your fabric into fabulous pants.
Basic Sewing Techniques
Before you start sewing pants, it’s important to have a grasp on a few basic techniques. Here are the key ones you’ll need to master:
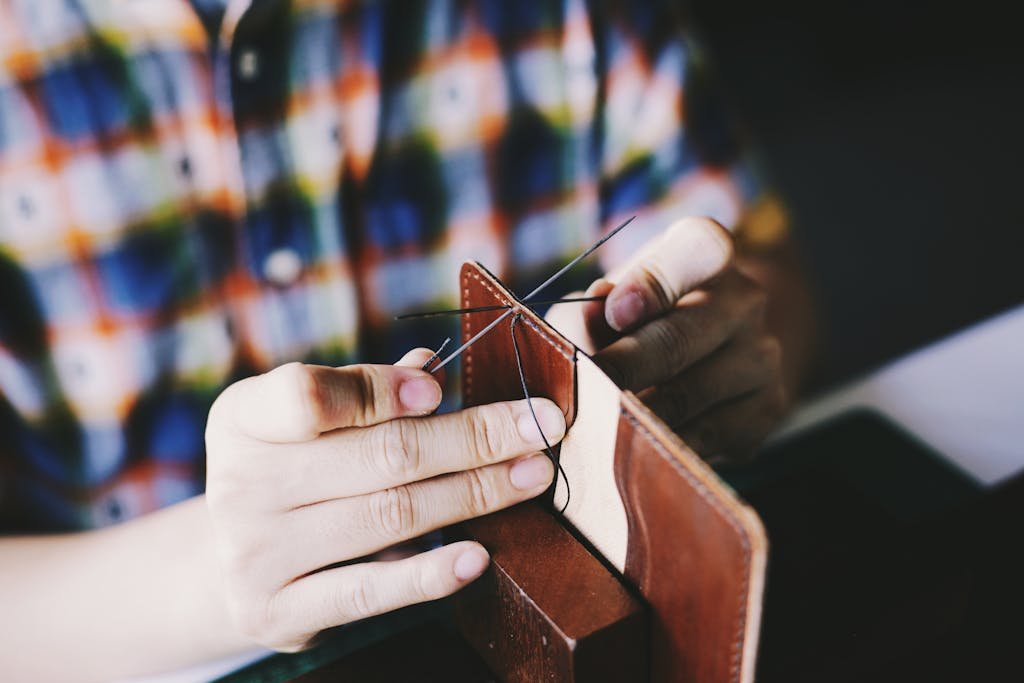
- Stitching (obviously): This is a fundamental skill. Practice straight stitches, zigzag stitches, and any others that your pattern might require.
- Hemming: This is what you’ll do to finish the edges of your fabric so they don’t fray. Compared to stitching, hemming is usually done at the edges of fabric pieces, like hems on pants or skirts.
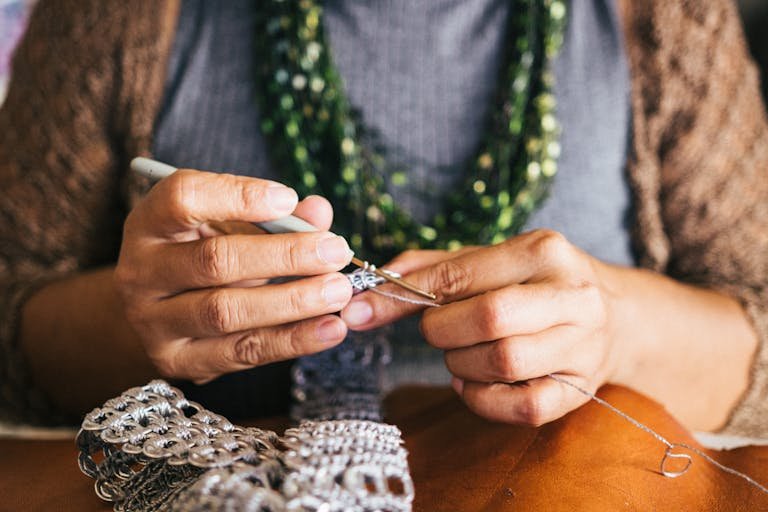
- Gathering (for certain styles): This involves sewing long, loose stitches along the edge of a fabric piece, then pulling the thread to gather the fabric together. This technique can create ruffles or allow for a more fitted look.
- Zippers (if your pattern requires them): Zippers can seem intimidating, but they’re easier than they look! There are various types, so make sure to choose the right one according to your pattern instructions.
Essential Sewing Tools and Equipment
Having the right tools makes the sewing process much smoother. Here’s a list of essential items:
- Sewing Machine: While you can sew by hand, a machine speeds up the process significantly. Look for one with adjustable stitch lengths and types.
- Fabric Scissors: Invest in a good pair of fabric scissors. They’re designed to cut fabric cleanly, preventing fraying.
- Measuring Tape & Ruler: You’ll need these for taking measurements and marking your fabric.
- Pins & Pin Cushion: Use these to hold your pattern pieces together before you sew.
- Seam Ripper (trust me): Mistakes happen! A seam ripper will allow you to undo stitches without damaging your fabric.
- Iron: Pressing your seams as you go makes your finished product look more professional.
Pattern Selection and Alteration Tips
The most important part of your sewing project is the pattern. When shopping for a pattern, consider the following:
- Look for patterns that reflect your style and skill level. Beginner patterns often feature fewer pieces and simpler designs.
- Choose a pattern that matches your measurements. The pattern envelope usually contains size information and recommended measurements. If you’re between sizes, it’s often easier to go with the larger size and alter it down.
- Look for alteration guidelines. Some patterns provide instructions for adjusting the fit. If not, you can always consult online resources or books.
When it comes to alterations, here are a few tips:
- Use a muslin fabric for fitting. Before cutting into your fashion fabric, make a test version from a cheap fabric. This allows you to check the fit and make any necessary adjustments.
- Mark alterations on the muslin. Use a fabric pen to note where adjustments are needed, then transfer these marks to your pattern.
- Don’t be afraid to make drastic changes. If a pant style doesn’t fit your body correctly, it might be easier to make significant alterations than minor ones. For example, if the waist is too tight, consider re-cutting it from a larger section rather than trying to “inch it out” in small amounts.
Step-by-Step Guide to Making Different Pant Styles
Now that you’ve got your measurements, chosen your fabric, and picked out your pattern, it’s time to start sewing! Here’s a step-by-step guide on how to make a few different styles of pants.
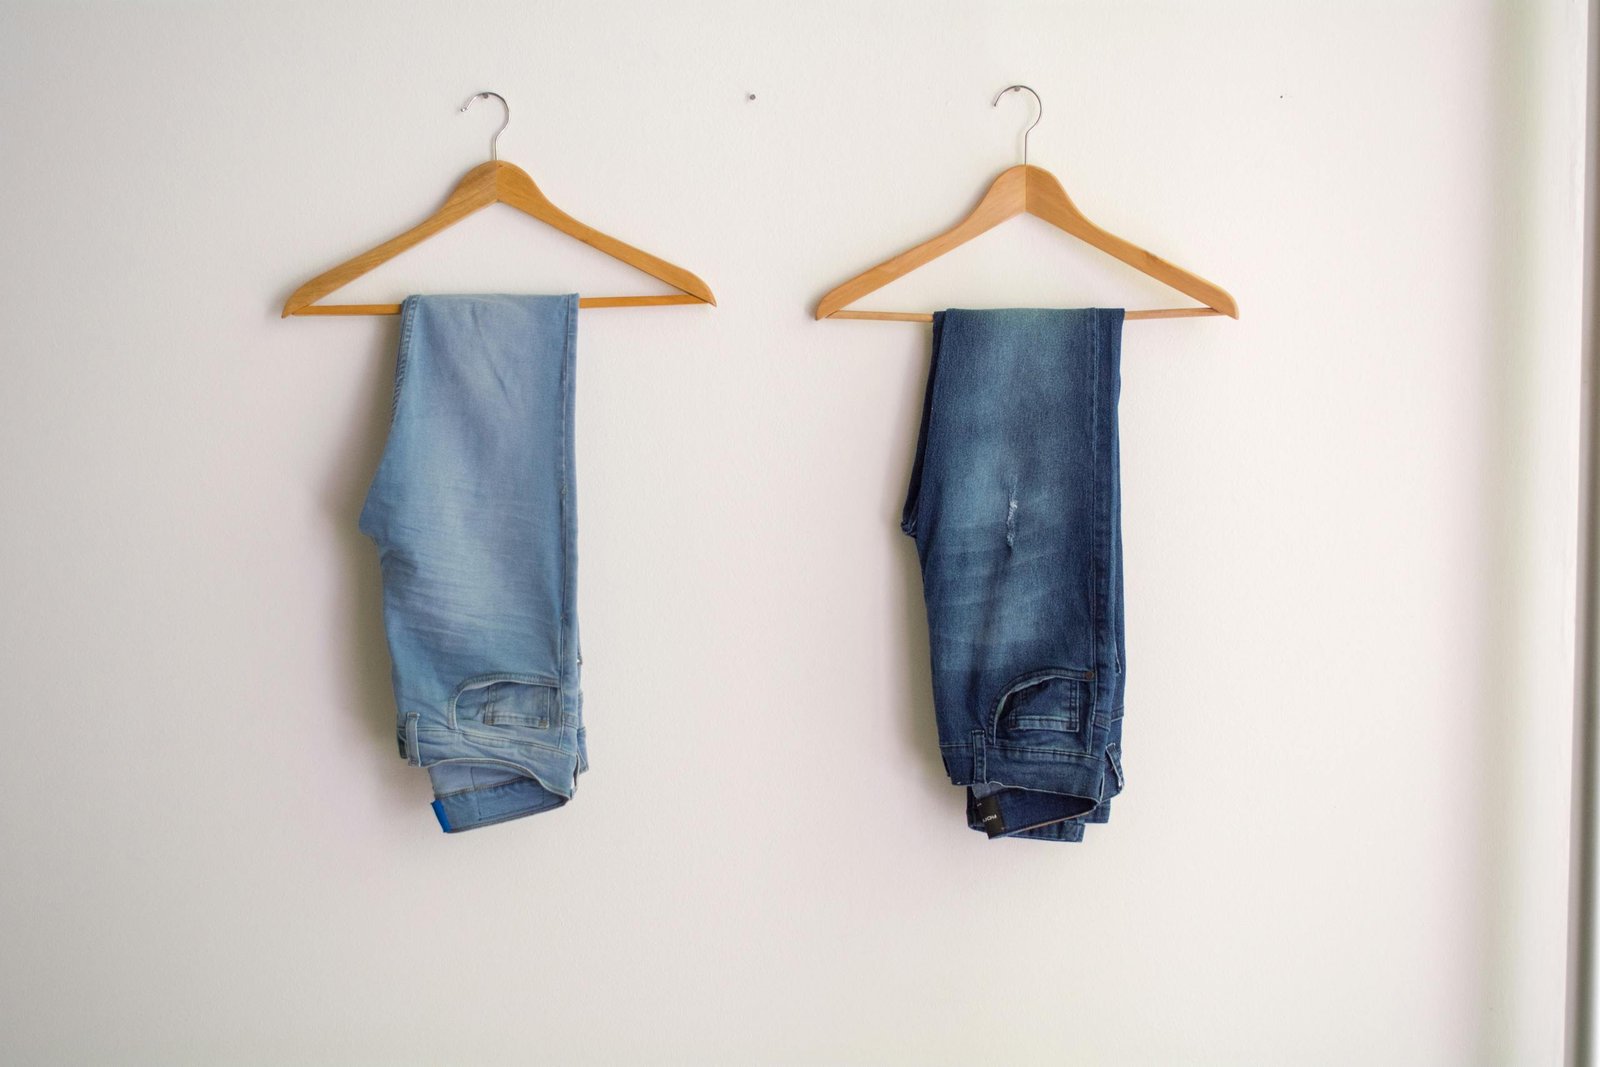
Jeans
Sewing your own jeans might seem daunting, but with the right fabric and a little patience, you can create a pair that fits you perfectly.
- Choose the right denim. Look for a weight that’s appropriate for the style you want. Heavier denim is great for structured styles, while lighter denim feels more comfortable in warmer weather.
- Add some distressing (optional): If you’re aiming for a casual look, consider adding some distressing to your jeans. This can be done before you sew your jeans together, just make sure to wash the denim first to help it fray better.
- Use the right hardware. Don’t forget the details! A good pair of jeans often has metal rivets and a sturdy zipper. Make sure your sewing machine can handle these thicker sections.
Chinos
Chinos are a versatile option for warmer weather. Here’s how to make your own:
- Choose the right fabric. Look for cotton blends that are lightweight yet sturdy.
- Sew a neat waistband. A well-constructed waistband is key to comfortable chinos. Consider adding a drawstring or belt loops for added functionality.
- Finish with cuffs or hems. Cuffing the bottom of the pant leg adds a tailored touch, but make sure this is included in your pattern instructions.
Dress Pants
Dress pants are a bit more formal but can be surprisingly easy to sew with the right fabric and technique.
- Choose the right fabric weight. The weight of the fabric you choose should match the intended use of the pants. Heavier fabrics work well for winter and formal wear, while lighter fabrics are perfect for summer dress pants.
- Add a lining. If you’re making dress pants from a heavier fabric, consider adding a lining. This not only adds comfort but can also help with fit and drape.
- Tailor the details. Focus on the details like pockets and pleats. These can elevate the overall look of your pants and make them truly stand out.
Yoga Pants
Lastly, yoga pants are a fantastic project for those who are new to sewing. They are relatively simple and often require minimal adjustments.
- Choose a fabric with good stretch. Look for fabrics that have a good amount of stretch, like spandex or jersey knits. This will ensure your yoga pants are comfortable and flexible.
- Consider adding a waistband. A fitted waistband will not only keep your pants in place but also add to the overall comfort. You can use elastic or a stretchy fabric for this.
- Sew the seams with a zigzag stitch. This will allow the seams to stretch with the fabric, preventing them from breaking during use.
Customization and Personalization
One of the best parts of making your own pants is the ability to personalize them. Here are some ways to add a unique touch to your creations:
Adding Unique Details
- Pockets. Not only are they functional, but they can also be a style statement. Consider different shapes and placements, like side pockets or back patch pockets.
- Embellishments. Use embroidery, patches, or even fabric paint to add unique designs. Just make sure any embellishments don’t interfere with the functionality of the pants.
- Fabric choices. Don’t limit yourself to one type of fabric. Mixing and matching fabrics can create a visually appealing contrast. For example, pair a patterned fabric for the legs with a solid color for the waistband.
Mixing and Matching Fabrics and Patterns
Consider using different fabrics for different parts of the pants. For example, you could use sturdy denim for the main body and soft cotton for the pockets. Play around with patterns too – stripes, florals, and geometric shapes can all work together beautifully if done thoughtfully.
Creating a Signature Pant Style
Over time, as you become more comfortable with sewing, consider developing a “signature style.” This could be a specific fit, a unique embellishment technique, or a preferred fabric combination. Having a recognizable style not only makes your creations uniquely yours but can also inspire others to try their hand at making their own pants!
Troubleshooting Common Fitting Issues
Even with careful measurements and pattern selection, you may encounter some fitting issues during the sewing process. Here’s how to troubleshoot and fix them.
Gaping Waistbands, Baggy Knees, and Other Fit Problems
Some common problems include:
- Gape at the waist. If your pants gap at the waist, this may be due to incorrect measurements or a pattern that doesn’t account for your body’s shape. To fix this, consider adding darts or adjusting the pattern to better match your waist measurement.
- Baggy knees. If your pants are baggy around the knees, you may need to adjust the thigh measurement. Alternatively, consider tapering the leg of the pants from the knee down to create a more fitted look.
- Too tight. If your pants are too tight in certain areas, like the thighs or hips, you may need to adjust your pattern. Adding a few extra centimeters (or inches) to these measurements can often resolve the issue.
Solutions and Adjustments for Common Issues
- To fix a gaping waistband. First, try wearing the pants and noting where the waistband gapes. Then, unpick the waistband and add darts to the back or sides to create a more fitted look.
- For baggy knees. Take in the seams on the sides of the pant legs until they fit snugly around your knees. Alternatively, if you have enough fabric, you could try letting out the seams on the upper thigh.
- If the pants are too tight. If you’re finding your pants uncomfortable, you may need to take them back to the sewing machine and unpick the seams. If there’s enough fabric inside the seams, consider altering these to allow for a little more room.
Also Worth Reading: How to Make an Ouija Board at Home
Closing Remarks
Sewing your own pants is not just a practical solution to the frustrating search for the perfect fit, but also an enjoyable and creative process. With the right measurements, a little practice, and a willingness to experiment, you can create stylish pants that fit you beautifully and reflect your personal style.
Don’t be afraid to start small – perhaps with a simple pair of yoga pants or a straightforward pair of chinos – and gradually work your way up to more complex styles like jeans and dress pants. And remember, every sewing project is a learning opportunity. Even if something doesn’t turn out as planned, you’ll gain invaluable skills and experience for your next creation.
Now, roll up your sleeves, grab that sewing machine, and start creating. I can’t wait to see the pants you make!