Make Stars Out of Paper: Easy DIY Fun
Making paper stars is a simple and pleasing activity that can be a cute accent in any room. These paper stars are ideal if you plan on connecting them to make a garland, placing them in a jar, or simply making something beautiful with your hands. This article will explore two methods to make paper stars: the complex Origami Lucky Star and the easy Cut and Fold Star. Each provides a different experience and allows for focusing on certain aspects that interest everybody.
Method 1: Origami Lucky Star

Origami Lucky Stars are small puffy stars typically manufactured using long and thin strips of paper. They are mostly used in numerous ornamental activities and are believed to symbolize luck. Nevertheless, although they may seem rather flimsy, they are rather simple to prepare once one masters the art of folding.
Materials Needed
- One long, thin strip of paper (approximately 1.5 cm wide by 27 cm long)
- Optional: Origami paper for a more authentic look or regular printer paper cut into strips
Steps to Make an Origami Lucky Star
Step 1: Make a Loop]
Start by rolling a small piece of paper and making a knot at one part of the paper strip. This knot will become the primary foundation of your star shape. To do this, fold the paper like one starts when tying the shoelace and put one end through the loop.
Step 2: Form the Base
Make a crisscross at the end of the strip and pass one end through the loop created to form. Tighten the knot slowly without tapering the paper, then pull the loose end to flatten the ring. You should now have a pentagon shape with a long line from one side down to the bottom.
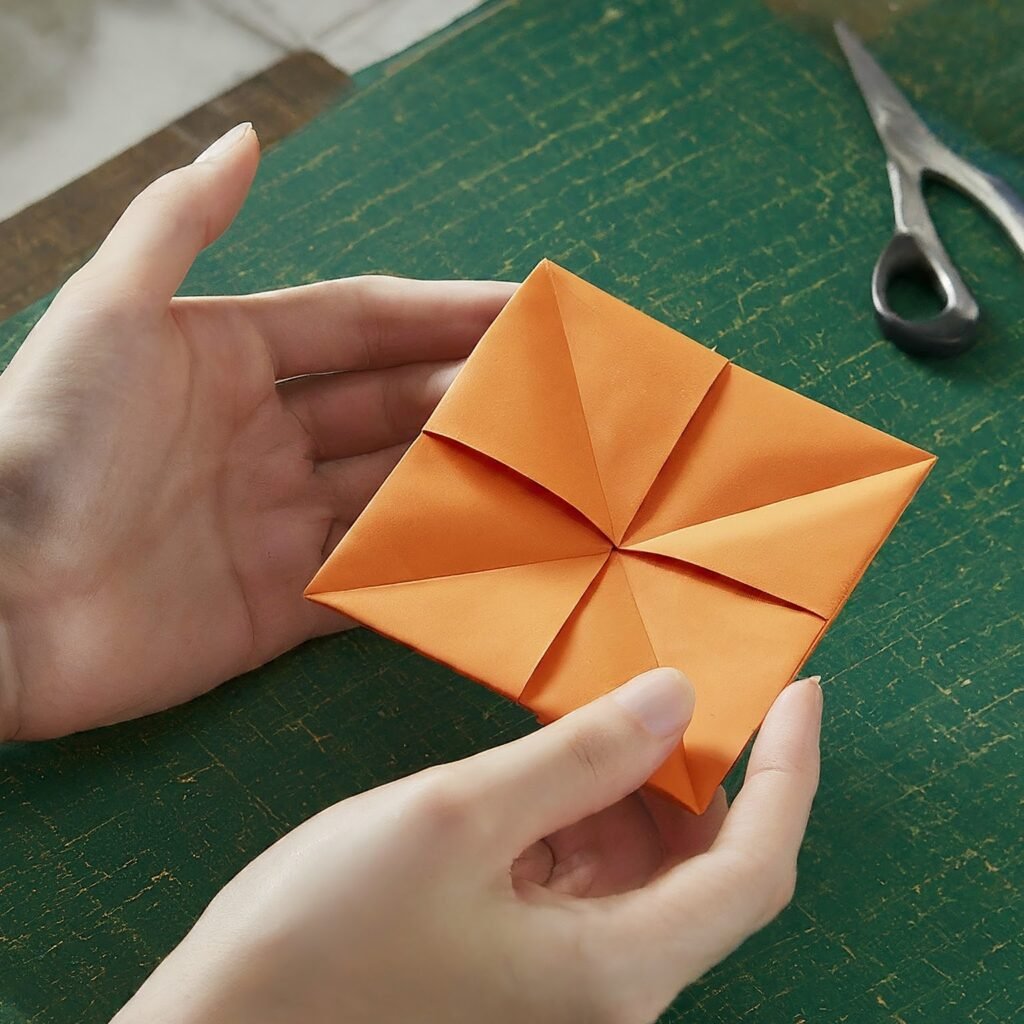
Step 3: Wrap and Tuck
Fold the short end of the strip over the base of the pentagon and bring it inside to fold the seam. This step is useful for stiffening the base shape. After that, you can wrap the long tail around the base of the pentagon formed by the wire. Wrap along the edges and corners of the pentagon and ensure the folds are smooth and well tucked. At the end of the strip, place the end of the tail under a layer of paper to anchor it.

Step 4: Puff and Shape
Next is the really exciting part — inflating the star. Press your fingers against a flat side of the pentagon and use your thumb to pinch the opposite sides. This will form a three-dimensional appearance. It allows you to change how puffed each point is if you want a rounder or sharper star. Spend a few more minutes refining the shape; there you have it! You have your Origami Lucky Star.
Method 2: Simple Cut and Fold Star
The Simple Cut and Fold Star is one of the five-pointed stars that are relatively easy to make, or at least for those who are new to crafting. This method involves fewer steps and materials, making it easy and fun to accomplish.
Materials Needed
- Square of any size piece of paper, preferably Origami or construction paper
- Scissors
- Optional: Connecting the stars requires glue or tape.
Steps to Make a Simple Cut and Fold Star
Step 1: Fold the Square
Now, take your square piece of paper and fold it in half, from corner to corner, to have a triangle-shaped paper. Check that the edges are straight and the folding line is neat. This first fold is important because it controls the formation of the star shape.
Step 2: Fold Again
With the folded triangle, namely the up-side-down one, fold the corner points downwards until they reach the base point of the triangle. From this, you should have a smaller triangle on top of a large triangle. This assists in developing the guides for the star’s points.

Step 3: Cut and Unfold
Now make a vertical incision on the large triangular section, from the bottom point up to near the apex of the top triangular section. In general, the slit should be positioned at the middle height of the triangle. Once done, lay the paper flat with the side with the cut mark facing upwards. It should have a diamond shape with four smaller triangles at the top of the picture.
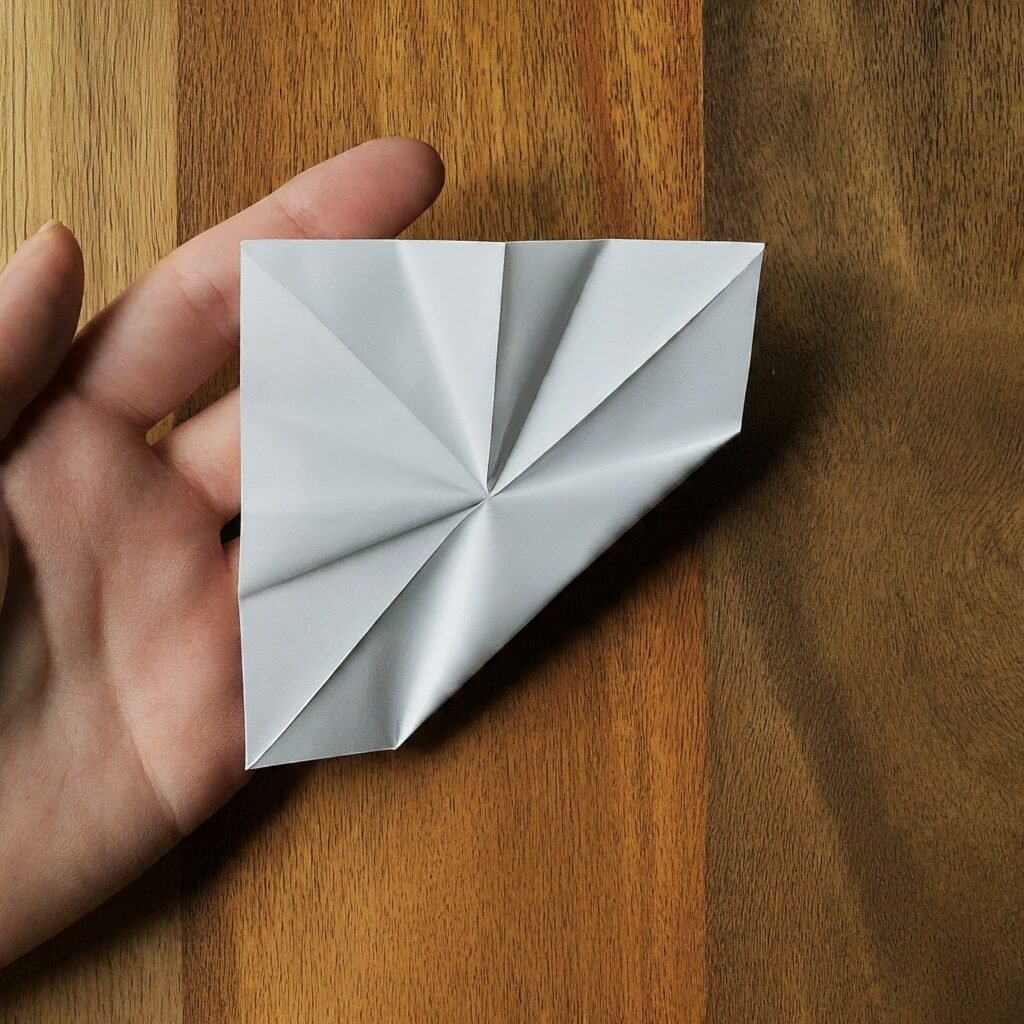
Step 4: Shape the Star
Pinch together the two bottom vertices of the diamond to join them: now, the symbol should resemble a star. The small slit that you made a while back should assist in making the fold smoother and much more accurate. However, it should be noted that you can use glue or tape to fix the points if this is required. Finish the layer by aligning the folds and creases to make the star neater and ensuring all points of the star are equally pointed, and the star is symmetrical.
Tips for Both Methods
- Paper Choice: In both techniques, better-quality paper gives better results. Origami paper is perfect for the Origami Lucky Star, and for the simple cut-and-fold star construction paper or origami paper is perfect.
- Patience and Precision: Be patient when pressing each fold and cut. Accuracy must be well observed in order to achieve the best and cleanest star.
- Experiment with Sizes: Do not be afraid to try strips of any size or shape. For instance, instead of rectangles, you can use squares. Thicker strips can form large stars, while thinner ones can form small stars suitable for packing into jars or for more elaborate decorations.
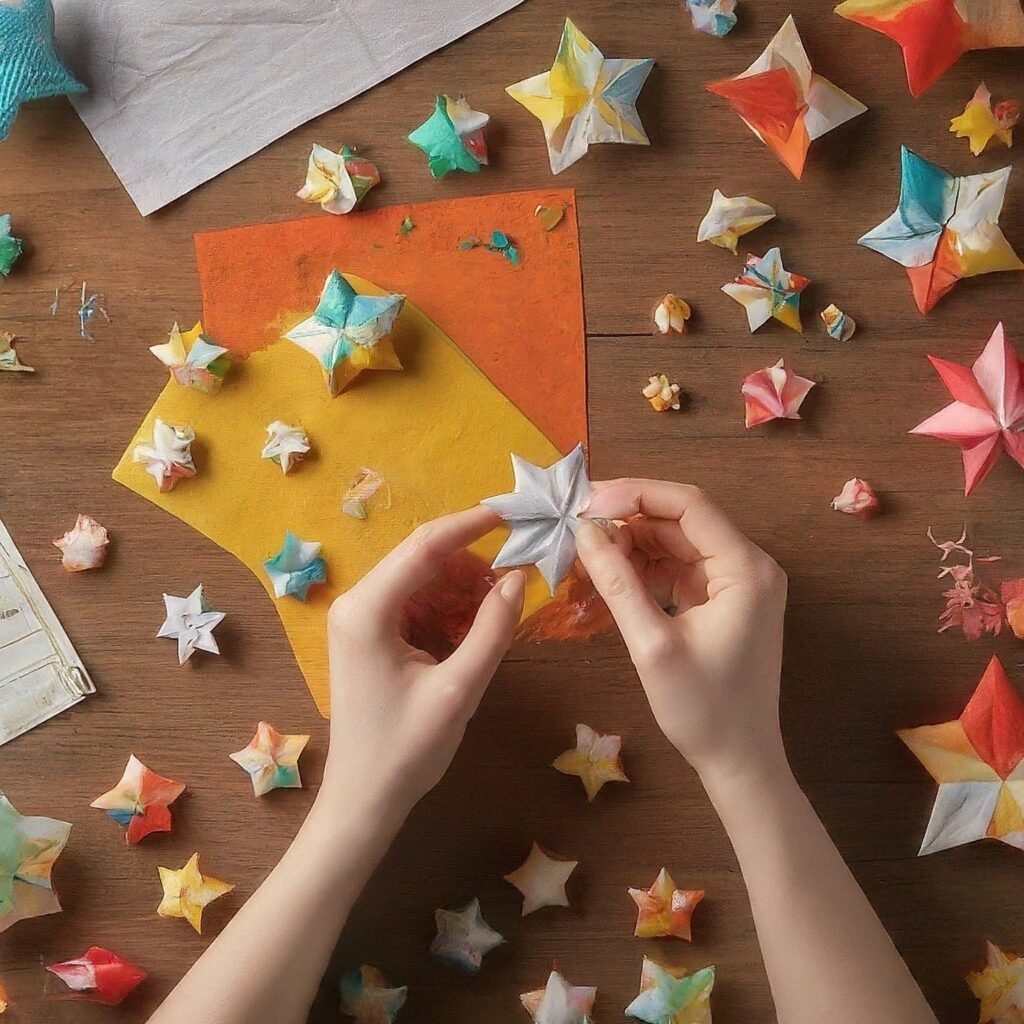
Creative Ideas for Using Paper Stars
When you are done patterning paper into stars, you will be able to utilize your stars in various ways in the decoration. Here are a few ideas to inspire you:
Star Garland
Cut out your paper stars and combine them using a string to make a beautiful garland. These can help beautify your home when celebrating festivals or other occasions or just bring some element of fun to the general interior décor. Cut a piece of string and string the stars, threading the string through the needle and making spaces between the stars.
Starry Jars
You can decorate them by using clear jars and filling them with origami lucky stars that you make. These star-filled jars may be used as tablet centerpieces or incorporated on shelves and mantels. LED fairy lights can also be attached to the jars to give them a magical switch that glows at night.
Gift Decorations
Warm up your gifts by decorating them with handmade paper stars to add a personal touch. Glue one star on the mid-section of the ribbon used in a gift box, or put several stars inside the gift bag.
Wall Art
One creative idea to transform your wall into a starry night is to glue paper stars of various sizes and in different colours on the wall. Help your child stick these stars on the wall using double-sided tape or other sticky materials that can be easily peeled off in the future to create some artwork.
Holiday Ornaments
Take your paper stars and turn them into ornaments for the festive season—make a small loop from the thread or ribbon and attach it to each star. As for the decorations, hang them on your Christmas tree or in wreaths and any other homemade decorations for the house.
Read Also: How to Knit Letters: Two Effective Methods
Final Words
Creating paper stars is fun and enjoyable, providing many opportunities for imagination and design. If you were to follow the detailed Origami Lucky Star or the basic Cut and Fold Star, you would find joy in making something lovely and creating it by hand. With creativity and fine-tuning, these stars can be used for almost any occasion or location. Therefore, bring your supplies, complete these steps, and unleash your imagination while making your own starry artwork!