How to Make Crystal Jewelry: A Step-By-Step Guide
Creating your own crystal jewellery is a rewarding and creative hobby that allows you to craft unique and personalized pieces. Whether you’re a beginner or looking to refine your skills, this guide will walk you through two popular methods for making crystal jewellery: the Wire-Wrapped Crystal Pendant and the Crystal Beaded Necklace. By following these detailed steps, you can understand how to make crystal jewellery- beautiful, handcrafted jewellery you’ll be proud to wear or give as a gift.
Method 1: Wire-wrapped Crystal Pendant
This method is ideal for people who are new to the craft. It is easy, few supplies needed, and makes the perfect crystal pendant that can be used for any chain or necklace.
Materials Needed
- Crystal bead that has a hole with a dimension big enough to accommodate the wire.
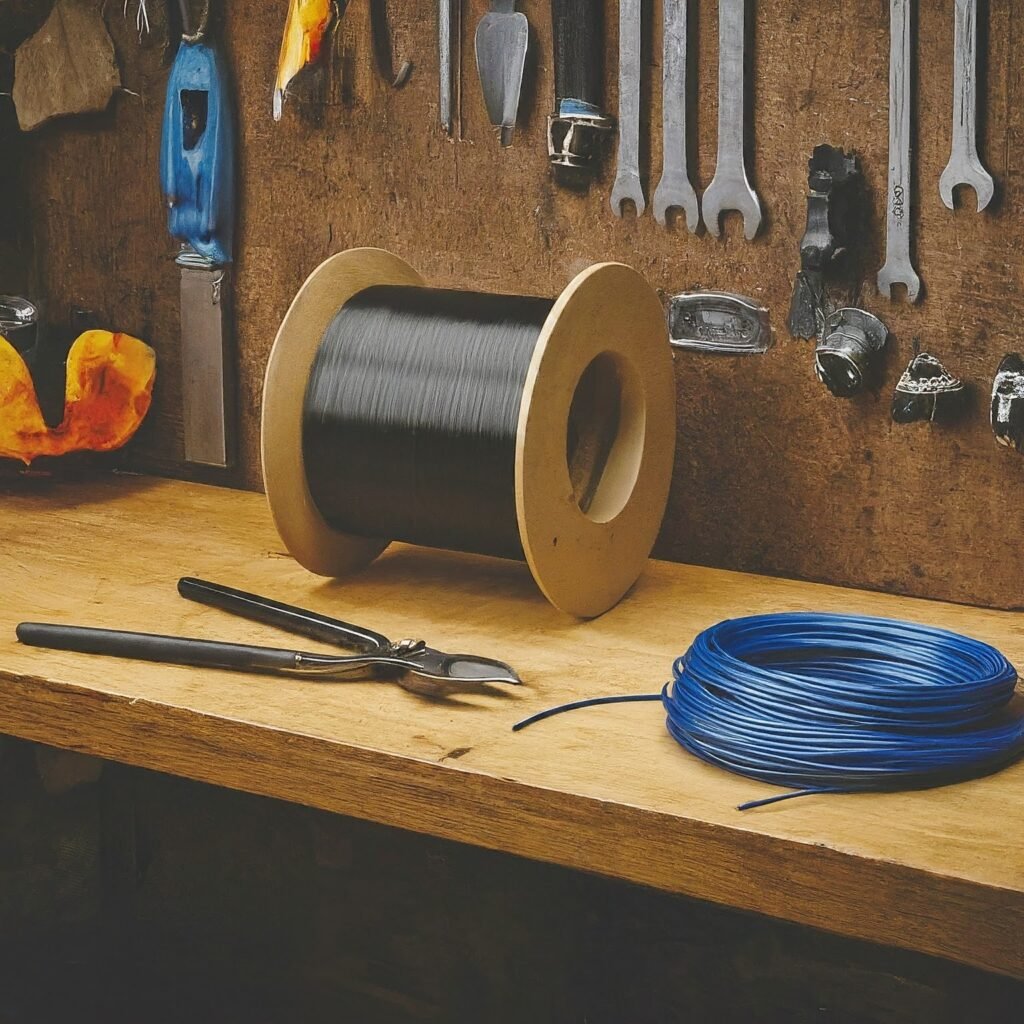
- Craft wire (stainless steel, aluminium, or copper). Choose a gauge according to the size of crystals that you use (thicker wire for larger crystals)
- Wire cutters
- Round-nose pliers
- Jewelry pliers
Steps to Create a Wire-Wrapped Crystal Pendant
1. Cut a Length of Wire
Start by measuring a length of wire which is of a length of 10-12 inches in size. As for the long wire, it should be cut using the wire cutters. This length will allow adequate wire to wrap around the crystal and form a loop for the pendant.
2. Create a Loop
Now, using the round-nose pliers, coil approximately half an inch of one end of the wire into a small circle. This loop will be useful to connect the pendant to a chain or a necklace at a later time. Ensure that the loop is tight and the knot secure.
3. Thread the Crystal
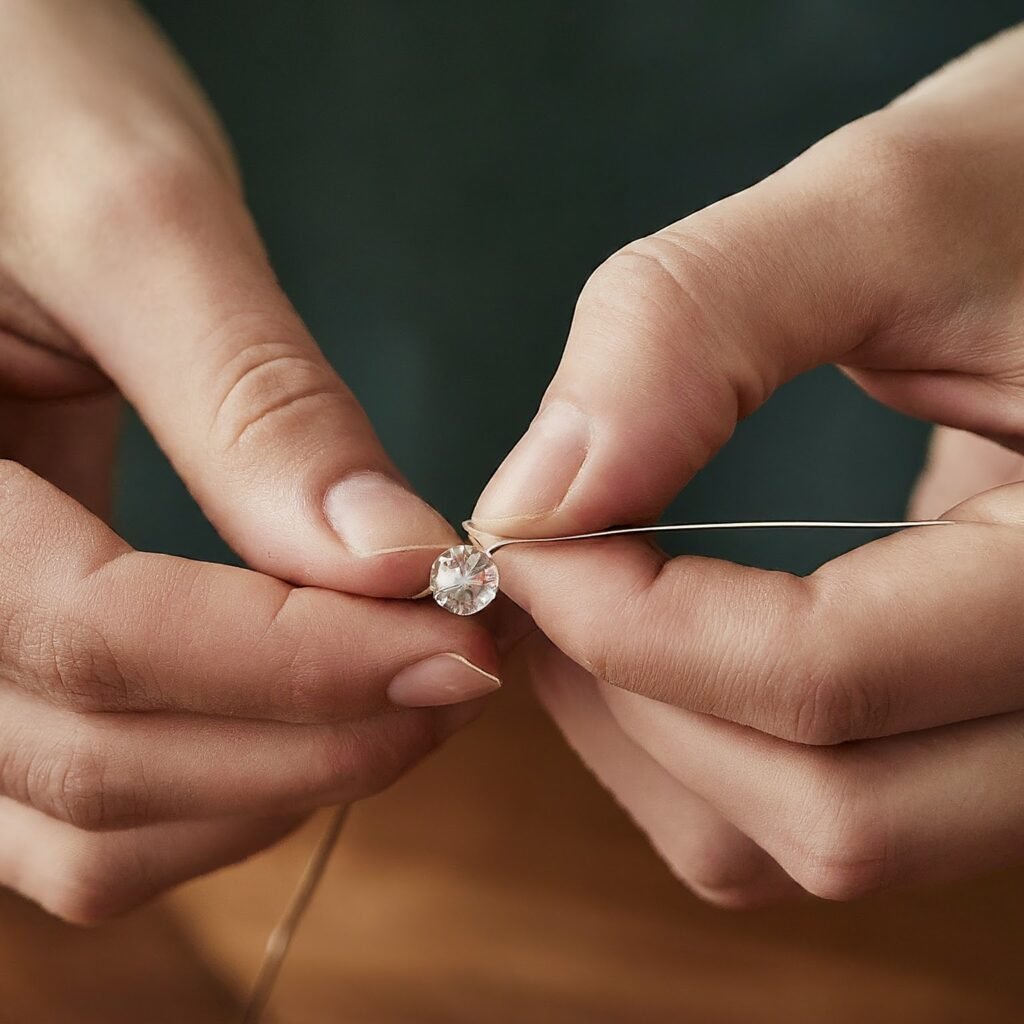
Pass the crystal bead over the remaining wire. Place the crystal in position and hold it with your fingers. Make sure that the hole of the crystal bead is big enough to take the size of the wire without placing stress or strain on the bead.
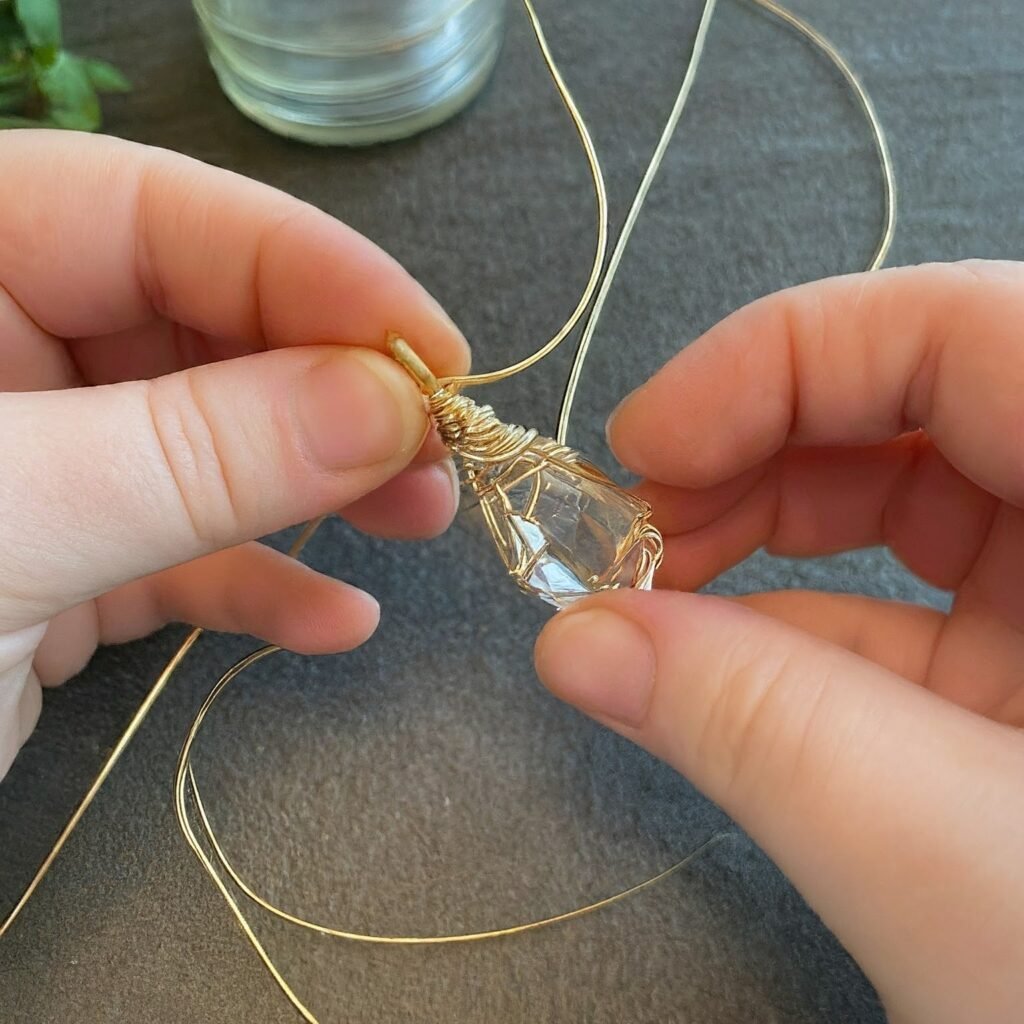
4. Wrap the Crystal
Once the crystal bead is in its position, pick the wire and wrap it a couple of times around the uppermost portion of the crystal bead right below the hole. These first wraps will assist in stabilizing the crystal.
5. Continue Wrapping
Continue wrapping the wire around the crystal bead, creating a design of your choice. It is important to keep the wraps close and smooth to one another. Some prefer to wrap the wire around the entire crystal, while others prefer just a part. Take care while wrapping but make sure you are creative so that your pendant reflects your personality.
6. Secure the End
Once you are content with the desired design, use the jewellery pliers to hold the end of the wire. Twirl it several turns around the already-twisted wire to fix it down. Trim the wires using the cutters to remove any extra wires hanging around. It is also necessary to tuck the end of the wire so that it does not hang and potentially scratch when placed in use.
Additional Tips for Wire-Wrapping
- Use safety glasses when cutting wire to protect your eyes from stray pieces.
- Practice different wrapping techniques on the spare wire before working on your final piece.
- Experiment with different wire gauges and types (like copper or silver-plated) to see what works best for your design and crystal size.
Method 2: Crystal Beaded Necklace
Incorporating crystals with other beads makes it possible to develop a more elaborate necklace using this method. It is slightly more complicated than the wire-wrapped pendant but culminates in an exquisite accessory.

Materials Needed
- Crystal beads
- Seed beads (small beads to fill gaps)
- Beading thread (strong and flexible thread)
- Beading needle
- Crimp beads and crimp covers (to secure the clasp)
- Clasp
- Scissors
Steps to Create a Crystal-Beaded Necklace
1. Plan Your Design
First, draw a simple plan of your necklace or imagine it before your eyes. Determine how you want to position your crystals and how you would like to arrange them with seed beads. Design planning is important so that when you start creating your necklace, you will be guided on how it should look.
2. Cut the Thread

Choose a beading thread that is long enough to go around your neck, plus extra length for closing the clasp. There is nothing wrong with applying too much thread as it can always be unwound and cut while it may be very difficult to wind more thread on.
3. Crimp One End
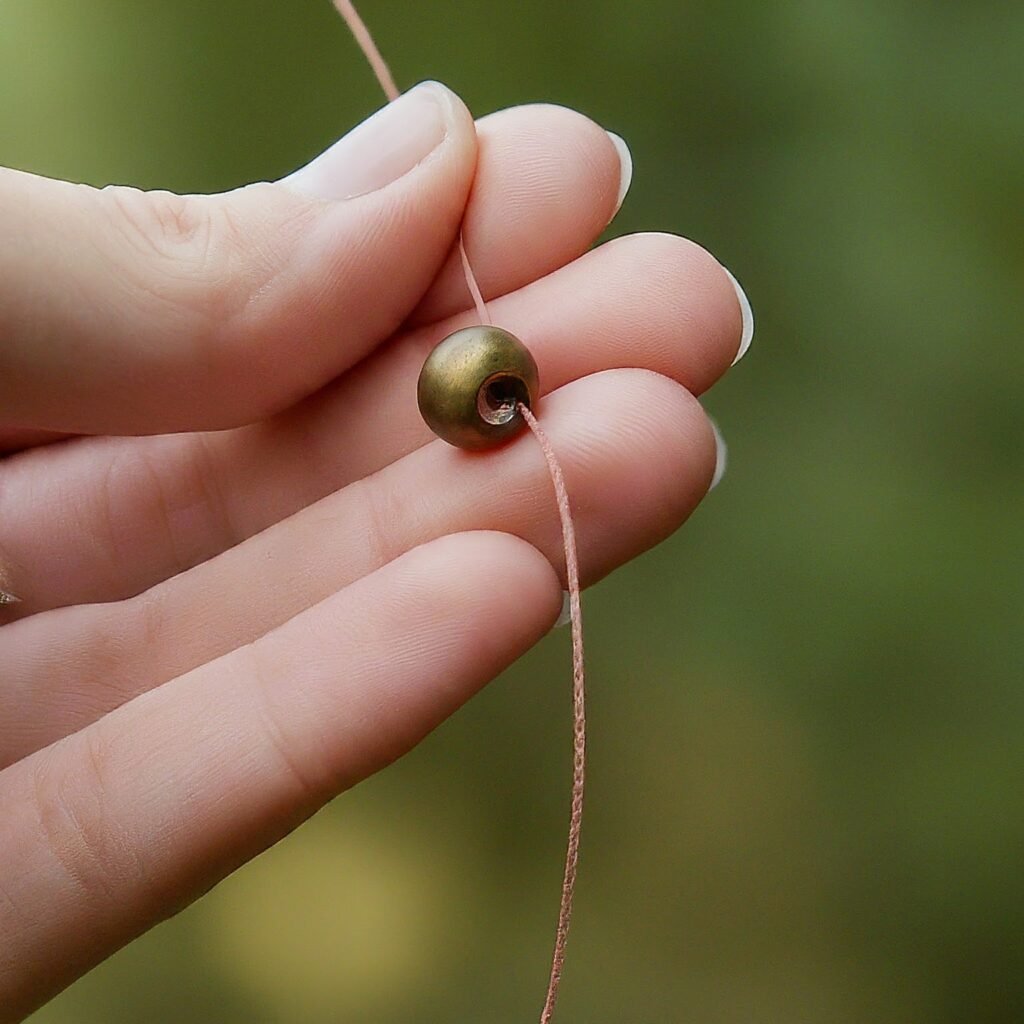
Take the crimp bead and pass it on the thread, bring the thread again over the bead and then close it using the crimping pliers. It also creates a circle at the end of the clasp. The loop should be tight enough to fit and hold the clasp but at the same time, it should be flexible to allow for movement of the clasp.
4. Start Beading
Thread your needle and begin adding beads according to your design. Crystal beads, seed beads, and any other beads that you use should be alternated. First, start with a few seed beads to establish a work area and then incorporate your crystal beads, mixing them with seed beads or other decorative beads as required.
5. Continue Beading
Stick to this design and continue beading until your ends reach the required size. Ensure that the gaps between the beads are equal, and the pattern in the necklace is suitable. Now and then, hold the thread against your neck to determine its appropriate length for hanging.
6. Attach the Clasp
Take a crimp bead, then the clasp and put another crimp bead on the thread. Crimp both crimp beads to lock the clasp. Check how well the clasp is fastened on the thread by pulling it with your fingers. If it feels loose, crimp them again or add another crimp bead for more reinforcement.
7. Tie the Ends
Trim off any loose thread and fasten the opposite end with a knot after the clasp part is in place. Reinsert the loose ends of the thread through several beads to conceal the knot and to ensure that it does not come off. If you want to, you can place a small drop of jewellery glue on the knot to add an additional layer of security.
Additional Tips for Beaded Necklaces
- Choose a strong beading thread to ensure your necklace is durable.
- Use a beading board to lay out your design before stringing the beads.
- Experiment with different bead sizes and colors to create a unique and visually appealing design.
- Keep a consistent tension on the thread while beading to avoid gaps between beads.
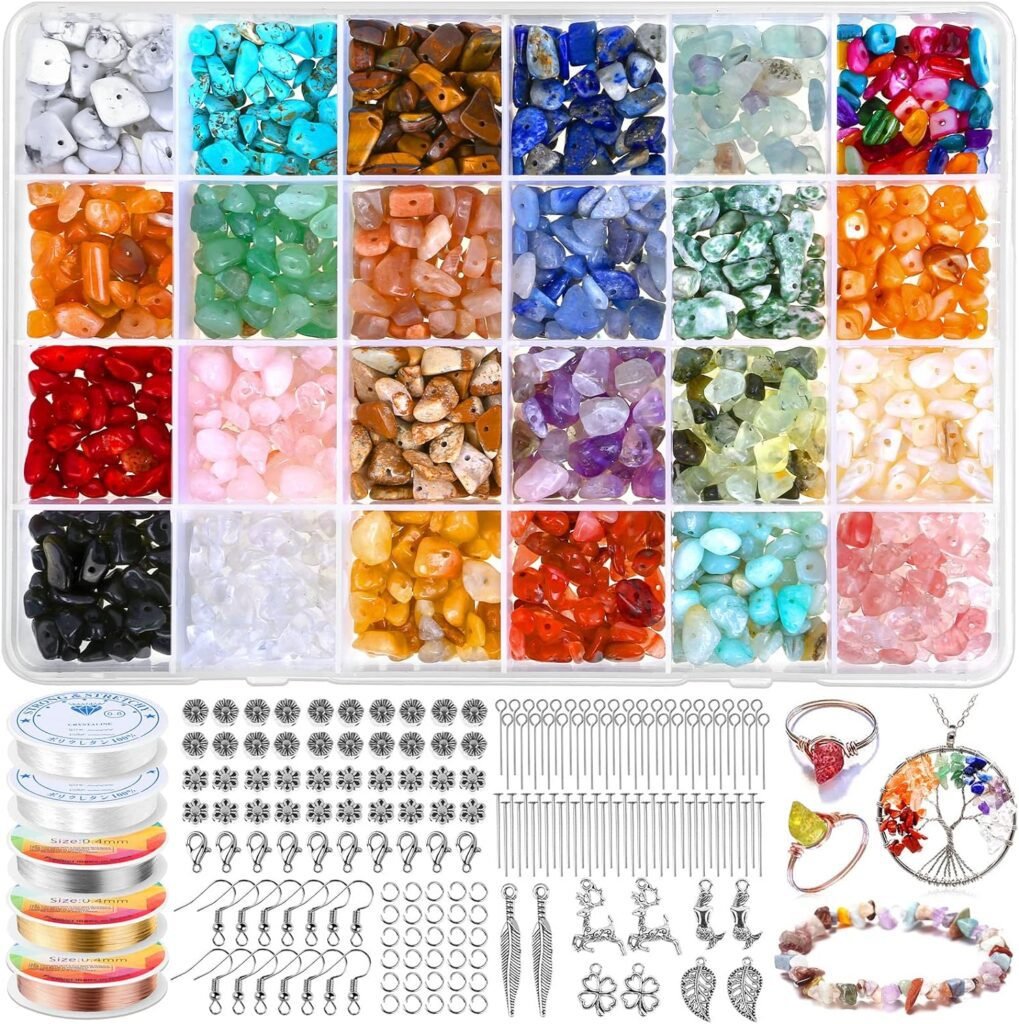
Cludoo Crystal Jewelry Making Kit with 24 Colors Crystal Beads Crystals for Jewelry Making Kit
Exploring Further Techniques and Materials
Once you’ve mastered these basic methods, you can explore other techniques and materials to expand your jewellery-making skills.
Advanced Wire-Wrapping Techniques
- Cage wrapping: Coming up with a wire cage surrounding the crystal creates a more complex pattern.
- Adding embellishments: Thread small beads or charms on your wire-wrapped designs to provide a touch of style.
Bead Weaving
- Peyote stitch: Another commonly used technique in bead weaving that makes the piece look like a fabric.
- Loom beading: Employ a bead loom for making intricate design patterns with beads.
Resin and Epoxy
- Encapsulate crystals in resin: Design elegant pendants with the help of crystals cast in resin as ornaments.
- Use epoxy clay: Design settings and shapes for crystals by using epoxy clay and mold it properly.
Safety Tips
- It is advisable to use safety glasses while cutting the wire to avoid instances of eye injury.
- Work in an airy space, especially when applying glue or dealing with other chemicals.
- Ensure your working environment is clean since it is easy to misplace small beads and tools.
Read Also: How Big is 16×20 for Sewing Projects
Final Words
Jewellery making using crystal can be fun and rewarding, enabling anyone to create an exclusive piece. Whether you begin with a wired-up pendant or go up to beaded necklaces, there is no end to it. Thus, with time and imagination, it is easy to create unique jewelry that will suit the individual and his/her concept of art.