Knit Your Own Cozy Shawl
Shawls are versatile and stylish accessories that add warmth and elegance to any outfit. Whether draped over the shoulders on a cool evening or used as a fashion statement, shawls are beloved for their functionality and beauty. This guide will walk you through popular how to make a shawl? sewing and crocheting. Both methods allow for endless creativity and customization, so let’s get started!
Materials Needed for Making a Shawl
Before we get started, let’s gather all the materials you’ll need for this project:
- Fabric of your choice (the size will depend on your desired finished shawl size)
- Scissors
- Sewing pins
- Matching thread
- Sewing machine (optional, you can hand sew the edges if you prefer)
Choosing the Right Fabric
Here are some popular options:
- Cotton: Lightweight and breathable, perfect for summer shawls.
- Wool: Warm and cozy, ideal for winter.
- Silk: Luxurious and elegant, great for special occasions.
- Linen: Durable and cool, suitable for everyday use.
Consider the Season
When selecting fabric for your shawl, consider the season in which you’ll be wearing it. For winter, opt for warm, cozy fabrics like wool or fleece. For summer, lightweight fabrics such as cotton or linen are ideal.
Patterns and Colors
Think about the patterns and colors that suit your style. A solid color can be versatile and elegant, while a patterned fabric can add a fun and unique touch to your wardrobe.
Preparing the Fabric
Washing the Fabric
Before cutting your fabric, it’s important to wash it. This step pre-shrinks the fabric and ensures that any excess dye is removed. Follow the washing instructions specific to your fabric type.
Ironing the Fabric
Iron your fabric after washing to remove any wrinkles. This will make cutting and sewing easier and more accurate.
Cutting the Fabric
Deciding on the Size and Shape
Decide on the size and shape of your shawl. A simple shawl is typically a large rectangle, but you can also make triangular or circular shawls depending on your preference.
Measuring and Marking
Use a measuring tape to mark your fabric according to your desired dimensions. Mark the measurements with fabric chalk or a washable fabric marker.
Cutting the Fabric
Carefully cut the fabric along the marked lines using sharp fabric scissors. Ensure your cuts are clean and straight for a professional finish.
Preparing the Edges
Preventing Fraying
If your fabric frays easily, you’ll want to finish the edges to prevent raveling. There are a few ways to do this:
- Serging: Use a serger to finish the edges quickly and professionally.
- Pinking Shears: Cut the edges with pinking shears to create a zigzag pattern that resists fraying.
- Folding and Ironing: Fold the raw edges twice towards the wrong side of the fabric (about 1/4 inch each fold) and iron them down. Pin the folded edges in place.
Sewing the Edges
Using a Sewing Machine
If you’re using a sewing machine, sew a straight stitch along the pinned edges to secure them. You can also sew a decorative stitch for a more finished look.
Hand Sewing
If you prefer to hand-sew, use a backstitch to sew the edges closed. This stitch is strong and will hold up well over time.
Adding Decorative Elements
Fringe
For a bohemian touch, consider adding fringe to the ends of your shawl. Cut strips of fabric or use pre-made fringe and sew it onto the edges.
Embroidery
Embroidering a design onto your shawl can add a personalized and artistic flair. Use embroidery floss and an embroidery hoop to stitch your chosen design.
Appliqué
Add appliqué designs to your shawl for an extra layer of decoration. Cut shapes from contrasting fabric and sew them onto your shawl using a zigzag stitch.
Finishing Touches
Ironing the Finished Shawl
Once all the sewing is done, give your shawl one final press with an iron. This will ensure that it looks crisp and professional.
Trimming Loose Threads
Carefully trim any loose threads from your sewing to give your shawl a neat and tidy appearance.
Tips For making a shawl
Choosing the Right Crochet Hook
The size of your crochet hook will affect the tension and overall appearance of your shawl. Here’s a quick guide:
- Fine yarn: Use a smaller hook (e.g., 3.5mm or 4mm).
- Medium yarn: A 5mm or 6mm hook works well.
- Chunky yarn: Opt for a larger hook (e.g., 8mm or 10mm).
Make sure to check the yarn label for the recommended hook size.
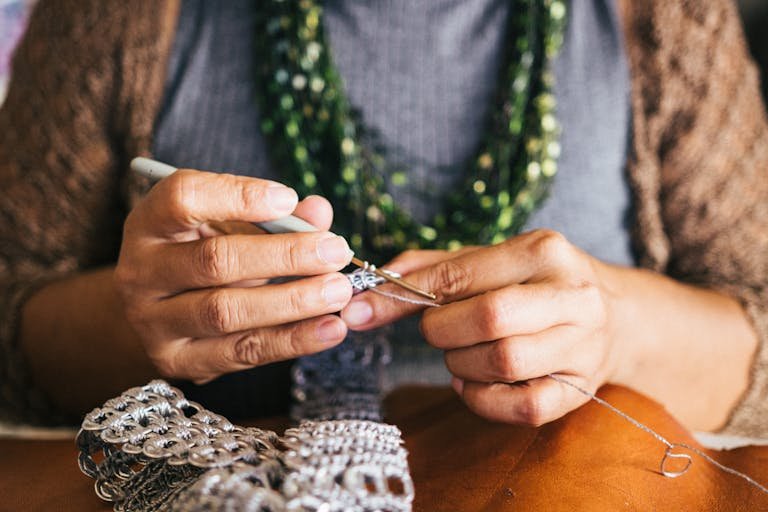
Basic Crochet Stitches
Before starting your shawl, familiarize yourself with these basic stitches:
- Chain stitch (ch): The foundation of most crochet patterns.
- Single crochet (sc): A simple, tight stitch.
- Double crochet (dc): A taller stitch that creates a more open texture.
- Slip stitch (sl st): Used to join rounds or move across stitches.
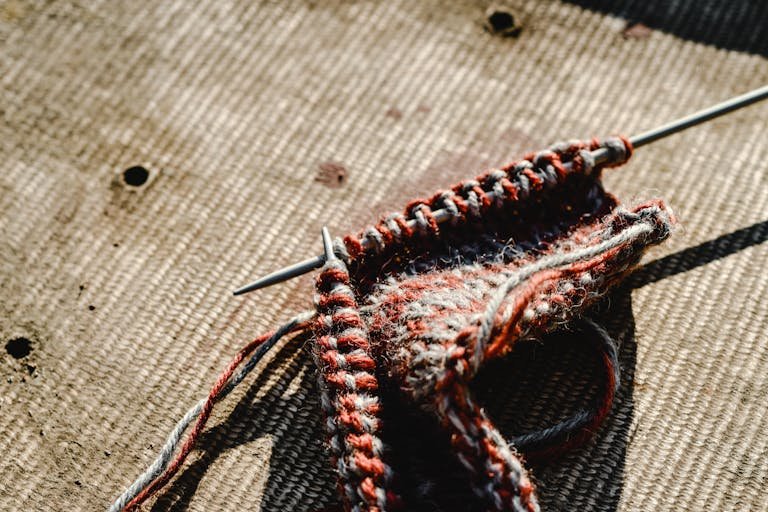
Crocheting Your Shawl
Follow these steps to crochet your shawl:
- Choose a pattern: Simple patterns are great for beginners. Look for free patterns online or in crochet books.
- Start with a foundation chain: This will be the width of your shawl.
- Work in rows: Follow your pattern, using the stitches you’ve learned.
- Add stitches: To create a triangular shawl, you’ll add stitches at the beginning and end of each row.
Blocking Your Crocheted Shawl
Blocking helps even out your stitches and gives your shawl its final shape. Here’s how to do it:
- Lay your shawl flat on a blocking board.
- Pin it in place to stretch out the stitches evenly.
- Lightly mist the shawl with water and let it dry completely.
Adding Personal Touches to Your Crocheted Shawl
Personalize your crocheted shawl with these ideas:
- Fringes or tassels: Attach these to the edges for a bohemian look.
- Beads or sequins: Add some sparkle by sewing on beads or sequins.
- Edging: Crochet a decorative border to finish off your shawl.
Read Also: How to Sew on a Patch: A Comprehensive Guide.
Final Words
Making a shawl is a fulfilling project that lets you express your creativity. Whether you choose to sew or crochet, the process is enjoyable and the result is a beautiful, functional accessory. Gather your materials, follow the steps, and soon you’ll have a lovely shawl to wear or gift.