How to Make an Ouija Board at Home: 3 Detailed Methods
The Ouija board, a classic tool used for communicating with the spirit world, has intrigued and fascinated people for generations. Whether you believe in its mystical powers or see it as a fun and spooky pastime, creating your own Ouija board can be a rewarding and creative project. In this guide, we’ll explore three different methods of making an Ouija board at home, each with detailed steps to ensure your creation is both impressive and functional.
Method 1: Classic Wooden Ouija Board
Creating a wooden Ouija board is a traditional and durable option. This method is perfect for those who want a long-lasting and authentic-looking board.
Step 1: Select and Prepare the Wood
Materials:
- A piece of wood (plywood, oak, or any smooth surface wood)
- Sandpaper
- Wood stain or paint
- Choose Your Wood: Select a flat piece of wood, approximately 18×12 inches in size.
- Sand the Surface: Use sandpaper to smooth out any rough edges or splinters.
- Stain or Paint: Apply a wood stain for a classic look or paint the surface with a base color of your choice. Allow it to dry completely.
Step 2: Design the Board
Materials:
- Pencil
- Ruler
- Paint or markers
- Outline the Layout: With a pencil and ruler, sketch the layout of the board. Include the alphabet (A-Z), numbers (0-9), and words “YES,” “NO,” and “GOODBYE.”
- Add Details: Draw decorative elements if desired, such as moon phases, stars, or mystical symbols.
- Paint the Letters and Numbers: Carefully paint over your pencil markings with a fine brush or use permanent markers for a more precise finish.
Step 3: Finish and Seal
Materials:
- Clear varnish or sealant
- Apply a Sealant: Once the paint is completely dry, apply a clear varnish or sealant to protect the surface and give it a polished look.
- Dry and Inspect: Allow the board to dry thoroughly. Inspect for any missed spots and touch up as needed.
Method 2: Cardboard Ouija Board
If you’re looking for a more accessible and budget-friendly option, a cardboard Ouija board can be just as effective. This method is great for those who want to experiment without investing too much in materials.
Step 1: Prepare the Cardboard
Materials:
- A large piece of cardboard
- Scissors
- Ruler
- Cut the Cardboard: Trim your cardboard to the desired size, around 18×12 inches.
- Smooth the Edges: Use scissors to smooth out any rough edges.
Step 2: Design and Decorate
Materials:
- Pencil
- Markers or paints
- Outline the Design: Use a pencil to sketch the layout, including letters, numbers, and words “YES,” “NO,” and “GOODBYE.”
- Decorate the Board: Color in the letters and numbers with markers or paints. Add any additional decorative elements you like.
- Embellishments: Consider using stickers or other craft supplies to add a unique touch.
Step 3: Create the Planchette
Materials:
- A small piece of cardboard
- Scissors
- Clear plastic (optional)
- Cut the Planchette: Cut a small triangular or heart-shaped piece from the cardboard, around 3×3 inches.
- Add a Viewing Window: Cut out a small circle in the center of the planchette. Optionally, you can glue a piece of clear plastic over the hole for a more authentic look.
Method 3: Paper Ouija Board
For a quick and simple project, a paper Ouija board can be a fun way to experiment with this mystical tool. This method is ideal for those who want a lightweight and easily transportable board.
Step 1: Select and Prepare the Paper
Materials:
- A large sheet of thick paper or poster board
- Ruler
- Choose Your Paper: Select a sturdy paper, such as a poster board or thick craft paper, around 18×12 inches.
- Smooth the Surface: Ensure the paper is free from creases or wrinkles.
Step 2: Design the Board
Materials:
- Pencil
- Markers or pens
- Outline the Layout: Sketch the layout with a pencil, including the alphabet, numbers, and words “YES,” “NO,” and “GOODBYE.”
- Decorate: Use markers or pens to fill in the letters and numbers. Add decorative elements as desired.
Step 3: Create the Planchette
Materials:
- A small piece of thick paper or card
- Scissors
- Cut the Planchette: Cut a small triangular or heart-shaped piece from the thick paper, around 3×3 inches.
- Create a Viewing Window: Cut out a small circle in the center of the planchette.
Tips for Using Your Ouija Board
Once you’ve created your Ouija board, here are some tips to enhance your experience:
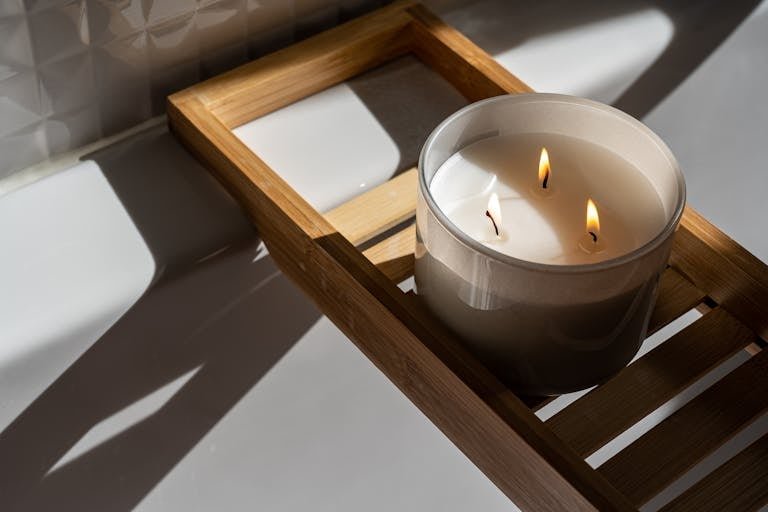
- Set the Mood: Use candles, dim lighting, and quiet music to create a mystical atmosphere.
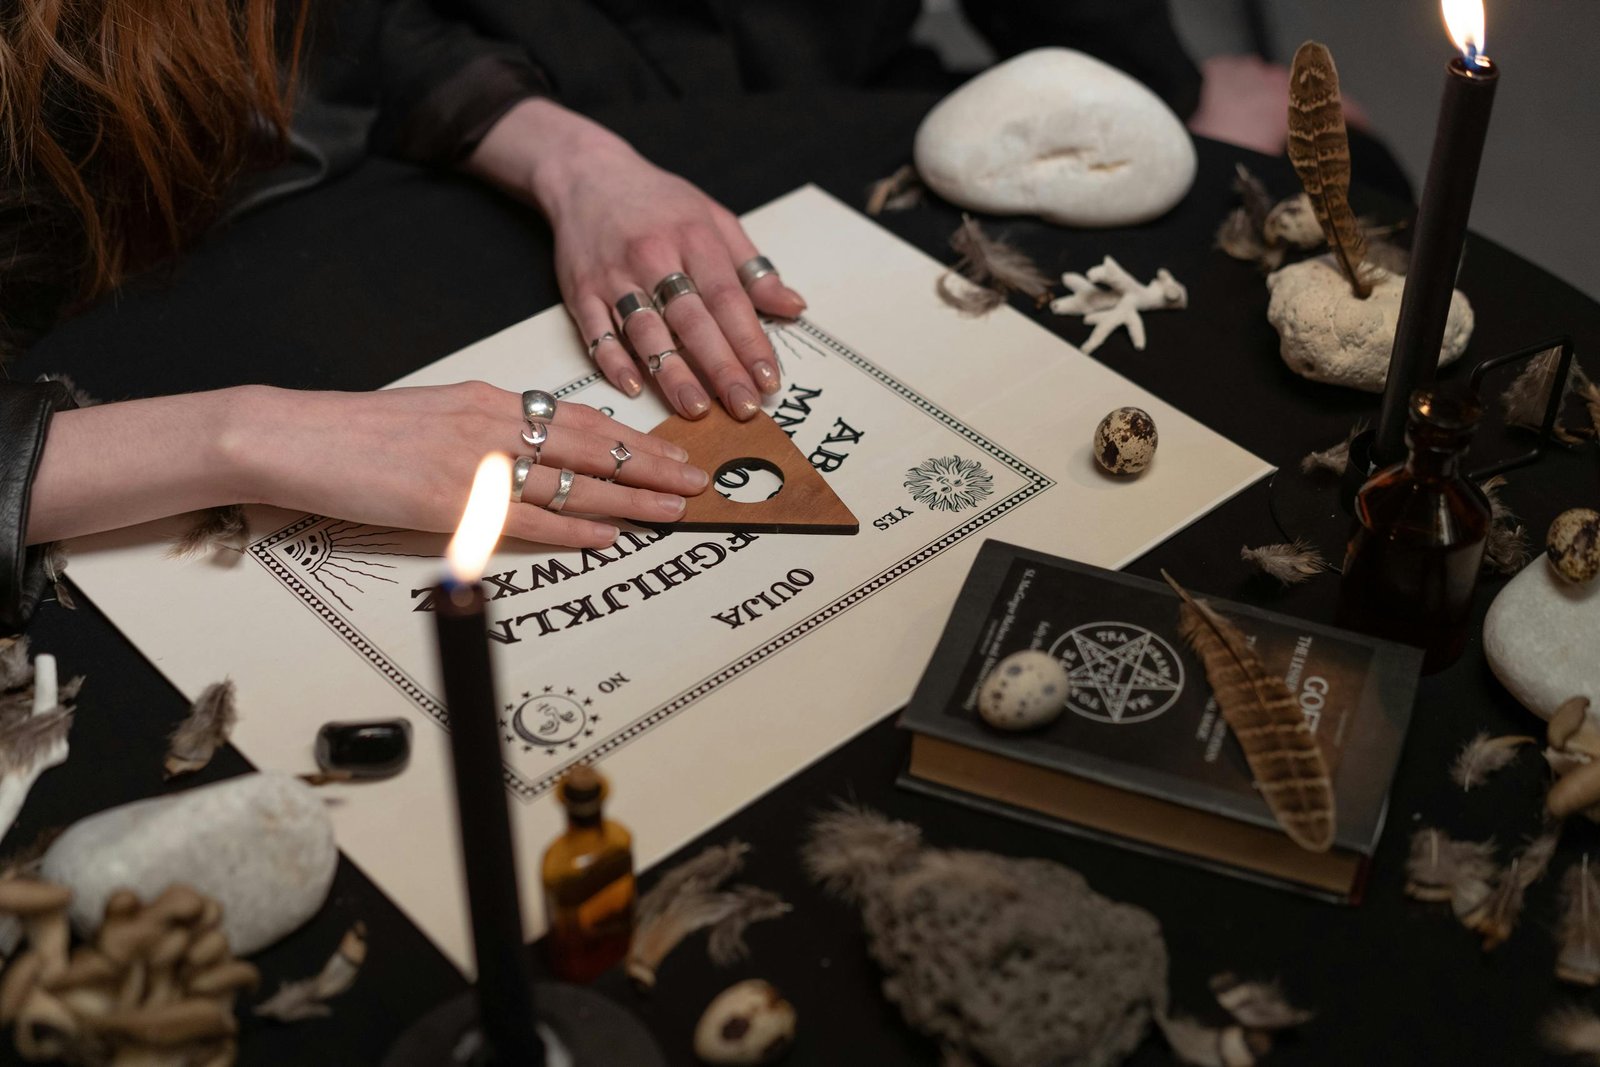
- Gather in a Group: Ouija boards are typically used with multiple people. Gather friends and sit in a circle around the board.
- Place the Planchette: Everyone should lightly place their fingers on the planchette.
- Ask Questions Respectfully: Begin with simple yes or no questions. Always be respectful and patient.
- End the Session Properly: When you’re finished, move the planchette to “GOODBYE” to close the session.
Safety Considerations
While using an Ouija board can be fun, it’s important to consider safety:
- Set Boundaries: Establish clear boundaries for what is acceptable during the session.
- Stay Positive: Negative energy can affect the experience. Maintain a positive attitude.
- Know When to Stop: If anyone feels uncomfortable or scared, end the session immediately.
Read Also: Melt Away Wax Woes: Easy Tips
Closing Words
Creating your own Ouija board at home can be a fun and rewarding project, whether you choose to work with wood, cardboard, or paper. Each method offers a unique way to craft a tool that can be used for exploring the unknown or simply enjoying a spooky evening with friends. Remember to use your board responsibly and always treat it with respect.