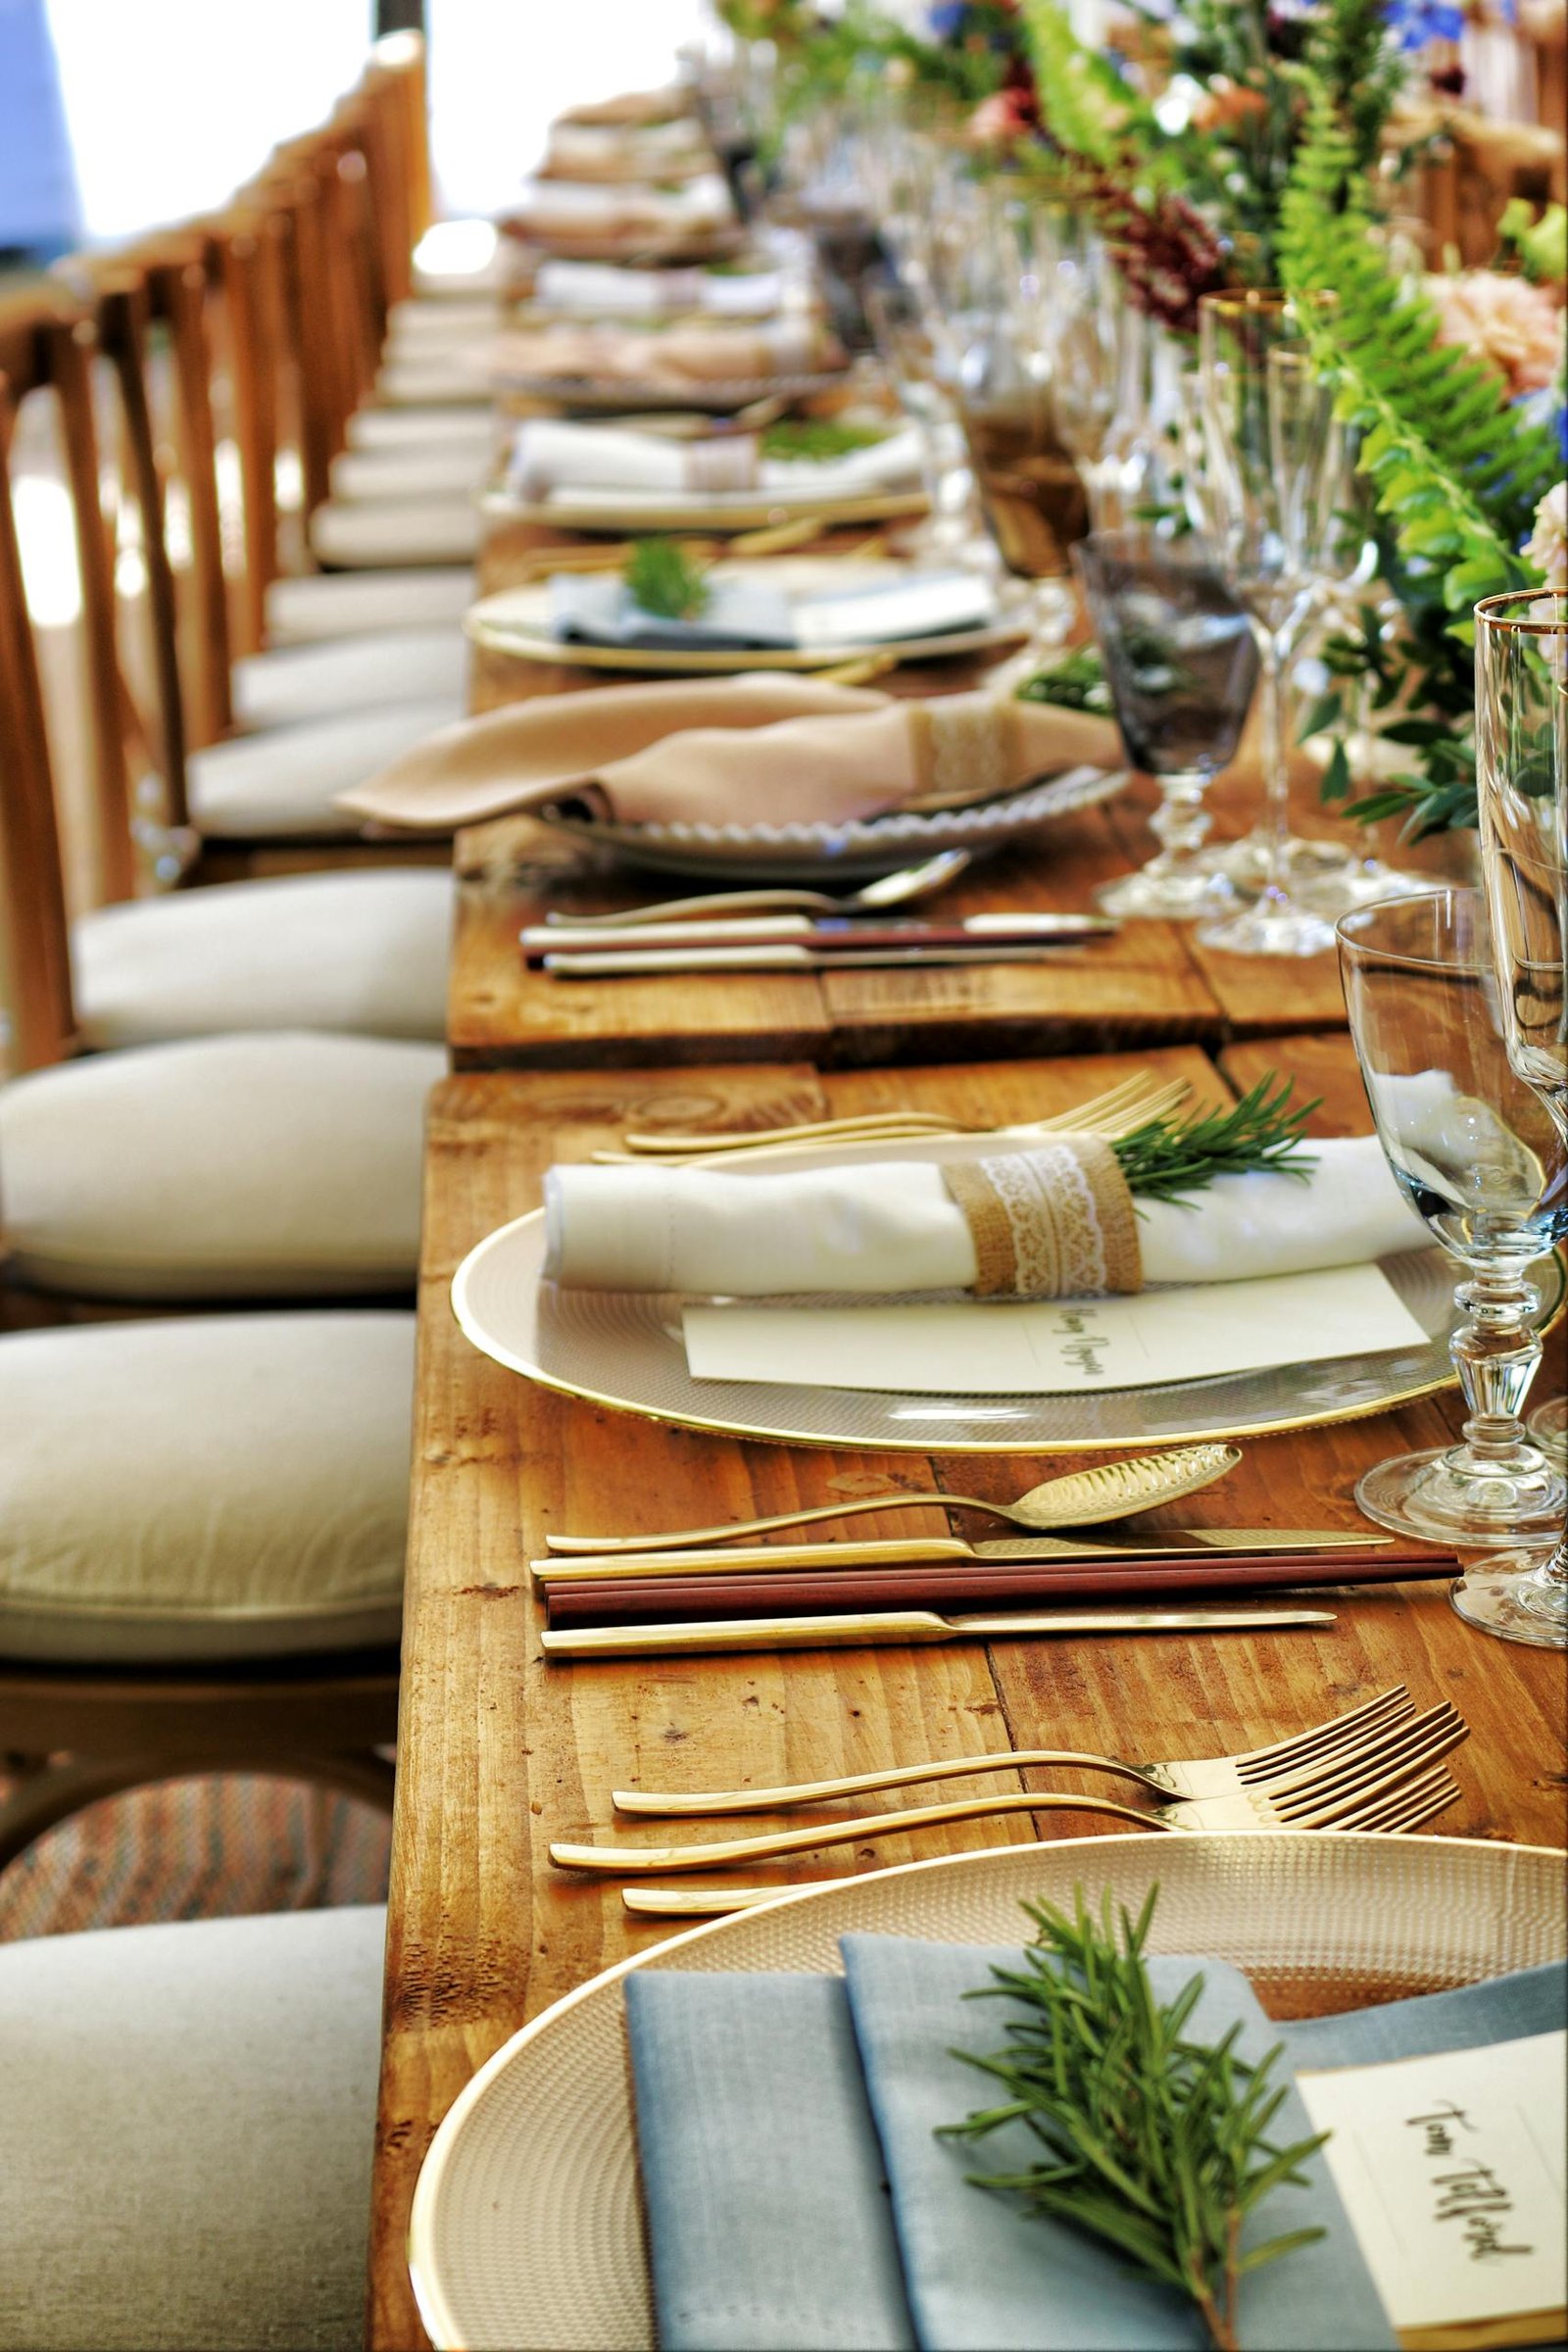
Elevate Your Table: Easy Napkin Swan Tutorial
Napkin folding is an elegant art form that can elevate your dining experience, making it a fantastic addition to special occasions, events, and even casual gatherings. One of the most popular napkin-folding designs is the napkin swan. It’s simple yet stunning and adds a touch of sophistication to any table setting. In this detailed guide, you’ll learn How to Make a Napkin Swan step by step. Whether you’re a beginner or someone looking to refine your skills, this guide will ensure your napkin swan folds turn out beautifully every time.
Materials Needed
Before we dive into the instructions, let’s make sure you have everything you need:
Materials:
- A square napkin (cloth or paper)
- Cloth napkins are recommended for a more refined look, but paper napkins work well for casual settings.
- Choose a napkin size that fits your table setting. Typically, 16″ x 16″ (40cm x 40cm) or larger works best.
- (Optional) Starch Spray
- If using cloth napkins, starch spray can help the napkin hold its shape better.
- A clean, flat surface
- Ensure you have enough space to fold the napkin without obstructions.
Now that you have your materials ready, let’s move on to the actual folding.
Step 1: Prepare the Napkin

The first step in creating a napkin swan is to prepare the napkin. This is a crucial step, as the neatness and precision of the initial folds will set the foundation for the final shape.
Lay the Napkin Flat
- Place your napkin flat on a clean, flat surface. If you’re using a cloth napkin, it helps if it’s ironed and wrinkle-free.
Fold in Half Diagonally
- Take one corner of the square napkin and fold it diagonally across to the opposite corner, creating a triangle. Ensure the edges are aligned perfectly.
This simple triangle fold marks the beginning of your swan structure, giving it a sharp and defined base.
Step 2: Create the Base

Now that you have your triangle, it’s time to start shaping the napkin into something that will eventually become a swan.
Open and Refold Vertically
- Unfold the triangle to return to the square napkin but with the diagonal crease visible.
- Next, fold the napkin in half vertically. This should form a rectangle, with one of the points from the original triangle now at the top.
Flip the Napkin
- Open the napkin back to its square shape, and flip it over so the crease faces downwards on your surface.
Fold the Right Corner
- Take the right corner of the napkin and fold it just past the center crease. This fold must be clean and straight, as it’s the beginning of forming the swan’s neck and head.
Fold the Left Corner
- Repeat the same folding process with the left corner, folding it just past the center crease. At this point, your napkin should be divided into thirds with neat edges.
Fold the Top Flap Back
- Grab the edge of the top flap and fold it back on itself, creating a new crease that runs parallel to the center. This is a significant step, as it will help define the body of the swan.
Pull and Fold the Bottom Flap
- Now, pull the bottom flap out and fold it upwards so that it extends just beyond the top corner of the napkin. This flap forms the tail of the swan.
Create the Beak
- Fold down the very tip of the top corner to create a small triangular fold. This fold will shape the beak of your swan. Adjust the size to your liking, but ensure it’s proportionate to the rest of the swan’s head.
Flip the Napkin Over
- Gently flip the napkin over. Now, you should have the basic structure in place with the swan’s body, neck, and beak starting to take form.
Read Also: DIY Pants That Fit Like a Glove
Step 3: Form the Neck and Body

At this stage, you’ll begin to see your swan come to life. The next steps focus on refining the swan’s neck and giving it more shape.
Fold Vertically
- Fold the entire napkin in half vertically along the center crease. This will create the main body of the swan and define the neck. Make sure the fold is clean and symmetrical.
Reinforce the Creases
- To make the structure sturdier and more defined, run your fingers along the bottom and front creases of the swan. This will help the swan maintain its shape and stand up more effectively.
The swan’s form is now almost complete. It should look like a minimalist bird with a prominent neck and head.
Step 4: Shape the Swan

The final steps are all about fine-tuning the appearance of your swan to make it look realistic and elegant.
Pull Out the Wings
- Carefully pull out the sides of the swan to create its wings. The goal here is to give the swan a three-dimensional appearance with open wings, making it look like it’s about to glide across a table.
Adjust the Neck and Head
- You can now fine-tune the neck and head to achieve your desired look. If the neck seems too long or too short, make small adjustments by gently pulling or pushing the napkin.
- If the head isn’t sitting quite right, try adjusting the beak or folding it slightly tighter.
Final Touches
- Stand the swan up and take a step back to admire your work. Make any final adjustments to ensure the swan is balanced and the wings are spread evenly.
Your napkin swan is now complete!
Tips for a Perfect Napkin Swan
1. Use a Cloth Napkin for Elegance
While paper napkins are suitable for casual settings, cloth napkins offer a more refined and luxurious look. Cloth napkins also hold their shape better and can be reused.
2. Starch Cloth Napkins for Added Structure
If you’re using a cloth napkin, consider starching it before folding. Starch adds stiffness to the fabric, making it easier to fold and helping the swan maintain its shape for longer periods.
3. Practice Makes Perfect
Don’t be discouraged if your first napkin swan doesn’t turn out exactly as you envisioned. The more you practice, the more skilled you’ll become at folding napkins into beautiful swans.
4. Experiment with Napkin Sizes
Try different napkin sizes to create swans of various proportions. Larger napkins will create more prominent swans, while smaller napkins are perfect for more delicate table settings.
5. Add Decorative Elements
Once your swan is complete, you can personalize it further by adding small decorative elements. For example, you can tie a ribbon around the swan’s neck or place a small flower in its wings to make it even more eye-catching.
Applications of Napkin Swans
Napkin swans are versatile and can be used for various events and purposes. Here are some ideas on where and how to use them:
1. Wedding Receptions
Napkin swans make a stunning addition to wedding receptions. Place one at each guest’s seat as a decorative touch that ties into the overall elegance of the event.
2. Holiday Dinners
Whether it’s Thanksgiving, Christmas, or any other holiday, adding a napkin swan to your dinner table can elevate the entire dining experience. It shows that extra thought and effort have gone into the table setting, making the occasion even more special.
3. Restaurants and Formal Dining
Restaurants that focus on providing a luxurious dining experience can use napkin swans to enhance their table settings. It adds an artistic flair and can leave a lasting impression on customers.
4. Special Occasions
For birthdays, anniversaries, or other milestone celebrations, napkin swans can add a touch of elegance to your table decor. They can also serve as a conversation starter, allowing guests to appreciate the artistry involved in the napkin folding.

HOME & HOOPLA Swan Party Supplies – Pink and Gold Swan Princess Paper Dessert Plates, Beverage Napkins, and Forks
Read Also: How to Win in Mancala: 3 Effective Strategies
Closing Words
Creating a napkin swan is a simple yet elegant way to enhance your table setting for any occasion. With a little patience and practice, you can master the art of napkin folding and impress your guests with this timeless design. Whether you’re preparing for a wedding, or a holiday dinner, or just want to add a touch of class to your everyday meals, the napkin swan is a versatile and beautiful addition to your table.
Remember, the key to a perfect napkin swan is in the details. Take your time, make clean folds, and don’t be afraid to practice until you get it just right. Before you know it, you’ll be folding napkin swans with ease, adding a delightful decorative element to any dining experience.