Embroider Your Sweater: DIY Guide
Adding your own embroidered designs to a sweater gives it a personal touch and allows you to express your creativity in a fun and practical way. Whether you’re an experienced crafter or a newbie looking for a new hobby, embroidering a sweater is an enjoyable project that can yield stunning results. Ready to get started? Let’s dive into sweater embroidery and Learn How to Embroider a Sweater.
Understanding Hand Embroidery
In hand embroidery, the designs are stitched by hand, which provides complete control of the process. This method is very suitable for first-timers and professional crafters since it can be personalized.
Materials Required for Hand Embroidery
Before diving into hand embroidery, gather the necessary materials:
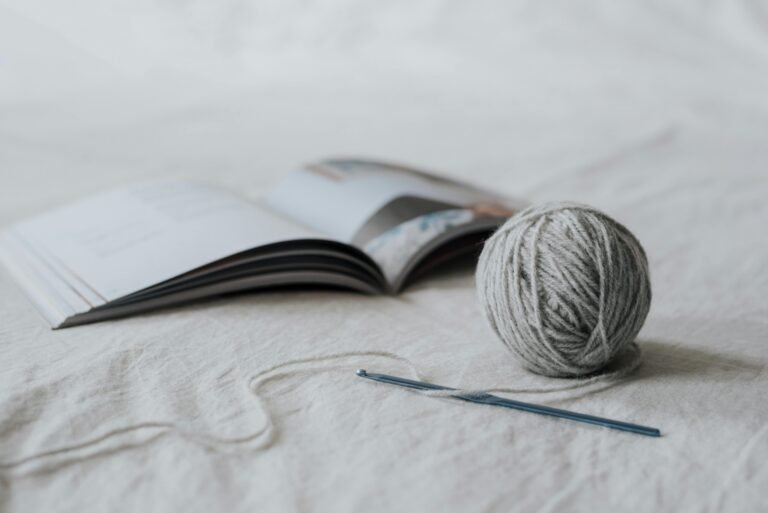
- Embroidery needle (size depends on yarn thickness)
- Embroidery floss in your chosen colors
- Embroidery hoop (size should fit your design)
- Fabric scissors
- Sweater
- Optional: embroidery pattern, pencil or fabric marker, water-soluble stabilizer (for loosely knit sweaters)
Step-by-Step Guide for Hand Embroidery
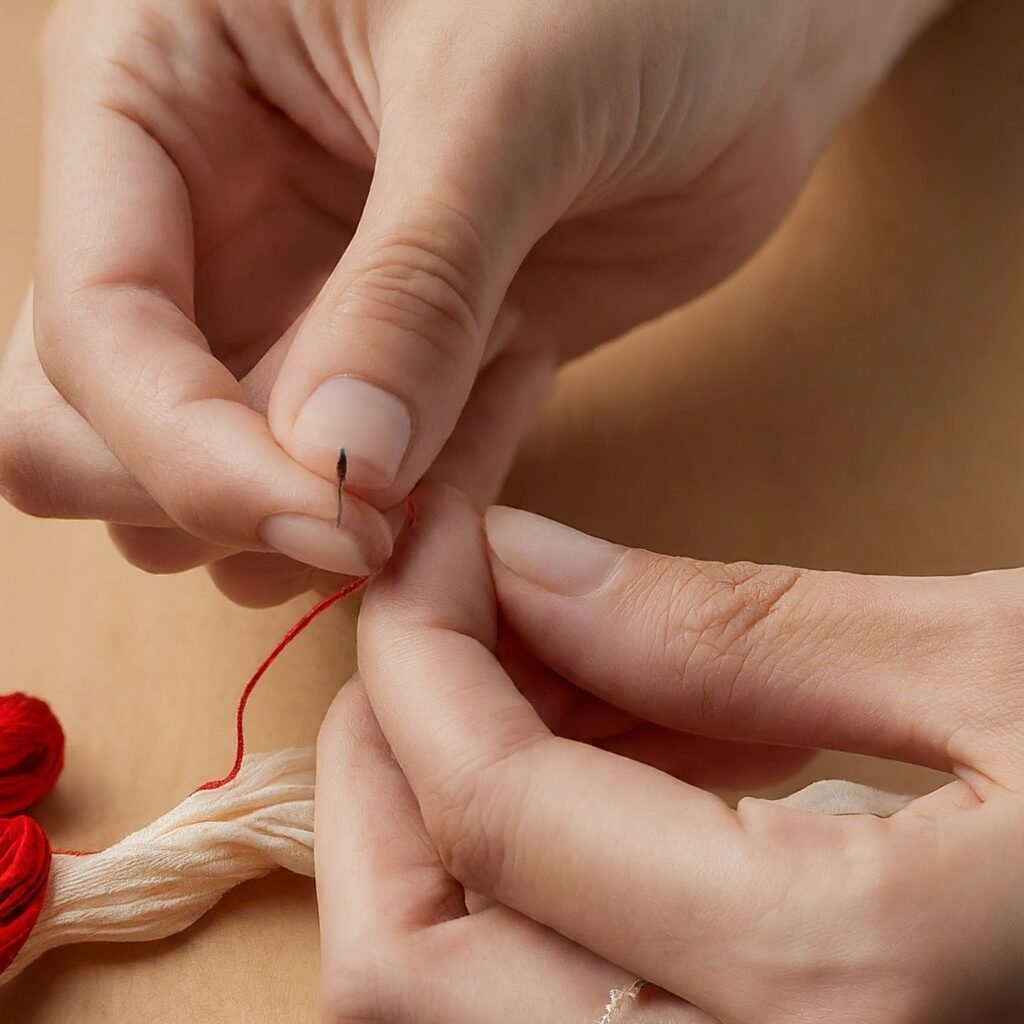
- Prepare Your Design: First, lightly draw your design on the sweater with a fabric pencil or a marker. For detailed patterns, draw them on tracing paper first, then, using a light source, place them on the sweater and use a pencil.
- Thread Your Needle: Divide your embroidery floss into strands and prepare your needle for sewing. The number of strands is another critical factor that must be changed depending on the needed thickness.
- Prepare the Sweater: To avoid knitting challenges, it is advisable to use a water-soluble stabilizer for floppy sweaters. Take a piece slightly bigger than your cutout and fuse it to the wrong side of the sweater.
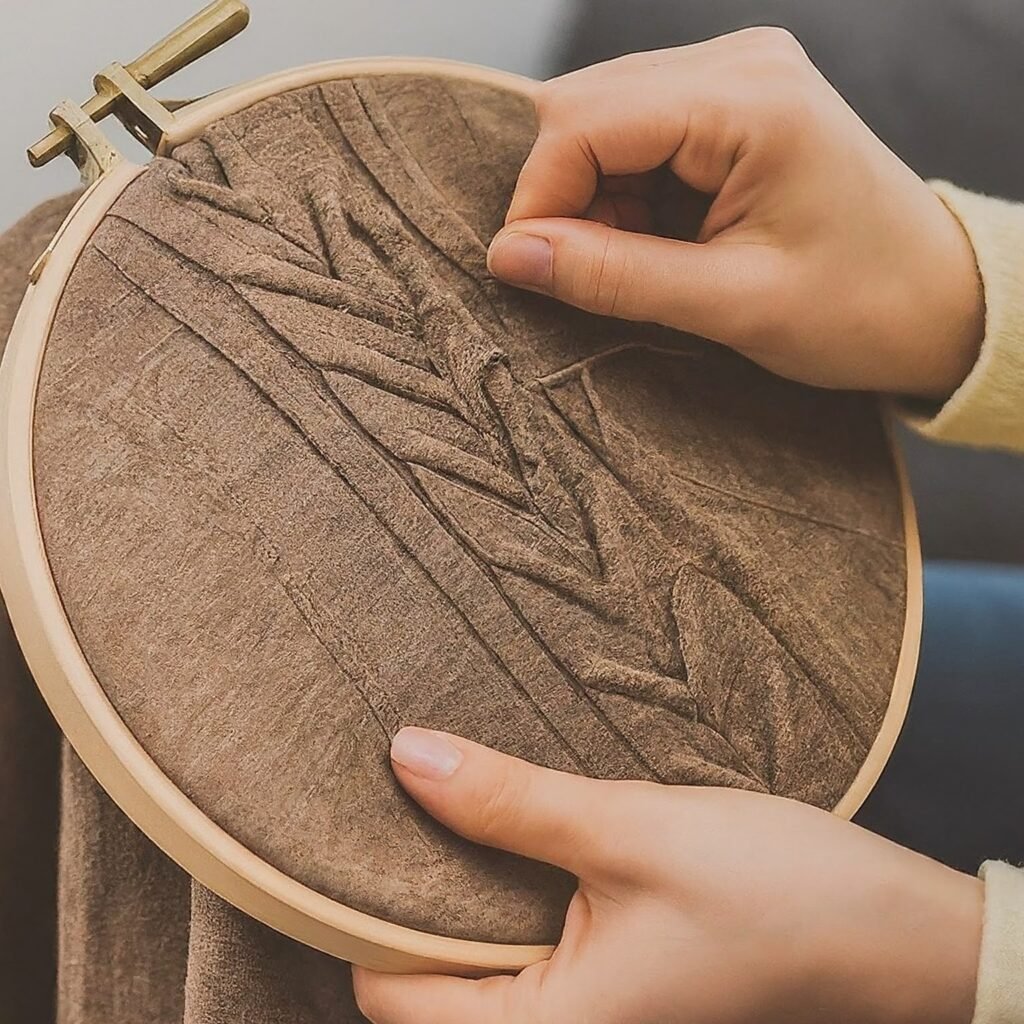
- Mount the Sweater: Position your design area within the embroidery hoop and screw it until it remains taut.
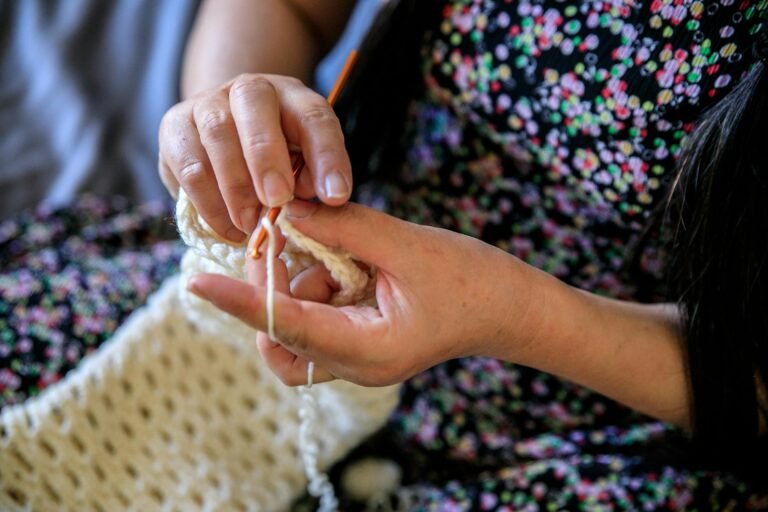
- Start Stitching: Select from several kinds of embroidery stitching, such as satin, back, and French knots. Repeat the pattern of your freehand design.
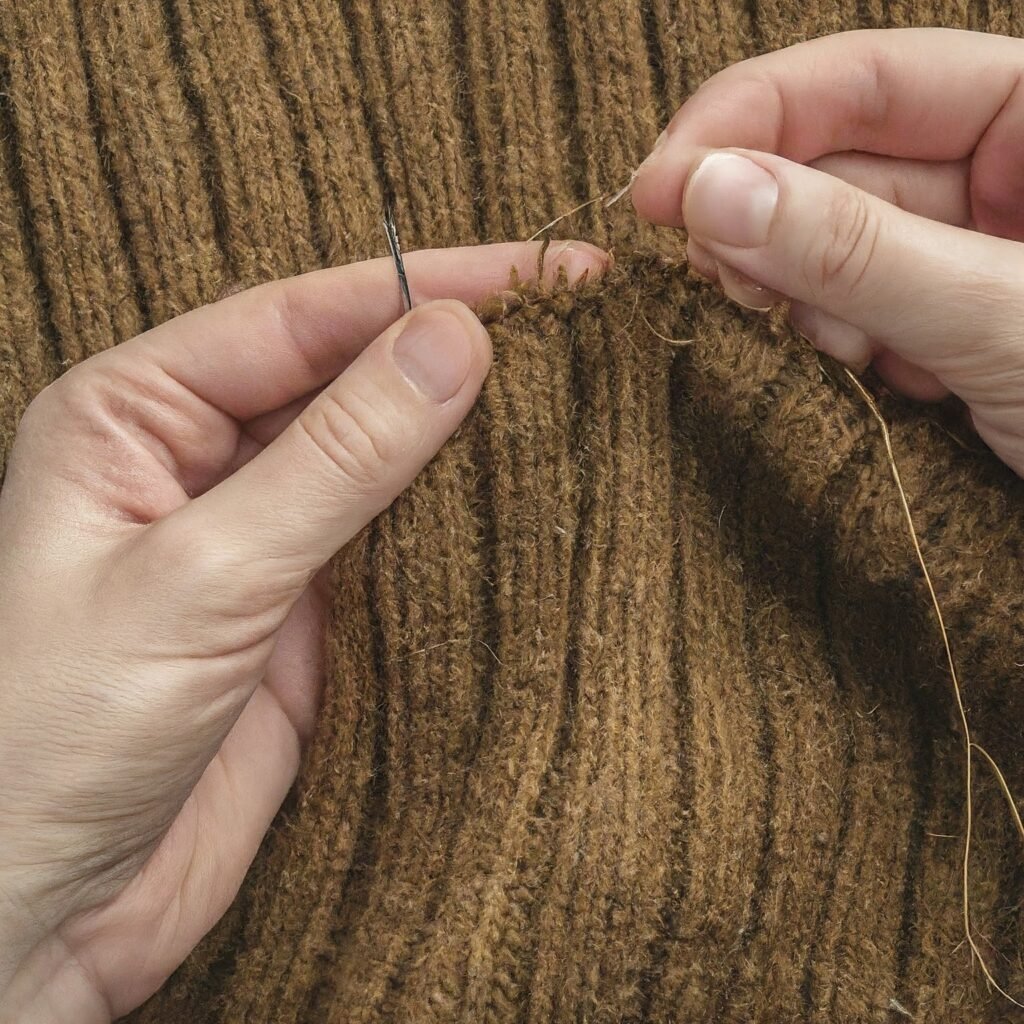
- Finishing Touches: Sew up protruding threads by passing them under the stitches on the wrong side of the sweater. If using a stabilizer, wash it off with water following the instructions on the pack, then remove it.
Exploring Embroidered Transfers
Embroidered transfers offer a quicker and easier alternative, perfect for beginners or when time is limited. This method involves applying pre-designed transfers onto the sweater.
Materials Required for Embroidered Transfers
Ensure you have the following materials before proceeding with embroidered transfers:
- Embroidery iron (or regular iron if heat-resistant)
- Embroidery transfer pattern (purchased or created with iron-on transfer paper)
- Parchment paper (optional)
- Sweater
Step-by-Step Guide for Embroidered Transfers
- Prepare Your Transfer: Follow the package instructions for applying for purchased transfers. Print your design in reverse onto iron-on transfer paper for custom transfers and cut it out.
- Position the Transfer: Place the transfer on your sweater in the desired location.
- Iron the Transfer: Choose the right setting on your iron and use proper pressure for the recommended time. To add another layer of safety, parchment paper can be placed between the iron and the transfer.
- Peel the Transfer Paper: When the transfer paper has reached room temperature, gently remove the paper, and a design remains on the sweater.
Additional Tips for Success
Use an Embroidery Hoop
An embroidery hoop ensures that the fabric is pulled tight to avoid creasing, which makes your work easier and more professional.
Loosen Stitches on Tight Knits
If your stitches look too tight, you can delicately cut only one yarn between them to increase the space.
Practice on Scrap Fabric
Before starting on your sweater, practice your stitches on a scrap piece of knit fabric to gain confidence and ensure your design turns out as planned.
Wash the Sweater After Embroidery
Once finished, wash the sweater according to the care label, but be gentle around the embroidery to preserve your work.
Detailed Steps for Basic Embroidery Stitches
Backstitch
- Bring Needle Up: Bring the needle up at point A.
- Insert Needle at Point B: Insert it down at point B, creating your first stitch.
- Move Back to Point C: Move the needle up at point C, back towards point A.
- Insert Back to Point B: Insert it down at point B again.
Satin Stitch
- Outline Shape: Outline the shape you want to fill.
- Bring Needle Up: Bring the needle up at the edge of the shape.
- Insert Across Shape: Insert it across the shape to the other side.
- Repeat: Continue bringing the needle up on one side and down on the other, filling the shape.
Chain Stitch
- Bring Needle Up: Bring the needle up at point A.
- Form Loop: Form a small loop with the thread.
- Insert Needle at Point B: Insert the needle down at point B and up again inside the loop at point C.
- Repeat: Continue forming loops, ensuring each loop is anchored by the next stitch.
Troubleshooting Common Issues
Puckering
If your fabric puckers, it might be too tight in the hoop. Loosen the fabric slightly and continue stitching.
Loose Threads
Ensure your knots are secure, and weave the ends properly to avoid loose threads.
Uneven Stitches
Practice on scrap fabric to achieve consistent stitch length and tension.
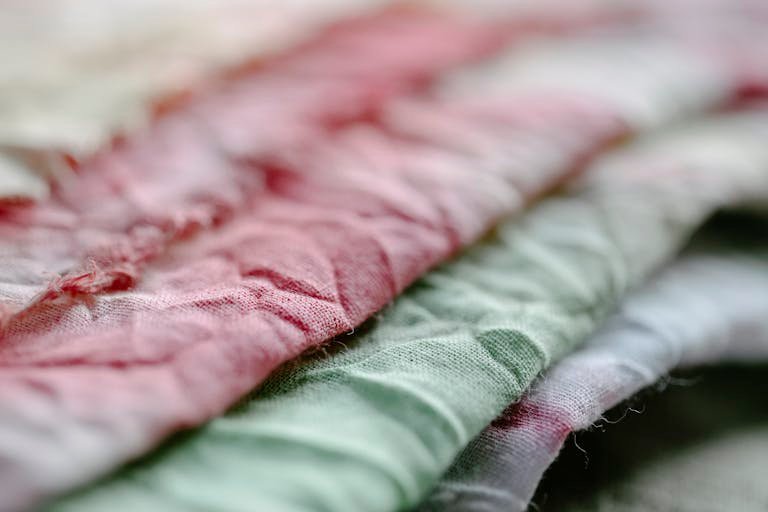
Creative Ideas for Embroidery Designs
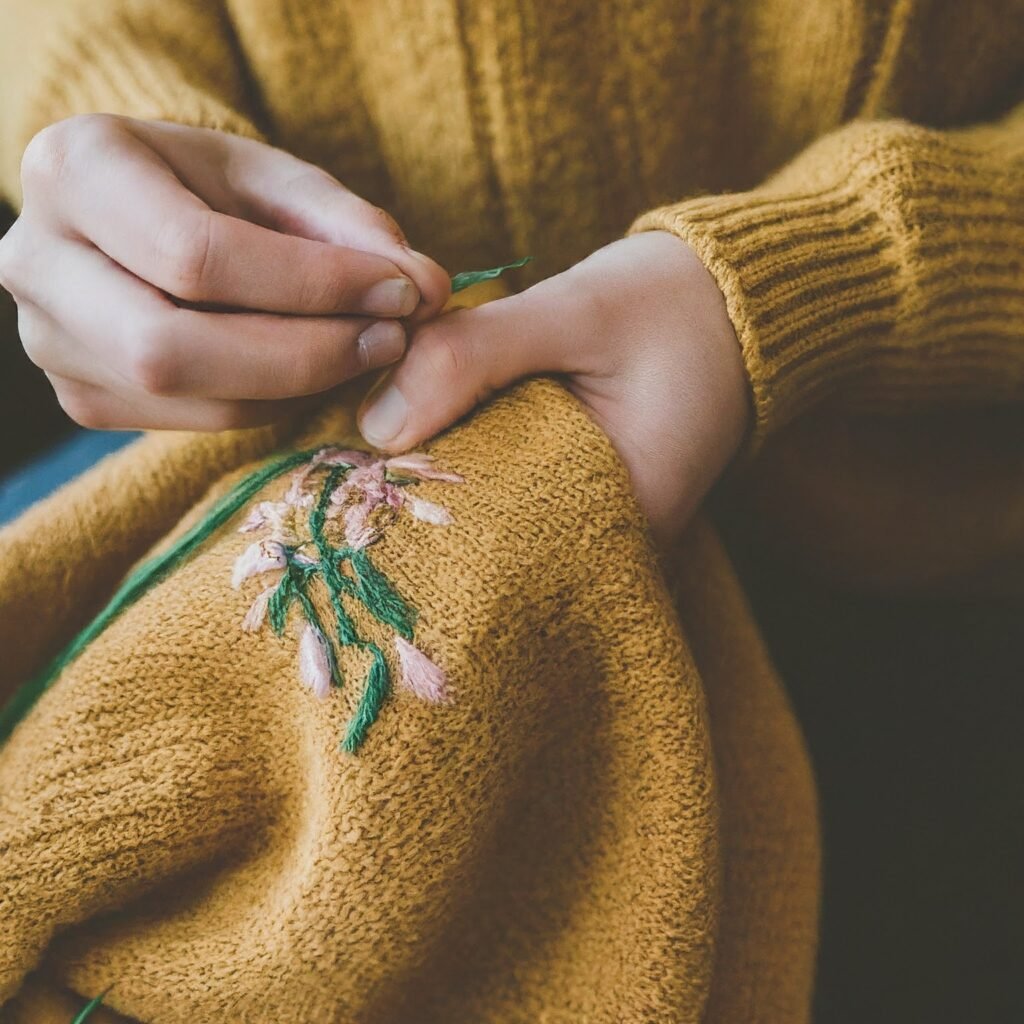
Floral Patterns
Floral designs are classic, ranging from simple daisy chains to intricate bouquets.
Geometric Shapes
Geometric patterns can be modern and striking, using bold lines and shapes.
Lettering and Quotes
Add your favorite quotes or initials for a personalized touch. Use backstitch for neat, readable letters.
Nature Themes
Leaves, trees, and animals can bring a touch of nature to your sweater.
Abstract Art
Freeform designs and abstract art allow for much creative freedom and can make a statement.
Caring for Your Embroidered Sweater
Washing
Hand wash or use a delicate cycle with mild detergent. Avoid harsh chemicals and bleach.
Drying
Lay flat to dry to maintain the shape and integrity of your embroidery.
Storage
Store your embroidered sweaters folded, not hung, to prevent stretching.
Read Also: How to Get Orange Dye: A Comprehensive Guide
Final Words
Embroidering a sweater allows you to infuse your personal style and creativity into your wardrobe. Whether you prefer the hands-on approach of hand embroidery or the convenience of embroidered transfers, each method offers a rewarding crafting experience. With the right materials and techniques, you can transform a plain sweater into a unique, eye-catching garment that reflects individuality.