How To Decrease In Crochet
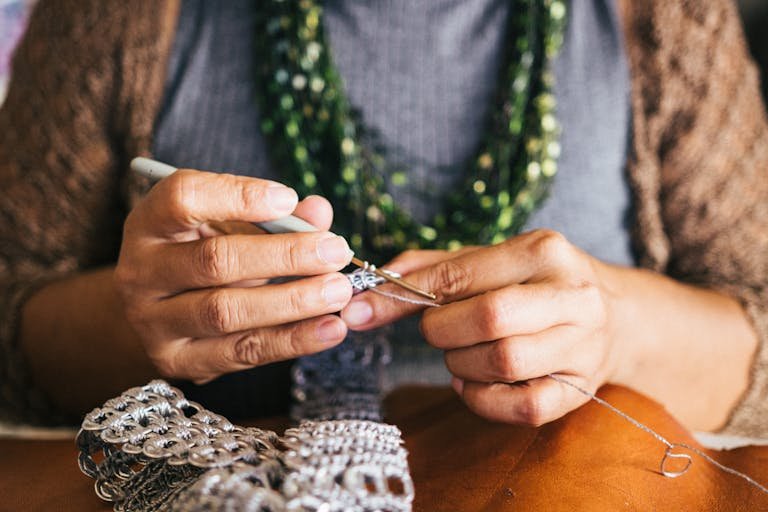
Crochet enthusiasts often encounter situations where they need to reduce the number of stitches in their project, whether it’s to shape an amigurumi doll or create intricate patterns. Among the basic crochet decreasing methods, one can name the Single Crochet Decrease, frequently referred to as sc2tog, and the ‘invisible decrease’.
This stitch helps you hide the seams where the two stitches were put together, making it look as if there was only one stitch instead of two. In this complete guide, we are going to break down how to decrease in crochet, there we shall provide some step-by-step instructions for How To Decrease In Crochet, some success tips, and practical ideas to make you the expert of this crochet fundamentals.
Methods to decrease crochet
There are two main types of decreases in crochet:
- Single crochet decrease.
- Invisible decrease.
Understanding the Single Crochet Decrease (sc2tog)
What is sc2tog?
The Sc2tog or the single crochet decrease is the most basic crochet technique that can be used to reduce the stitches on the work. This is applied a lot in patterns to form pieces or add complicated patterns.
Why is sc2tog Important?
Getting the hang of sc2tog is a prerequisite for creating professional crochet work in the same manner. What you will achieve is the proper dimension and form by reducing the stitches at the desired places.
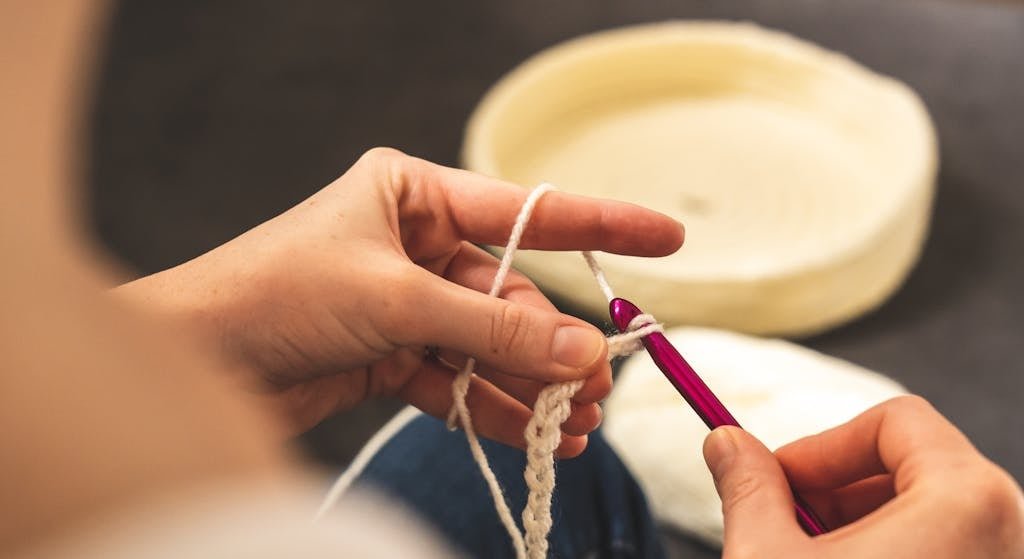
Step-by-Step Guide to the Single Crochet Decrease (sc2tog)
1. Insert and Yarn Over
First of all, identify the position of the first stitch you intend to decrease, then continue to the next step. Put your needle into the top two chains of that stitch following the direction from front towards backward.
Yarn over with your working yarn and pull up a loop through the stitch. You’ll now have two loops on your hook.
2. Capture the Second Stitch
Without completing the single crochet, locate the next stitch you wish to decrease.
Insert your hook into the top two loops of the second stitch, from front to back.
Yarn over again and pull up a loop through the stitch. You should now have three loops on your hook.
3. Complete the Decrease
To finish the sc2tog, yarn over once more with your working yarn.
Draw the yarn through all three loops on your hook simultaneously. This action completes the decrease, leaving you with one loop on your hook.
4. Result
Now! Once you make two stitches into one single crochet stitch you’ve done it successfully. Repeat these steps as needed to continue decreasing your pattern.
Tips for Perfecting the Single Crochet Decrease
1. Maintain Consistent Tension
Consistency is of paramount importance in crochet. Watch out for the tension you have while you join your sc2tog stitch to get uniform all along your task.
2. Practice on Scrap Yarn
Before integrating s2tog in your chief project make sure that you first practice the stitch on a few pieces of yarn. This will be good to build up some practice and perfect the technique.
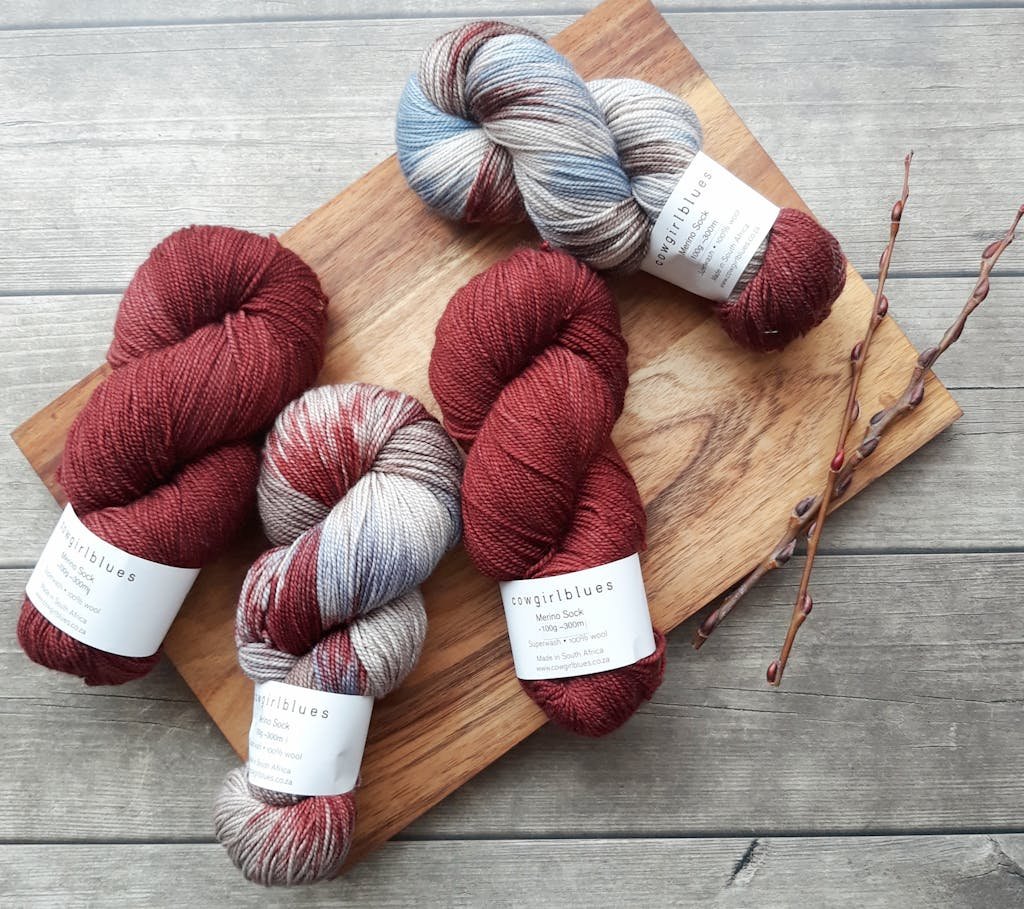
3. Use the Right Hook Size
Select a crochet hook that matches your thread breadth and the desired tightness. Proper hook selection will guarantee tight and uniform knots.
Understanding the Invisible Decrease
The invisible decrease refers to a method that helps you avoid disrupting your crochet project with a smooth and effortless decrease. In contrast to the undecorated decreases that can be noticeable and contribute to a bulky appearance, the inconspicuous decrease is more refined. This makes it an excellent choice for projects where aesthetics is important because a lot of them involve crochet amigurumi and knitwear with fancy stitch patterns as well.


Step-by-Step Guide to Invisible Decrease
1. Locating Your Stitches
Before you reduce the amount of invisibility, identify the two stitches you want to decrease. These stitches are normally found next to each other, and you will be working both into them to create a decrease.
2. Inserting and Yarn Over (Creating the Third Loop)
Unlike in a normal single crochet where your hook goes into the top two loops of a single stitch, in a single crochet decrease you’ll be going into the stitch-in-between of the stitches to be decreased. This is indeed the imaginary space in between each stitch, and it is there that your “invisible” stitch will be formed.
Yarn over with your yarn and pull up a loop. This action creates a third loop on your hook, which is essential for completing the invisible decrease.
Read Also: How To Make A Shawl?
3. Working into the Third Loop
Now you put on your third chain between the stitches it’s now time to work it as if it were a regular single crochet stitch. Yarn over for the second time pull through and leave only the two loops on the hook. This sets into place the last of the crochet that makes up the “invisible” stitch you created.
4. Working into the First Stitch
With one part of the decrease completed, it’s time to get started on the first stitch you wanted to have decrease. Push your hook into the top two loops of this row in the same manner that you would for an ordinary single crochet instead.
Yarn over with your yarn and pull through the loop on your hook and the top loop of the stitch you just inserted. This essentially creates one single crochet over the previously formed stitch.
5. Completing the Decrease
And finally, you will have only two loops on your hook. Sail by with your yarn again, and tug the yarn through the loops on your hook. Now we have the final item which is the greatest decrease.
Result You Will Get
Now, You’ve successfully decreased two stitches into one single crochet stitch using the invisible decrease technique. This stitching technique provides a true illusion of traveling from the midpoint between the existing stitches to the center which in turn creates a seamless and less visible decrease point.
Tips for Mastering the Invisible Decrease
- Understanding Stitch Anatomy: To make the invisible decrease achieve what it should, it is very important to have the difference between the front loops and the back ones of the stitches in your mind.
- Practice Makes Perfect: Before applying the concept of the invisible decrease to your projects, check how it is done on a yarn scrap. This will ease you through the proper positioning and arm movement.
- Maintain Even Tension: Do not forget your tension while working into the “invisible” stitch. It will be very helpful. The constant pulling will give a tightened and worn look to your garment.
Final Words
The reduction of crocheters’ stitches without their visualization is an important skill every crocheter must acquire. This way of dealing with decreases is what will make your projects turn out professional in the end with no bumps or edge lines that can spoil the beauty of your craft. Add the invisible decrease to your crocheting arsenal and elevate your handcraft to its best steed.