Natural Luxury: Coconut Oil & Beeswax Candles
Creating a candle with coconut oil and beeswax combines the best of both natural worlds. Not only do these ingredients offer a clean and eco-friendly solution, but they also bring a touch of luxury and warmth to any space. Candles made from this blend are a wonderful addition to your home and a soothing alternative to traditional paraffin wax.
In this blog, I will guide you through the process of making your very own Coconut Oil and Beeswax Candle, discuss the benefits of using these natural materials, and provide helpful tips to make sure you enjoy every aspect of it.
Benefits of Coconut Oil and Beeswax Candles
1. Natural Ingredients
Both coconut oil and beeswax are derived from nature. Coconut oil comes from the meat of matured coconuts, while beeswax is produced by honeybees. This makes them an ideal alternative for those looking for a more eco-conscious option.
- Eco-friendly and Sustainable: Since both ingredients are renewable and biodegradable, you don’t have to worry about contributing to environmental pollution.
- No Harmful Chemicals: Paraffin wax is petroleum-based and often releases toxins when burned. By contrast, coconut oil and beeswax are toxin-free and safer for your indoor air quality.
2. Soothing Scent
The natural aroma of coconut oil is soft, sweet, and inviting, while beeswax has a warm honey scent. Together, they create a calming, gentle fragrance that enhances your relaxation.
- Customizable Scents: You can personalize your candle by adding essential oils to enhance the natural fragrance.
- Non-Overpowering: Unlike synthetic fragrances, the scent from these candles is subtle, making it perfect for those who prefer a mild, pleasant aroma.
3. Clean Burn
Beeswax candles are known for their clean-burning properties. When you combine it with coconut oil, the result is a candle that emits very little soot, which keeps your indoor environment cleaner.
- Minimal Soot: The low soot production of these candles means less cleaning around your home.
- Releases Negative Ions: Beeswax naturally emits negative ions when burned, which helps to purify the air by neutralizing dust, odors, and allergens.

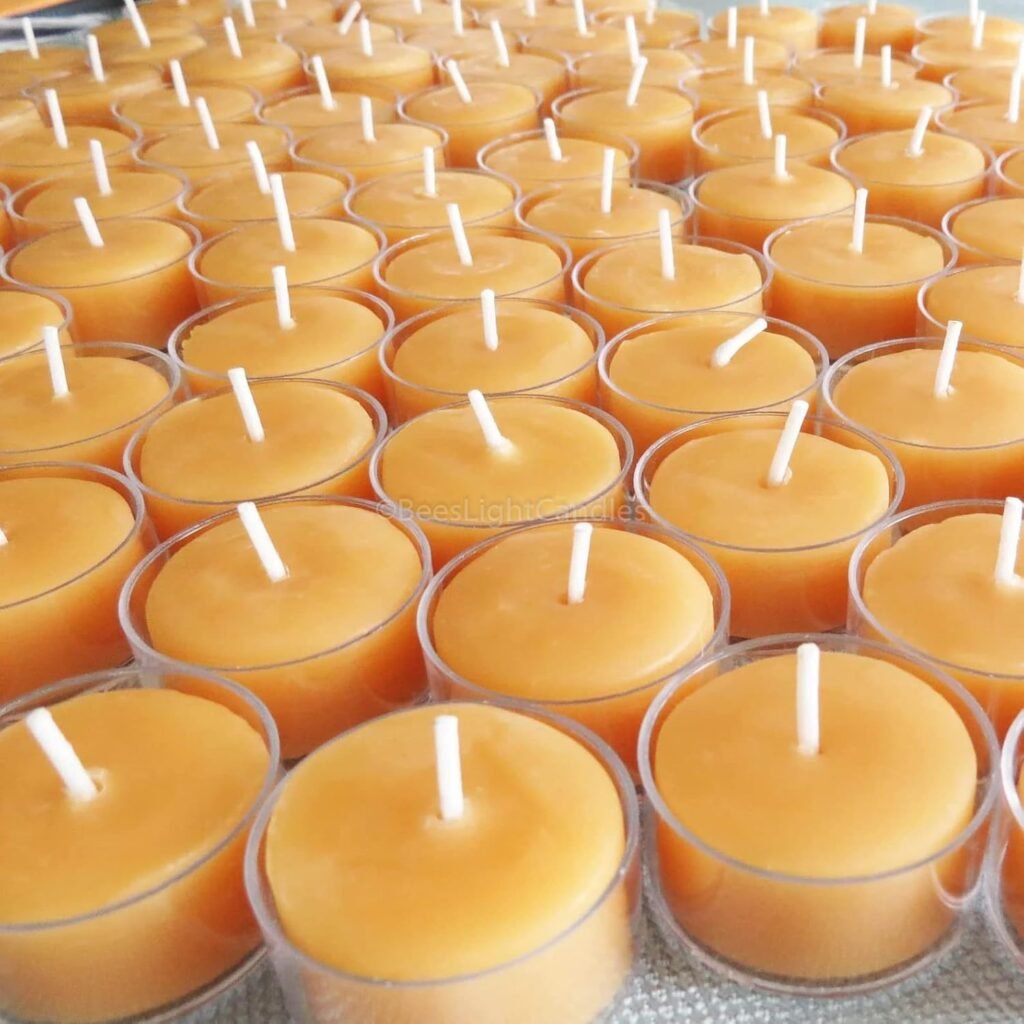
Tealight Beeswax Candles BULK 100% Natural Handcrafted
4. Long-Lasting
Candles made from coconut oil and beeswax tend to burn longer than traditional paraffin candles. This is due to the density and quality of the waxes used.
- Slow Burn: The higher melting point of beeswax allows the candle to burn more slowly and evenly.
- Cost-Effective: While these candles may be more expensive to purchase initially, their extended burn time makes them a cost-effective option in the long run.
5. Support for Local Economies
By choosing coconut oil and beeswax candles, you’re supporting local farmers and beekeepers, which in turn strengthens local economies.
- Sustainable Beekeeping: Beeswax production encourages responsible beekeeping practices, which are crucial for pollination and biodiversity.
- Fair Trade Coconuts: Purchasing coconut oil from fair trade sources helps farmers in developing countries sustain their livelihoods.
How to Make a Coconut Oil and Beeswax Candle
Making your own coconut oil and beeswax candle is a rewarding and creative process. I will guide you through each step, providing all the information you need to create a beautiful, functional candle.
Materials Needed
Before you begin, gather the following materials:
- Coconut Oil: Virgin or refined coconut oil works well.
- Beeswax: Pellets or blocks, depending on availability.
- Wicks: Cotton wicks are recommended for a clean burn.
- Candle Molds: You can use glass jars, tins, or silicone molds.
- Double Boiler: If you don’t have one, a heat-safe container placed in a saucepan will do the trick.
Step-by-Step Instructions:
1. Melt the Wax
In a double boiler or heat-safe container placed over a saucepan of boiling water, gently melt the beeswax. You’ll want to stir it occasionally to ensure it melts evenly. Once the beeswax is mostly melted, add the coconut oil, stirring to combine. The coconut oil helps the wax burn more evenly and provides a smoother texture to the candle.
2. Prepare the Molds
While the wax and coconut oil are melting, prepare your candle molds. Place a wick in each mold, securing it at the bottom with a wick tab or adhesive. I find it helpful to use a wick holder or pencil to keep the wick centered as you pour in the wax.
3. Pour the Wax into Molds
Once the wax and coconut oil are fully melted and combined, carefully pour the mixture into your prepared molds or containers. Make sure to leave a bit of space at the top to avoid spilling.
4. Insert Wicks
After pouring, ensure that the wick remains centered. Adjust it as needed to make sure it stands upright in the middle of the candle. Allow the candle to cool undisturbed.
5. Let the Candles Cool
Leave your candles to cool at room temperature until the wax is completely hardened. This can take several hours depending on the size of your candles. Once fully set, they’ll be ready to use.
6. Trim the Wicks
Before lighting your candle, trim the wick to about 1/4 inch. This ensures a clean burn and helps prevent excess soot.
Tips for Enjoying Your Coconut Oil and Beeswax Candle
Now that you’ve made your candle, let me provide you with some helpful tips for making the most out of your coconut oil and beeswax candle experience.
1. Proper Care for Your Candle
- Storage: Store your candle in a cool, dark place. Coconut oil has a low melting point, so keeping your candle away from direct sunlight or heat sources will prevent it from softening or melting.
- Humidity Control: Beeswax candles can absorb moisture from the air, which may affect their burn. Keep them in a dry area to maintain their quality.
2. Safe Burning Practices
Burning your candle safely is important to avoid accidents and to enjoy its full benefits.
- Always Burn in Sight: Never leave a candle unattended, especially when children or pets are around.
- Use a Heat-Resistant Surface: Place your candle on a flat, heat-resistant surface to avoid damaging furniture or countertops.
- Limit Burn Time: For the best performance, burn your candle for no more than 4 hours at a time.
3. Extinguish Properly
Properly extinguishing your candle will prevent unnecessary smoke and soot from being released into the air.
- Blow Gently: Avoid a strong blow, as this can cause soot or molten wax to splatter.
- Use a Candle Snuffer: If possible, use a candle snuffer to extinguish the flame gently and safely.
Read Also: Flocking Powder: Velvet-Smooth Finishes Explained
Final Words
Coconut oil and beeswax candles offer a natural, luxurious, and environmentally friendly alternative to traditional paraffin candles. Not only do they provide a cleaner burn with a soothing scent, but they also support sustainable farming and beekeeping practices. By making your own coconut oil and beeswax candle, you can enjoy the satisfaction of creating something that not only enhances your living space but also promotes a healthier environment.
I hope this guide has been helpful, and that you’re inspired to try making these beautiful candles yourself!


