Unfired Magic: Greenware Ceramics Explained
Ceramics have been a part of human history for thousands of years, evolving from simple utilitarian objects to intricate works of art. One of the most fascinating stages in creating ceramic objects is the greenware stage. Understanding what greenware is, its significance in the ceramics process, and how to handle it properly can greatly enhance your appreciation and skill in this timeless art form. This article delves into What is Greenware in Ceramics. providing a comprehensive guide to this essential stage in ceramics.
Introduction to Greenware
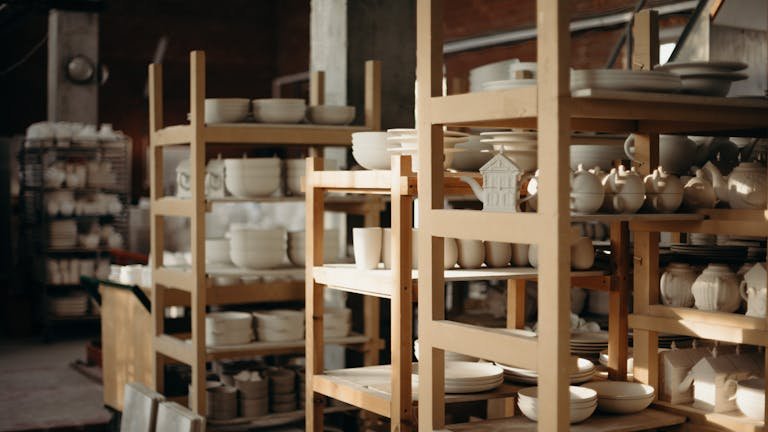
Greenware is the term used to describe clay objects that have been shaped but not yet fired in a kiln. It’s the raw, uncooked stage of pottery making. This is where the potter’s creativity takes form, as the clay is still malleable and open to endless possibilities. Greenware is an intermediate state between raw clay and finished ceramic, and understanding its properties is key to successful ceramic production.
The Importance of the Greenware Stage
The greenware stage is critical because it is the point at which the artist can make final adjustments to the shape and surface of the clay object. Once the piece is fired, these changes are no longer possible. Therefore, mastering the handling and treatment of greenware is essential for producing high-quality ceramic pieces.
Types of Greenware
Greenware is typically categorized into three stages: wet green, leather-hard, and bone-dry stage represents a different level of moisture in the clay and requires different handling techniques.
- Wet Greenware: This is the initial stage where the clay is still moist and pliable. The object can be easily shaped and reshaped, making this the ideal stage for molding and adding intricate details.
- Leather-Hard Greenware: At this stage, the clay has dried slightly and is firmer to the touch. While it is still somewhat pliable, it is less susceptible to damage from handling. This is the stage where fine details can be carved into the surface, and attachments such as handles or decorative elements can be added.
- Bone-Dry Greenware: This is the final stage before firing, where the clay has dried completely and all moisture has evaporated. The piece is extremely fragile at this point, and any handling must be done with great care. The surface is ready for any final touches, such as smoothing or adding surface designs.
The Process of Creating Greenware
Creating greenware is a meticulous process that requires patience and attention to detail. It involves several steps, each of which plays a critical role in determining the quality of the final ceramic piece.
1. Preparing the Clay
The first step in creating greenware is preparing the clay. This involves selecting the right type of clay for your project and ensuring it is properly conditioned. The clay must be kneaded or wedged to remove air bubbles and achieve a uniform consistency. This process is crucial because air bubbles in the clay can cause the piece to crack or explode during firing.
2. Shaping the Clay
Once the clay is prepared, it is shaped into the desired form. This can be done using a variety of techniques, such as hand-building, wheel throwing, or slip casting.
- Hand-Building: This method involves shaping the clay by hand, using techniques such as pinching, coiling, or slab construction. Hand-building is often used for creating unique, one-of-a-kind pieces.
- Wheel Throwing: This technique involves using a potter’s wheel to shape the clay. The artist centers the clay on the wheel and uses their hands and tools to shape it as the wheel spins. Wheel throwing is commonly used for creating symmetrical, round objects like bowls and vases.
- Slip Casting: This method involves pouring liquid clay (slip) into a plaster mold. The plaster absorbs the moisture from the slip, causing it to solidify and take the shape of the mold. Slip casting is often used for producing multiple identical pieces.
3. Drying the Greenware
After shaping the clay, the greenware must be dried slowly and evenly to prevent cracking. This process can take several days to weeks, depending on the size and thickness of the piece, as well as the humidity and temperature of the environment. It is important to dry the piece in a controlled environment, away from drafts or direct sunlight, which can cause uneven drying and lead to warping or cracking.
Read Also: How to Make Fake Blood at Home: 3 Effective Ways
4. Surface Treatments
Before the greenware is completely dry, various surface treatments can be applied. These include smoothing the surface, adding texture, or applying slip (a liquid clay mixture) for decorative purposes. This is also the stage where any attachments, such as handles or decorative elements, are added. Once the piece is bone dry, it is ready for firing.
Firing Greenware
Firing is the process of heating the greenware in a kiln to a high temperature, which transforms the clay into a hard, durable ceramic. Firing is done in two stages: bisque firing and glaze firing.
1. Bisque Firing
The first firing is called bisque firing. During this stage, the kiln is slowly heated to a temperature of about 1830°F (1000°C). This firing drives off any remaining moisture and organic materials in the clay, leaving the piece porous but hard. The result is called bisque ware, which is much stronger than greenware and ready for glazing.
2. Glaze Firing
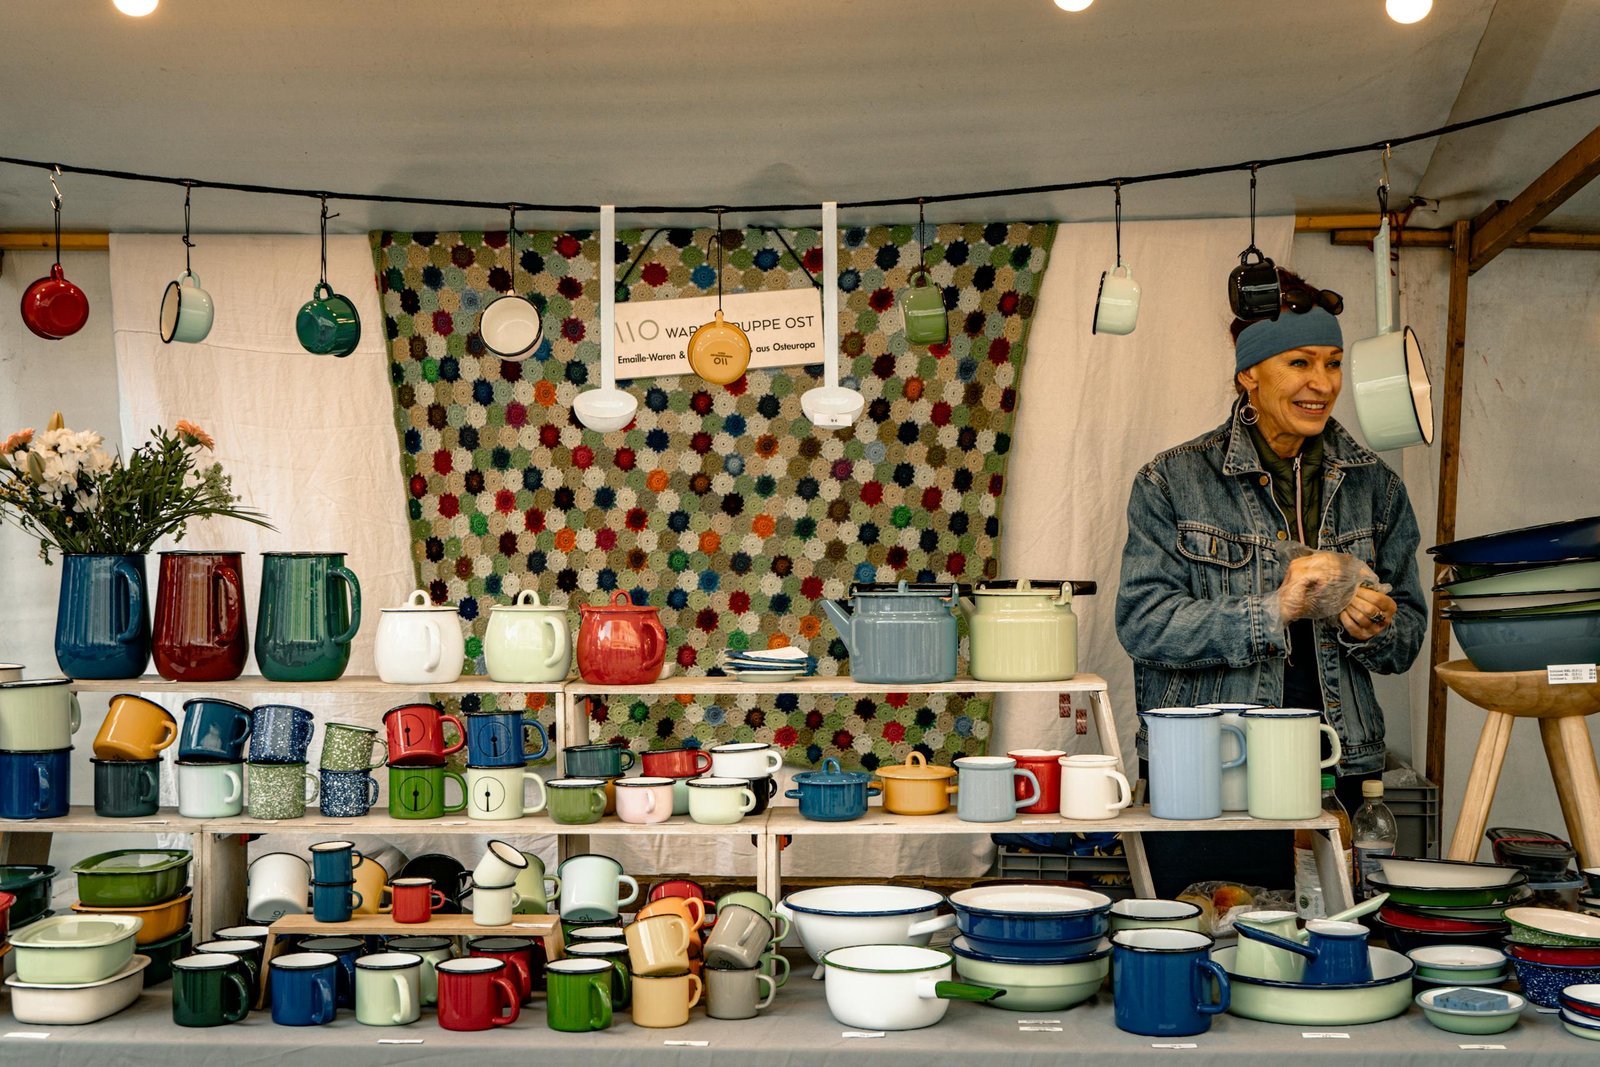
After bisque firing, the piece is glazed and then fired again in a process known as glaze firing. The kiln is heated to a higher temperature, typically between 2192°F (1200°C) and 2372°F (1300°C). During this firing, the glaze melts and fuses to the surface of the piece, creating a glassy, waterproof finish.
Advanced Techniques in Greenware Handling
For those looking to take their ceramic work to the next level, several advanced techniques can be applied during the greenware stage.
1. Sgraffito
Sgraffito is a technique where a layer of slip is applied to the greenware, and then a design is scratched into the surface, revealing the clay beneath. This technique allows for intricate patterns and designs to be created on the surface of the piece.
2. Mishima
Mishima is a technique that involves carving a design into the greenware and then filling the carved areas with a contrasting slip. Once the slip is applied, the surface is scraped to remove any excess, leaving the design inlaid into the surface of the clay.
3. Burnishing
Burnishing is a technique where the surface of the greenware is polished with a smooth tool, such as a stone or spoon, to create a shiny, smooth finish. This technique was commonly used in ancient pottery and is still used today for certain types of ceramics.
4. Adding Textures
Adding textures to the surface of greenware can create a tactile and visual interest. This can be done using various tools, such as combs, stamps, or natural objects like leaves and shells. The texture can be subtle or bold, depending on the desired effect.
Read Also: Don’t Frog Out! Crochet Rescue Tips
Conclusion
Greenware is a vital and fascinating stage in the ceramic-making process, offering numerous opportunities for creativity, experimentation, and artistic expression. From its role in shaping and detailing clay objects to its significance in education and community art, understanding and mastering greenware is essential for anyone involved in ceramics.