Master the Back Loop Crochet Stitch: A Game-Changer!
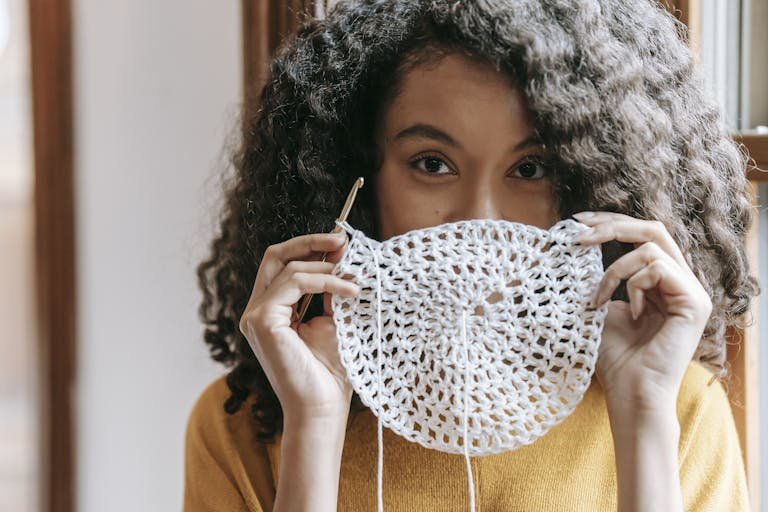
Crocheting is an age-old craft that continues to enchant and inspire countless enthusiasts around the world. Among the myriad techniques that crocheters use to create intricate and beautiful patterns, one technique stands out for its unique texture and versatility: working in the back loop. In this blog, we’ll delve deep into What is the Back Loop in Crochet? exploring what it is, how to work it, and the stunning effects it can produce in your projects. By the end of this detailed guide, you’ll be well-equipped to incorporate this technique into your crocheting repertoire.
Understanding the Basics of Crochet
What is Crochet?
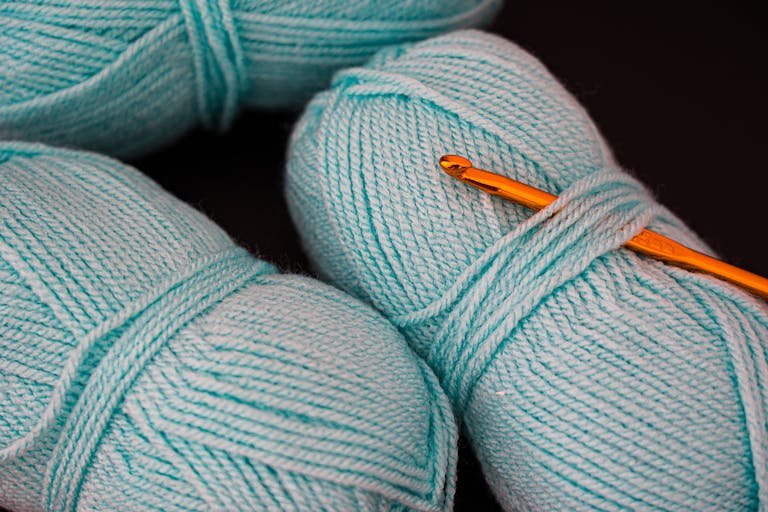
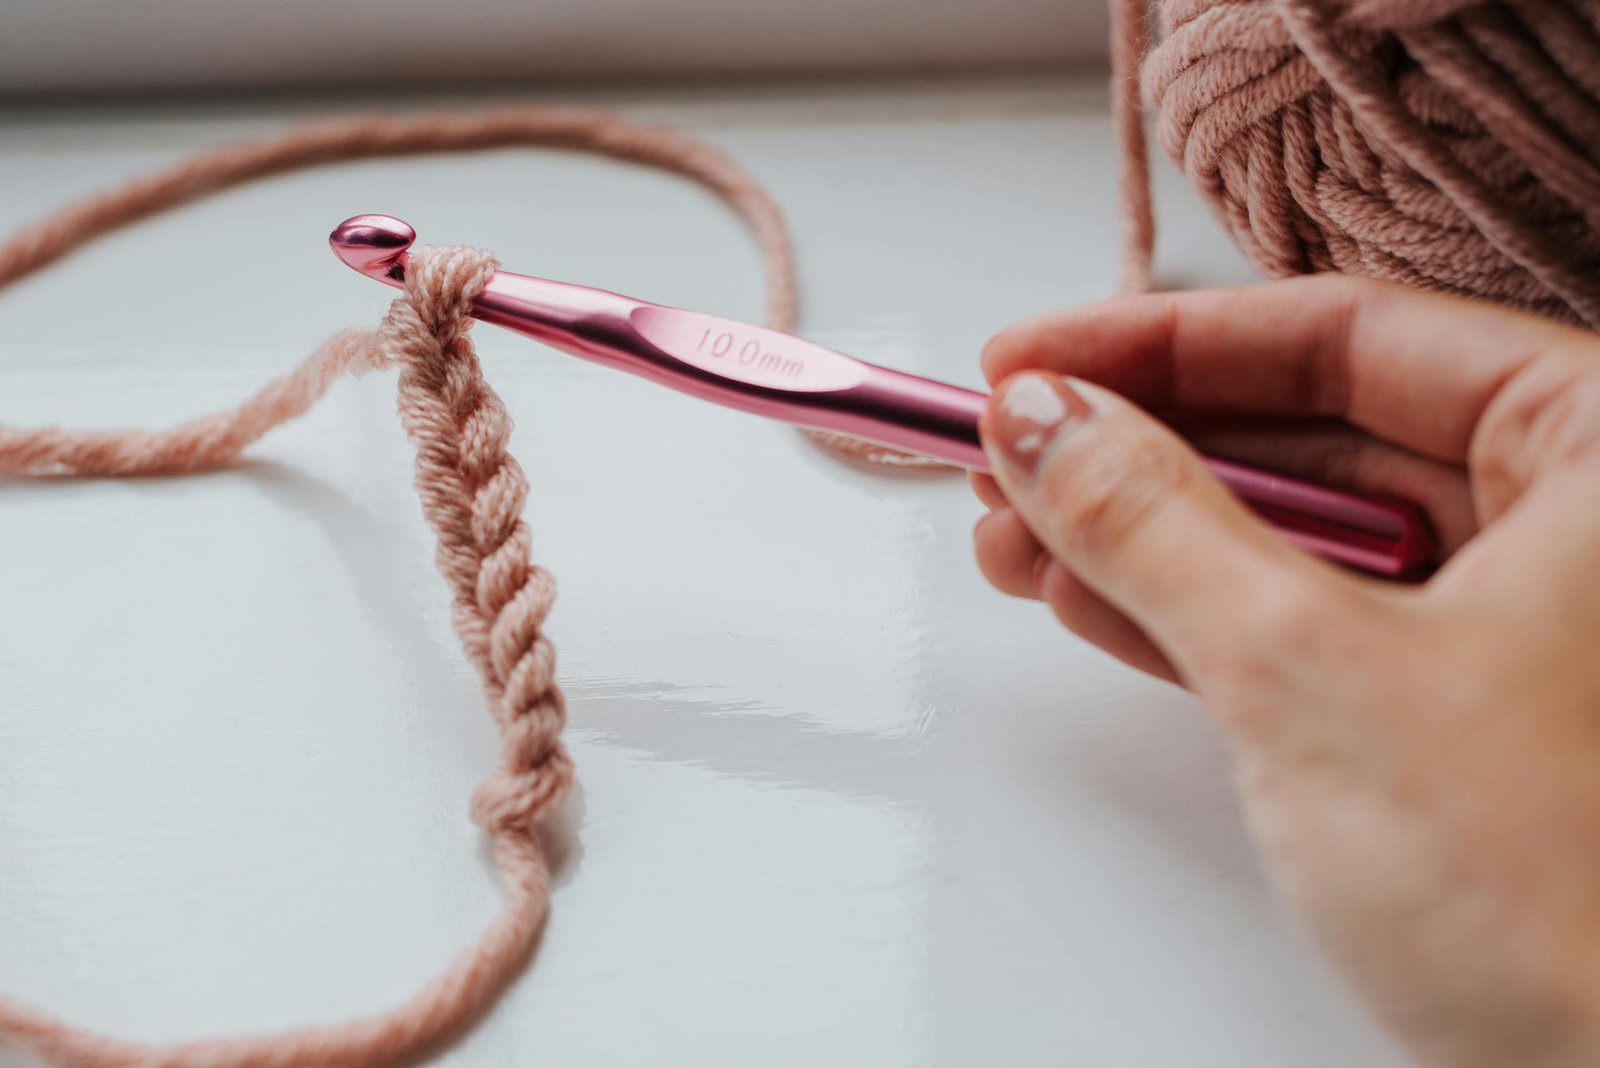
Crochet is a needlework technique performed using a crochet hook and yarn or thread to create fabric. Unlike knitting, which uses two needles, crochet involves a single hook to interlock loops of yarn. The fundamental stitches in crochet include the chain stitch, single crochet, half double crochet, double crochet, and treble crochet.
Parts of a Crochet Stitch
To fully grasp the concept of the back loop in crochet, it’s essential to understand the anatomy of a crochet stitch. Each crochet stitch has several parts:
- Front Loop: The part of the stitch facing you as you work.
- Back Loop: The part of the stitch that is behind the front loop, on the opposite side.
- Both Loops: Refers to the front and back loops collectively, which is where most standard crochet stitches are worked.
What is the Back Loop in Crochet?
The back loop in crochet refers to the loop that is farthest from you when you are looking at the top of a crochet stitch. When you work into the back loop only (BLO), you insert your hook under the back loop of the stitch instead of through both the front and back loops.
Why Work in the Back Loop?
Working in the back loop creates a distinctive texture and flexibility in the fabric. This technique produces a subtle ribbed effect and can add stretch and elasticity to the piece. It’s particularly useful for creating ribbing on cuffs, hems, and collars, as well as adding visual interest to blankets, scarves, and other items.
How to Work in the Back Loop
Materials Needed
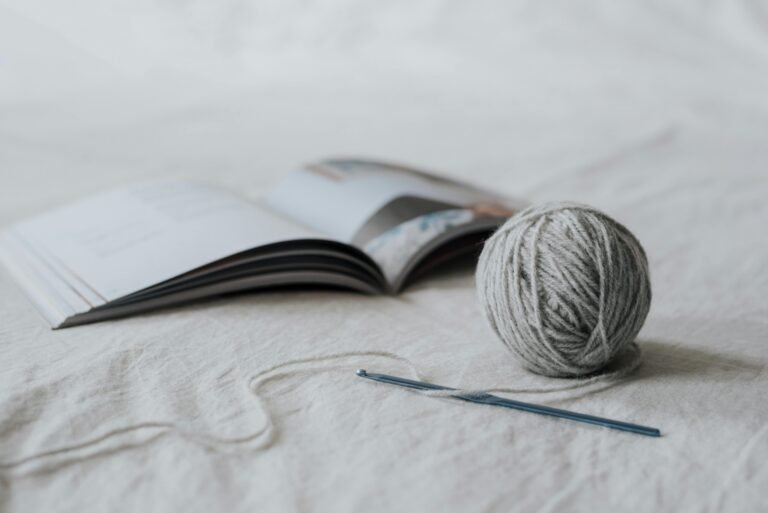
To practice working in the back loop, you’ll need:
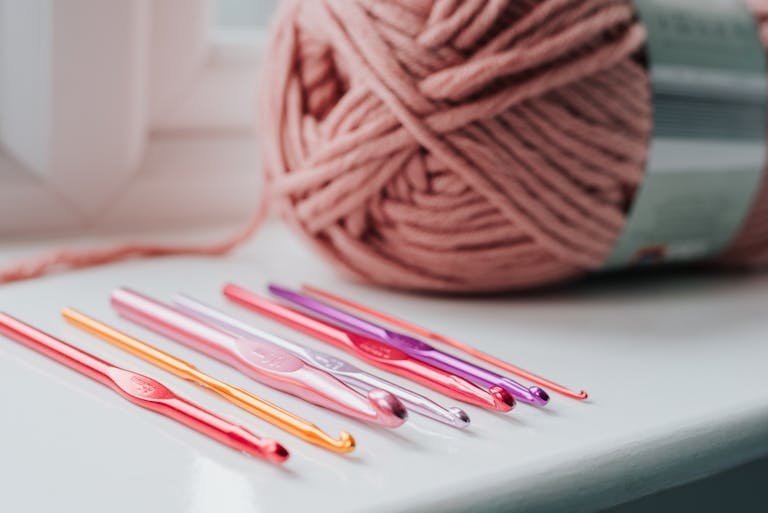
- A crochet hook suitable for your yarn.
- Yarn of your choice.
- Scissors.
Step-by-Step Guide
- Create a Foundation Chain: Start with a foundation chain of the desired length.
- Work the First Row: Crochet the first row using your preferred stitch (e.g., single crochet, half double crochet, or double crochet) into both loops of the chain.
- Identify the Back Loop: Turn your work. Look at the top of the stitches; you will see a “V” shape. The back loop is the loop on the far side of the “V.”
- Insert the Hook: Insert your hook under the back loop of the first stitch.
- Complete the Stitch: Yarn over, pull through the loop, and complete the stitch as usual.
- Continue: Repeat this process for each stitch across the row.
Benefits of Working in the Back Loop
Texture and Appearance
Working in the back loop creates a ribbed texture, which is both visually appealing and functional. This texture can be used to mimic knitted ribbing, making it perfect for cuffs, hats, and sweaters.
Flexibility and Stretch
Crocheting in the back loop adds elasticity to the fabric, making it ideal for garments that require stretch, such as socks, mittens, and fitted tops.
Versatility
The back loop technique can be applied to various stitches, including single crochet, half double crochet, and double crochet, allowing for a wide range of creative possibilities.
Common Projects Using the Back Loop Technique
Ribbed Hats and Beanies
Ribbed hats and beanies often use the back loop technique to create a stretchy and comfortable fit around the brim.
Cuffed Gloves and Mittens
Cuffs made using the back loop technique provide the necessary stretch to fit snugly around the wrists, keeping out the cold.
Sweaters and Cardigans
In sweaters and cardigans, the back loop method can be used to add ribbing at the hem, cuffs, and collar, giving a polished and professional finish.
Blankets and Afghans
Blankets and afghans can benefit from the texture and visual interest provided by working in the back loop, adding a modern twist to classic designs.
Read Also: How to Tie a Slip Knot in Crochet
Tips for Mastering the Back Loop Technique
Practice with Simple Projects
Start with small, simple projects like washcloths or coasters to practice working in the back loop before moving on to more complex items.
Use Stitch Markers
Stitch markers can help keep track of your place, especially when working on larger projects or patterns that require frequent changes.
Watch Tutorials
There are many video tutorials available that demonstrate the back loop technique in detail. Watching these can provide visual guidance and reinforce learning.
Closing Words
The back loop in crochet is a versatile and invaluable technique that opens up a world of creative possibilities. Whether you’re looking to add texture and dimension to your projects, create stretchy ribbing for garments, or simply experiment with new stitches, mastering the back loop is a skill worth acquiring. With practice, patience, and a bit of creativity, you’ll be able to incorporate this technique into your crocheting arsenal, enhancing your work and impressing your fellow crafters. Happy crocheting!